-
-
-
-
- Still have questions? Submit a ticket to our support team. Contact Us Or Call Us
-
-
-


Having easy access to all the tools you need maximizes your efficiency. That's why FilmoraPro allows you to adjust your workspace to meet the demands of your project. A workspace is simply a selection of panels that are accessible from the software's application window. You can find the Workspaces submenu under View. From the Workspaces submenu you can switch to a preset workspace or to your own saved workspace.
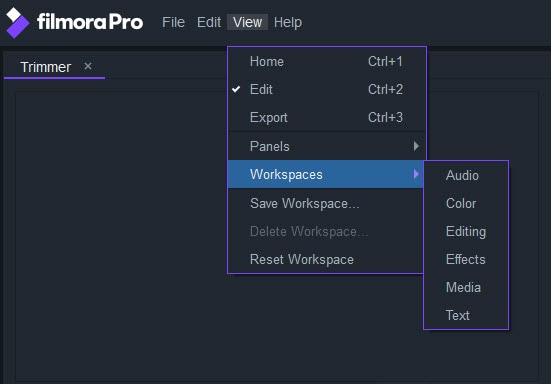
There are several options available that enable you to select the workspace that is best suited for the task you're working on.
Being comfortable with the workspace you're using increases your creativity because it allows you to arrange panels in a way that feels natural to you. Once you customize a layout you want to use for different projects, select Save Workspace under View.
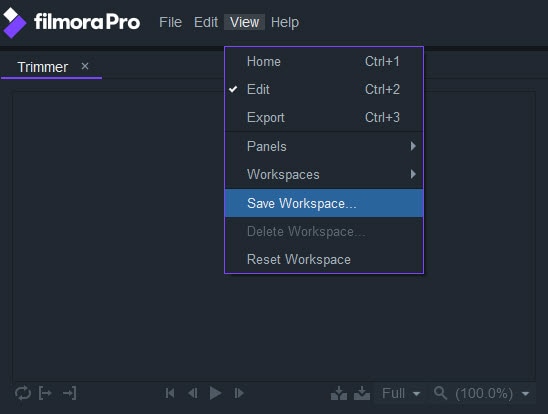
A dialogue box will pop up on the screen asking you to name the workspace you're saving. Click OK when you're done. The workspace you created will be available in the Workspaces submenu.
If you are not happy with the way you've customized your workspace, select Reset Workspace.
Containers and Panels
Panels in FilmoraPro's interface are organized into containers that hold two or more panels. All panels within a single container have their own tabs that enable you to switch between panels as you approach different stages of the video editing process. Drag a tab you'd like to relocate and all the other panels will resize automatically so they can fit the window.

If you want to place a panel into a different container, drag and drop it to where you want it. Additionally, you can change the size of a container by dragging its ends. Clicking on the empty area of the container's title bar and dragging will allow you to relocate the container. If you place a container over another container you'll see a 4-way drop zone indicator.
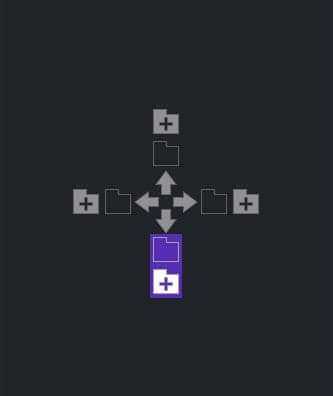
As you drag the container, a blue line will appear to show you where it is going to be placed. FilmoraPro will place the container you dropped above, below, to the left or, or to the right right of the container over which it was placed.
Floating Containers and Panels
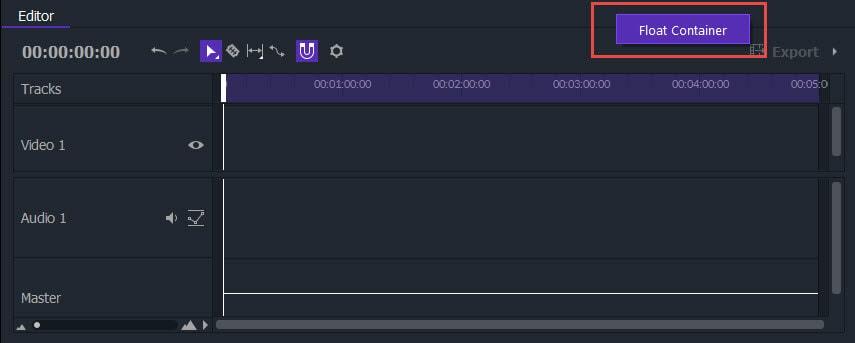
FilmoraPro lets you detach a panel or container from the application window in order to move it freely across the screen. This feature can be used to move the preview window onto another display. If you would like to create a floating container or a floating panel, right-click on its title bar and select Float Container/Panel.