-
-
-
-
- Still have questions? Submit a ticket to our support team. Contact Us Or Call Us
-
-
-


The clips you add to the timeline often contain extensive amounts of material you have no intention of using in the final cut of your video. The editing tools that can be found in the upper left corner of the Editor Panel can help you fine-tune the media assets you add to the timeline.
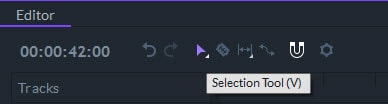
This is a multi-purpose tool that can be used for a wide range of video editing actions.
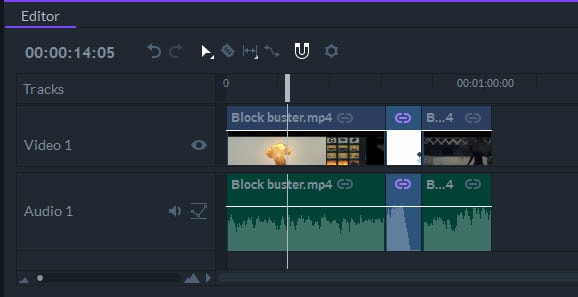
One or more clips can be selected with the Select Tool. Each clip you select will be highlighted in blue.
All media assets you add to the timeline can be easily moved from one point to another by clicking on them and dragging them to their new position on the timeline. Moving a clip to a location that is already occupied by another clip will activate the Overlay Edit option by default. The clip that is positioned at the location you want to add a new clip will be sliced and the clip you're repositioning will be inserted between the sliced clips. All parts of the clip that was at the location on the timeline where you added a new clip will be replaced by the new clip, which enables you to add new video clips without changing the position of the clips that are already on the timeline.
The Insert Edit action can be performed by holding the Shift key while moving a video clip to a new location on the timeline that is already occupied by another clip. After you release the mouse button, the clip on the timeline will be sliced and moved to the right of the new clip.
Holding the Alt (OPT on Mac OS) key and dragging a selected clip to a new location will create a copy of that clip, so you can add a copy of the original clip to a new location on the timeline.
Using the Select Tool, you can change the In and Out points of a clip. When hover your cursor over the beginning or end of a clip, your mouse cursor changes into the trim pointer. Upon seeing this cursor change, you can then left-click on your mouse and drag the trim pointer left or right to set a new In or Out point.
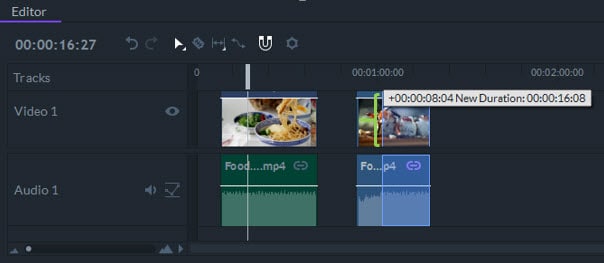
Changing the In and Out points will not affect surrounding clips. Changing them so that your clips become shorter in length, however, may leave some empty space. The preview of the new In and Out points will be displayed in the Viewer panel.
It is not possible to move the In and Out points of one clip while simultaneously moving the In and Out points of another clip. You cannot extend a clip's In and Out points beyond another media asset in its track nor extend a clip's In and Out point beyond the clip's original duration.
If the video and audio assets you're working with are linked together, trimming one of those assets will also affect the other. Holding the Alt button will enable you to trim a linked media asset on one track while leaving media on the other track unaltered. This video editing technique is known as J and L Cuts.
Double-clicking on a clip you placed on the timeline will open it in the Trimmer, where you can set new In and Out points for that clip. As you make the adjustments, the clip on the timeline will be automatically updated with the adjustments you've made.
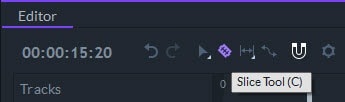
Media assets in the timeline can be divided into two or more parts with the Slice tool. After you've selected the Slice tool, clicking on any part of a video or audio clip will automatically split it in two. A single clip can be sliced as many times as you want.
After slicing a clip, both pieces can be edited or removed from the timeline separately. Holding the Alt key while slicing a clip will make a cut at that location on the timeline across all tracks.
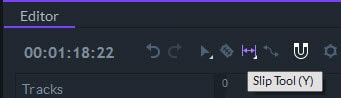
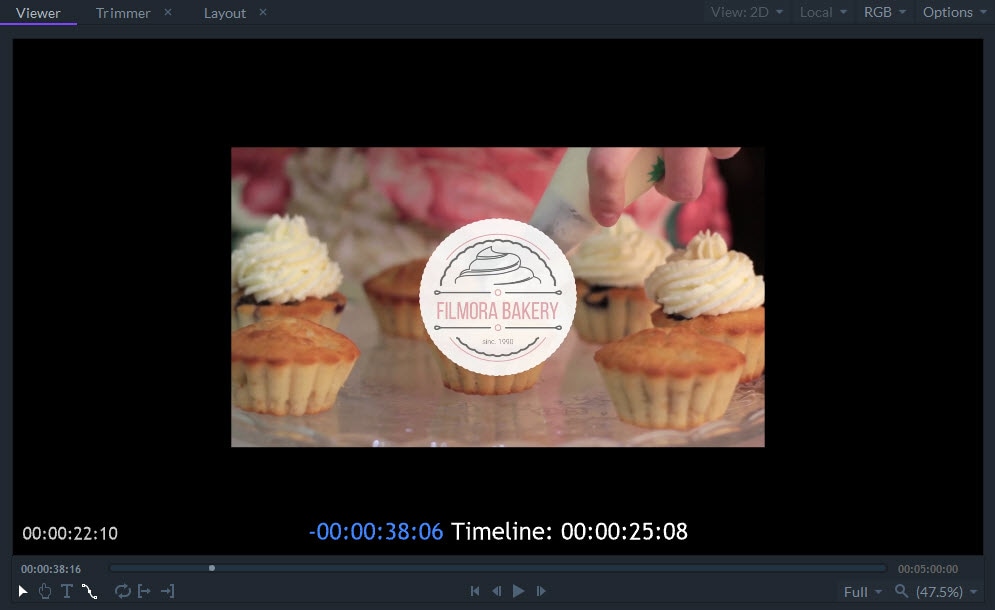
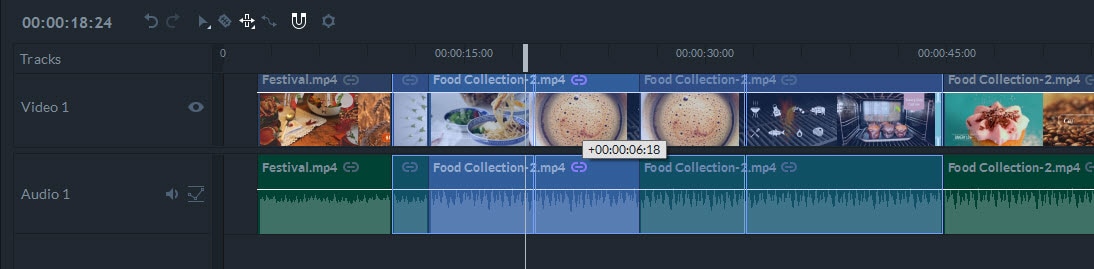
Slip edit enables you to alter a clip's In and Out points without changing its position on the timeline or its length. Once the Slip Tool is selected, you can use it to alter the In and Out points of all clips you added to the timeline. While you are performing the slip edit, the Viewer will display information that can help you achieve a greater level of precision.
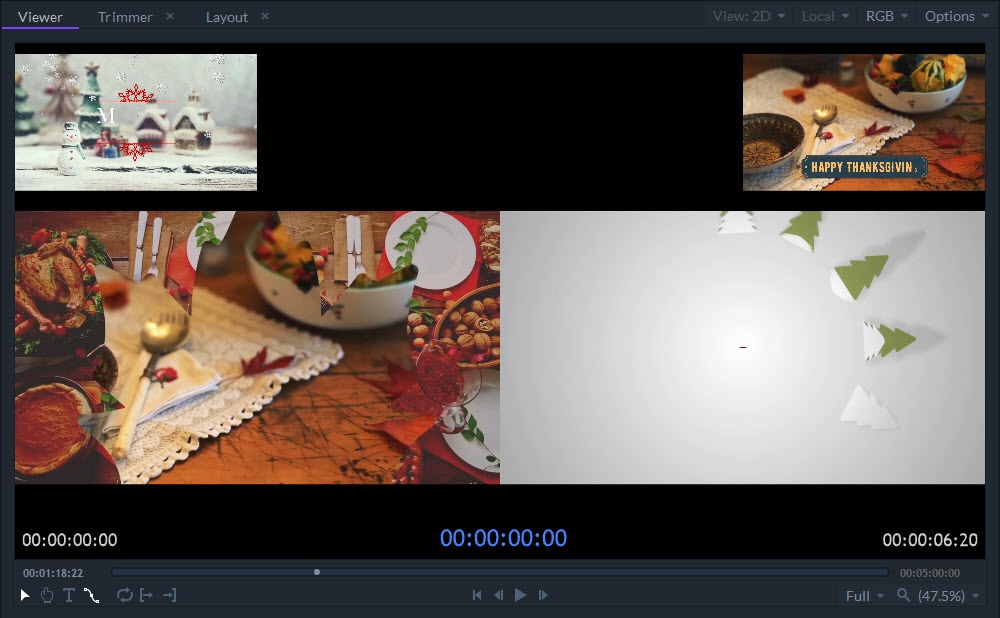
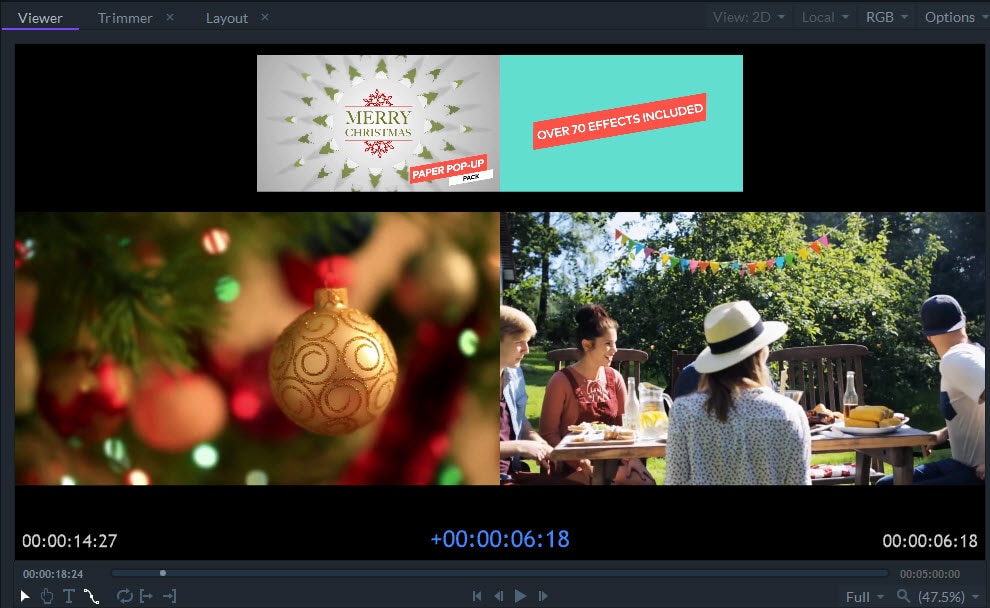
The videos located in the top left and the top right corners of the Viewer shows the adjacent frames of the video clips before and after the selected clip. They don't change during the slip edit, as this action doesn't affect other clips.
The videos in the lower portion of the Viewer display the In and Out points of the selected clip. These frames will change as you drag the Slip tool left and right. Clicking on the Play button in the Viewer Panel will enable you to preview the changes. The Timecode information that is displayed below the Viewer Panel shows the relative slip change as well as the new In and Out points relative to the source media asset.
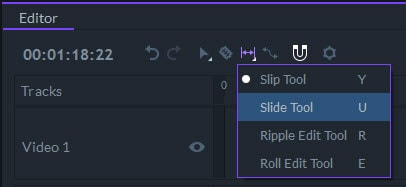
This option is used to change a clip's position on the timeline while keeping its duration and In and Out points intact. The In and Out points of the adjacent clips are automatically adjusted to accommodate the slid clip. The example below shows the preview of a clip's new location.
The media asset that is highlighted in the bright blue color is being slid to the right, an area that is highlighted by a lighter version of the same color. All adjustments you make to a video clip during the slide edit will be displayed in the Viewer Panel.
The two videos on the top of the Viewer display the start and end points of the selected clip. These start and end points do not change as you slide a clip to a new location. The two videos located at the bottom of the Viewer show the frames of the clips adjacent to the clip you are sliding. These frames change as you slide the clip to a new position.
This tool is used to trim the In and Out points of a clip while simultaneously making adjustments to the timeline so that no gaps or overlaps are created in the process.
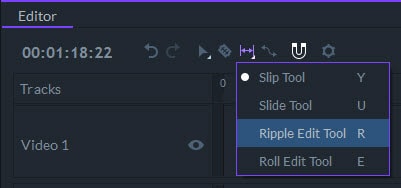
After a ripple edit is performed all clips to the right of the selected clip are shifted automatically, so that any empty space between them is removed. In this manner, you can ensure that your final cut of the video does not include any accidental empty spaces between clips. All relevant information about the Ripple Edit will be displayed in the Viewer.
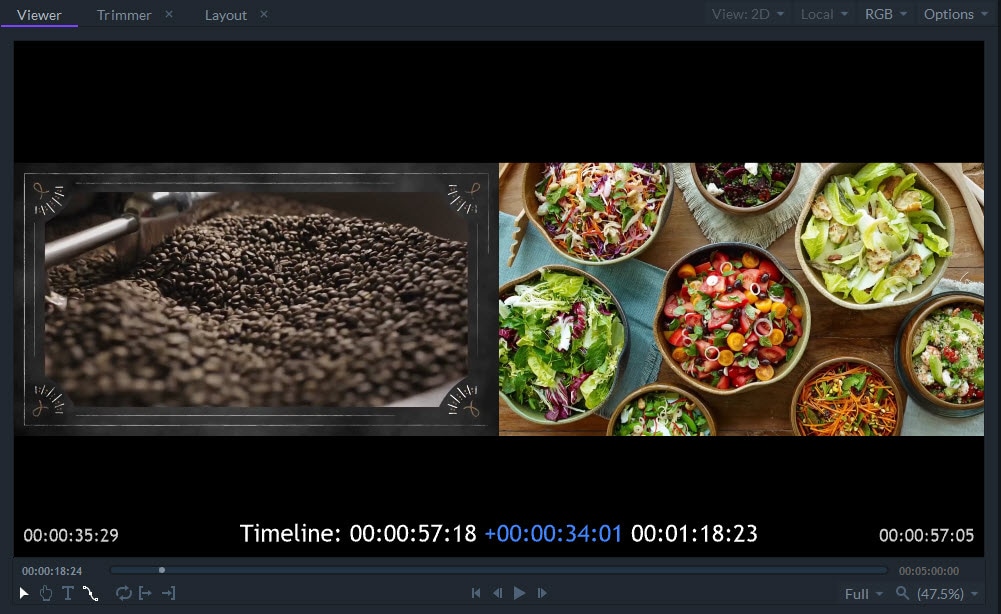
If you are trying to adjust the In point of a clip with the Ripple Edit tool, the media asset you selected will be displayed on the right side of the Viewer, while on the left side of Viewer you'll see the clip that precedes the selected clip. The videos in the Viewer will be reversed if you're trying to set the Out point, as the selected clip will be displayed on the left side of the viewer and the subsequent clip on the right. The preview of the selected clip in the Viewer will be updated throughout the Ripple Edit process.
To enable the Ripple Insert Mode, you have to hold the Shift key while performing the Ripple Edit. All clips to the right of the selected clip will be moved further down the timeline to make room for the edit to be inserted at a particular location.
Ripple Delete enables you to remove clips or gaps. After a gap or a clip is ripple deleted, all affected objects located on the right side of the action will automatically move to close the gap.
Right-clicking on a clip and selecting the Ripple Delete Object option from the menu enables you to Ripple Delete all video clips you don't want to include in your project. In addition, you can Ripple Delete the empty space on a track by right-clicking on the gap and selecting the Ripple Delete Gap option. The Ripple Delete option will not close gaps entirely if it there are obstructions on other tracks.
Two neighboring clips can be trimmed at the same time with the Roll Edit tool. The Out point of the first clip and the In point of the second clip you selected can be trimmed simultaneously with this tool. Their duration will be changed, but their position on the timeline will remain the same.
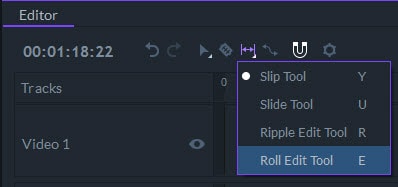
Positioning the cursor to the line that connects two video clips will enable you to see the Roll Edit icon. Clicking the left mouse click and dragging the cursor left or right will change the Out point of the first clip and the In point of the second at the same time. This adjustment won't affect any other clips on the timeline. You can preview the selected clips in the Viewer.
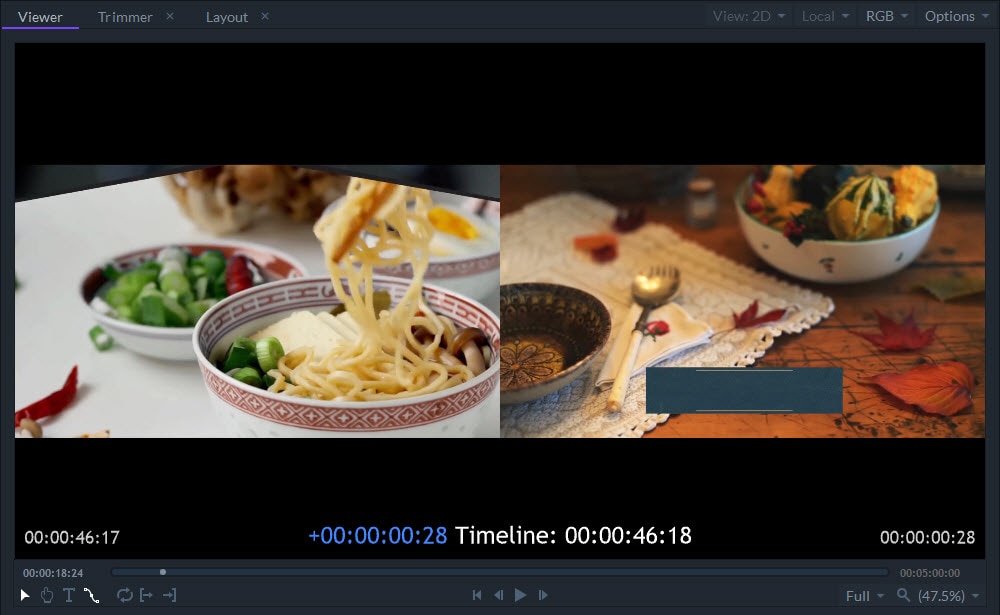
The Out point of the first clip will be displayed on the left side of the Viewer, and on the right side of the Viewer, you will be able to see the In point of the second clip. Both previews will update after the Roll Edit is performed to show the new Out and In points of selected clips.
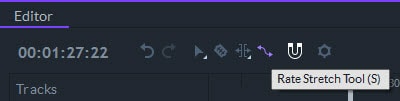
You can retime a video clip, making it shorter or longer while retaining all of the clip's content, by using the Rate Stretch tool and moving the clip's In and Out points. As a result, the clip's playback speed will change to fit the newly defined space on the timeline.
For instance, doubling the size of a video clip by dragging its Out point to a new position on the timeline will reduce its playback speed by half. The Speed/Duration option that can be accessed by right-clicking on a clip can also be used to increase or decrease a clip's playback speed with a higher level of accuracy. The example below shows the Edit Speed/Duration window.
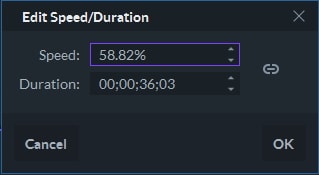
The window contains two options, Speed and Duration. These options can be linked or unlinked by clicking on the chain icon located on the right side of the window.
When the two options are unlinked and the Speed is adjusted, a clip's playback speed will change while the In and Out points remain the same. When the two options are unlinked and the Duration is adjusted, a clip's Out point will move while the playback speed remains the same. If the two options are linked together, changing the Speed value will automatically adjust the Duration and move a clip's Out point to match the new playback speed. Changing the Speed value of a two-second clip to 50% will extend its duration to four seconds. If you change the Duration the clip's Speed will also change to fit the new duration.
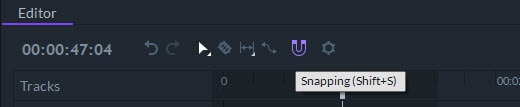
You can enable the snapping option by clicking on the Snapping icon that is located in the Editor Panel. When snapping is enabled, all clips you add to the timeline will be placed next to each other with no empty space between them.
Clips can either snap to the playhead or to other clips. The Up and Down keys can be used to jump the playhead to the start or the end of clips.