FilmoraPro's Color Correction folder in the Effects Panel features three Auto-Grading effects that adjust a layer’s colors, levels, or contrast.
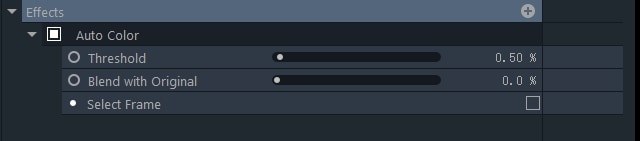
Auto Color
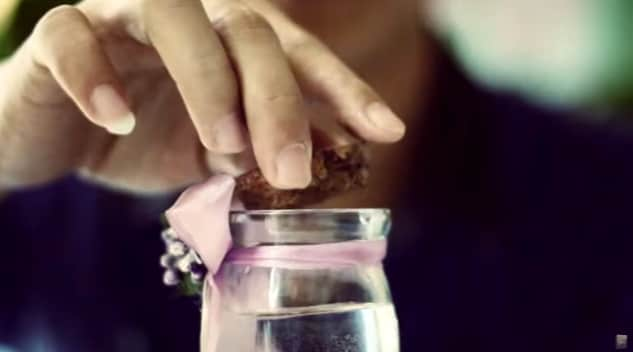
This effect enhances colors in a video automatically, which is useful for changing color values quickly.
-
Threshold: Sets a threshold below which colors in a video will not be affected by the Auto Color effect.
-
Blend with Original: Softens the effect’s impact on the footage. Higher values mean to keep more of the video’s original color.
-
Select Frame: All auto grading effects impact each frame of the video clip which they are applied to. The Select Frame option enables you to manually select the frame that will serve as a source for the automatic adjustments.

Auto Contrast
Adding the Auto Contrast effect to a video clip will alter the contrast values in a selected layer.

-
Threshold – Set a threshold below which colors in a video will not be affected by this effect.
-
Blend with Original – Raising the value of this property will reduce the effect’s impact on the footage.
-
Select Frame – All auto grading effects impact each frame of the video clip which they are applied to. The Select Frame option enables you to manually select the frame that will serve as a source for the automatic adjustments.
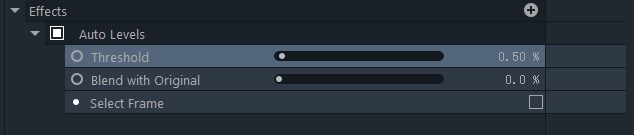
Auto Levels
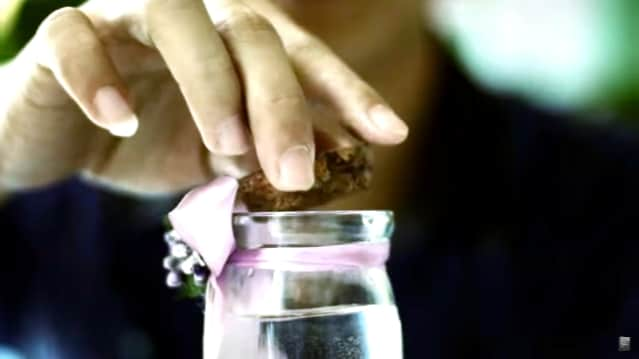
The tonal range of the selected video clip will be adjusted automatically.
-
Threshold - Set a threshold below which colors in a video will not be affected by the effect.
-
Blend with Original – Reduces the effect’s impact on the original footage. As you increase the Blend with Original value, the effect will grow softer.
-
Select Frame - All auto grading effects impact each frame of the video clip which they are applied to. The Select Frame option enables you to manually select the frame that will serve as a source for the automatic adjustments.
Brightness and Contrast
Brightness and Contrast values will remain unaltered after you apply this effect to a layer until you either select one of the available presets or assign new values to the effect’s properties.

-
Brightness: Dragging the slider to the left will decrease the brightness, while dragging the slider to the right will increase it.
-
Contrast: Drag this slider to adjust the video contrast. Negative values are for low contrast, while positive values are for high contrast.
Color Balance
The balance of reds, greens, and blues in the highlights, mid-tones, and shadows can be adjusted separately once you add this effect to a video clip.
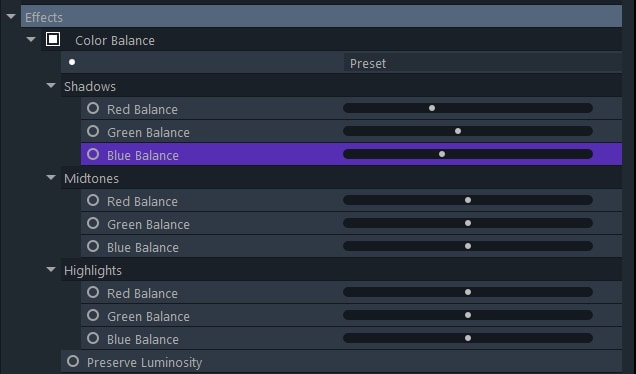
The Preserve Luminosity option enables you to keep the layer’s original brightness value while you’re fine-tuning its colors.
Shadows
-
Red Balance: Dragging the slider to the left will reduce the red tones in the shadow areas of the image while dragging the slider to the right will increase the red tones in those areas.
-
Green Balance: Dragging the slider to the left will reduce the green tones in the shadow areas of the image while dragging the slider to the right will increase the green tones in those areas.
-
Blue Balance: Dragging the slider to the left will reduce the blue tones in the shadow areas of the image while dragging the slider to the right will increase the blue tones in those areas.
Mid-Tones
-
Red Balance: Dragging the slider to the left will reduce the red tones in the mid-tone areas of the image while dragging the slider to the right will increase the red tones in those areas.
-
Green Balance: Dragging the slider to the left will reduce the green tones in the mid-tone areas of the image while dragging the slider to the right will increase the green tones in those areas.
-
Blue Balance: Dragging the slider to the left will reduce the blue tones in the mid-tone areas of the image while dragging the slider to the right will increase the blue tones in those areas.
Highlights
-
Red Balance: Dragging the slider to the left will reduce the red tones in the highlights of the image while dragging the slider to the right will increase the red tones in those areas.
-
Green Balance: Dragging the slider to the left will reduce the green tones in the highlights of the image while dragging the slider to the right will increase the green tones in those areas.
-
Blue Balance: Dragging the slider to the left will reduce the blue tones in the highlights of the image while dragging the slider to the right will increase the blue tones in those areas.
Color Temperature
The color temperature of the raw footage depends on the light that was used when the footage was recorded. Excessive amounts of reds and yellows can appear in a video clip if the video was recorded using only street lights, while the levels of blue can rise above acceptable levels if fluorescent lighting was used.
The Color Temperature effect supplies you with a few different presets such as Blue Sky or Candle Light that simulate the different temperatures of different types of light.
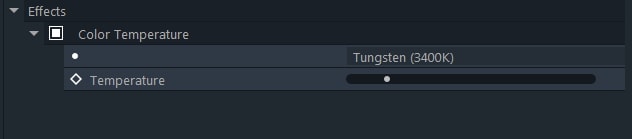
Temperature: If you move the slider to left the color temperature will decrease which will enhance the red and orange colors. Moving the slider to the right will increase color temperature and enhance the blue colors.
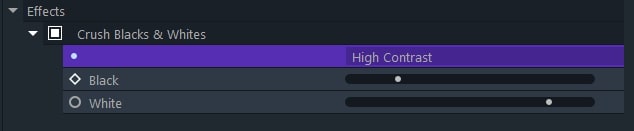
Crush Blacks & Whites
This effect enables you to control the levels of blacks and whites in an image.
-
Black: Dragging this slider right will increase the amount of black in your image. If you move it a little then darker colors will become black, and if you drag it further then lighter colors will be affected too.
-
White: Dragging this slider left will increase the amount of white in your image. If you move it a little then lighter colors will become white, and if you drag it further then darker colors will be affected too.
Curves
The Curves effect is graph-based. The horizontal axis of the graph shows the original values of the image, while the vertical axis of the graph represents the output values, that you inserted while adjusting the graph.
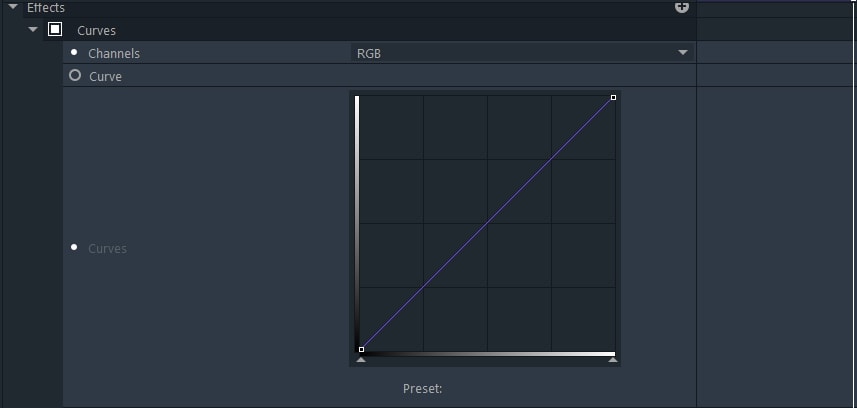
The image highlights are controlled from the upper right area of the graph, and shadows can be manipulated in the lower left corner of the graph. Steep sections of the graph represent strong contrasts, while less steep sections represent a softer contrast between highlights and shadows.
There are two presets - one which will reset the graph to a straight line, and one that creates the s-curve on the graph.
If you select the s-curve preset the center of the graph will be steep. This means that the contrasts in the mid-tones are increased, but the level of detail in highlights and shadows is reduced. This preset is useful for adding detail when the focus of a frame is a person’s face.
Curves can be used to adjust the RGB channels, either combined or separately. Adjusting them individually is useful for fixing your white balance or lighting.
Exposure
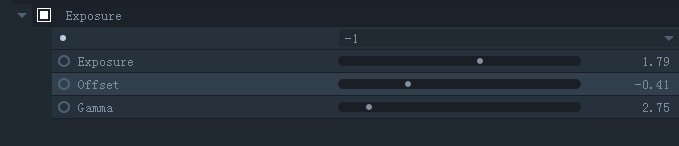
The Exposure effect simulates letting more light in through the camera lens. Changing the effect’s properties makes the footage darker or brighter in a way that looks more natural than adjusting the brightness. Increasing the Exposure value will also increase the contrast between the brightest and the darkest areas of an image while reducing Exposure decreases contrast.

You can control shadows, highlights, and mid-tones separately.
-
Exposure: Dragging the slider to the left will reduce the brightness of an image while moving the slider to the right will make an image brighter.
-
Offset: Makes the shadows and mid-tones brighter or darker.
-
Gamma: Controls the midtones of your image.
Gamma

Applying the Gamma effect will mostly impact the mid-tones of your image and have only a mild effect on shadows and highlights. You can change the gamma values of the red, green, and blue color channels.
-
Red Gamma: Increases or decreases the red tones in an image. Adjustments will affect the midtones the most.
-
Green Gamma: Increases or decreases the green tones in an image. Adjustments will affect the midtones the most.
-
Blue Gamma: Increases or decreases the blue tones in an image. Adjustments will affect the midtones the most.
Hotspots
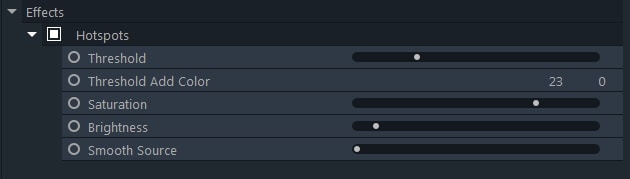
The Hotspots effect allows you to select the brightest areas of your image and modify them.
-
Threshold: Define the brightness threshold that the effect is based on. Areas above your threshold will keep their detail.
-
Threshold Add Color: Segments of the image that are over the threshold will be filled with the color that is selected in this property. The color selected by default is black, which can help you isolate hotspots in the images you use for compositing purposes.
-
Saturation: Increases or decreases the intensity of colors in areas of the image that are brighter than the threshold.
-
Brightness: Lets you adjust the brightness of all segments of the image that are brighter than the threshold.
-
Smooth Source: Blurs the source image prior to calculating the threshold. This property will make the transition areas around the threshold smoother and reduce graininess.
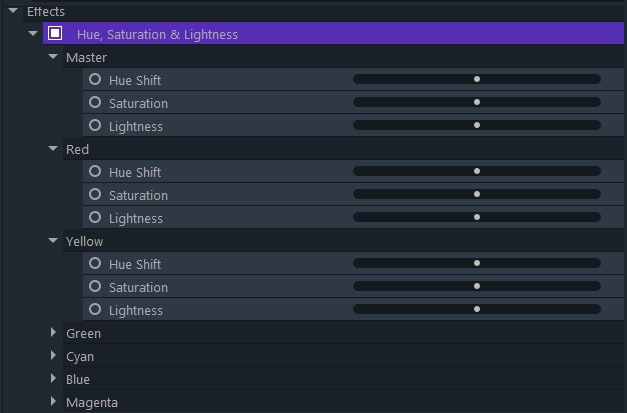
Hue, Saturation & Lightness
Control the hue, saturation, and lightness of your video clips. The Master controls the lightness, saturation, and hues of the entire image. Altering the specific color options allows you to alter only an individual color family.
-
Hue Shift – Lets you shift colors by rotating them around the color wheel. You can specify the exact number of degrees you want to rotate. The colors are arranged around the wheel in the same order they are listed in the effect (Red, Yellow, Green, etc.). The distance between the two color families is 60 degrees. The entire image will only be affected if you use the Master control. Otherwise, changes will only impact the selected color family.
-
Saturation – Determines the overall intensity of colors in an image. The entire image will only be affected if you use the Master control. Otherwise, changes will only impact the selected color family.
-
Lightness – Makes an image lighter or darker. The entire image will only be affected if you use the Master control. Otherwise, changes will only impact the selected color family. Higher lightness values can make an image appear less saturated, so it’s a good idea to adjust Lightness and Saturation in combination.
Levels Histogram
Shows detailed information about the channel composition of the video clip to which it is applied, including the tonal range. You can use the Levels Histogram to manually change the tonality of a layer.
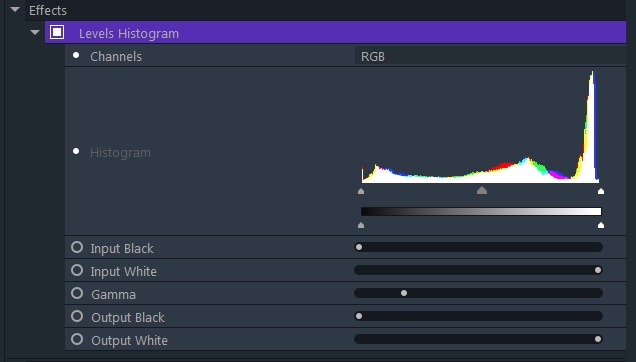
Once you add this effect to a clip it will display the full-color range of your image. The pure black tones are located on the far left of the graph and pure whites are on the far right. The height of the graph at any point indicates the frequency of a tone in the image. Changing a color channel in the Channels menu will enable you to see the tonal range of the selected channel.
Visit the Introducing Scopes page to learn more.
White Balance
If your footage was captured with poor white balance, this can be corrected using the White Balance effect. Use the color pipette to select a section of the image that is white or neutral grey and the white balance will be corrected.

-
Color – This option allows you to define the white color by using a pipette to select the pure white color from a video clip. You can also use this option to change the white balance to another color.
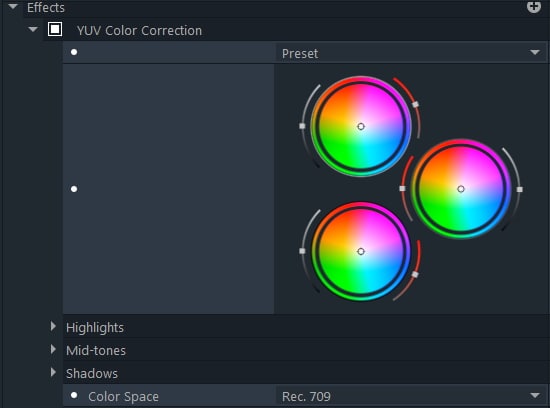
YUV Color Correction
YUV Color Correction Wheels utilize the YUV color space instead of the RGB color space. YUV color space takes human color perception into account.
Applying this effect converts your footage to the YUV color space for adjustment. After you’ve made your changes you can convert the footage back to the RGB color space. The YUV tool separates the brightness of the image from the color data – the U channel contains the brightness data, while the Y and V channels store the color data displayed on the horizontal and vertical axes that run through the center of the wheel.
Highlights
-
Brightness: Changes the Y (brightness) value of the highlights without and it affecting the brightness of the channels that store the chrominance This slider is the same as the slider located on the left of the top color wheel.
-
UV Shift Amount: Lets you determine the strength of the color adjustment you’re applying. The slider shows the exact distance of the control point from the center of the top control wheel.
-
UV Shift Direction: Displays the hue towards which all colors are adjusted. This radial dial is equivalent to the top color wheel and it represents the angle at which the control point sits within the wheel.
-
Hue Shift: Alters the colors in the highlights of the image by rotating them around the color wheel. The relation between the outer and the main wheel reflects the degree to which this option was adjusted.
-
Saturation: Allows you to choose the intensity of the selected hue. This slider lets you control the same values as the Saturation slider located on the right side of the top color wheel.
Mid-tones
-
Brightness: Changes the Y (brightness) value of the mid-tones without affecting the brightness of the channels that store the chrominance This slider is the same as the slider located on the left of the middle color wheel.
-
UV Shift Amount: Lets you determine the strength of the color adjustment you’re applying. The slider shows the exact distance of the control point from the center of the middle control wheel.
-
UV Shift Direction: Displays the hue towards which all colors are adjusted. This radial dial is equivalent to the middle color wheel and it represents the angle at which the control point sits within the wheel.
-
Hue Shift: Alters the colors in the mid-tones of the image by rotating them around the color wheel. The relation between the outer and the main wheel reflects the degree to which this option was adjusted.
-
Saturation: Allows you to choose the intensity of the selected hue. This slider lets you control the same values as the Saturation slider located on the right side of the middle color wheel.
Shadows
-
Brightness: Changes the Y (brightness) value of the shadows without affecting the brightness of the channels that store the chrominance This slider is the same as the slider located on the left of the bottom color wheel.
-
UV Shift Amount: Lets you determine the strength of the color adjustment you’re applying. The slider shows the exact distance of the control point from the center of the bottom control wheel.
-
UV Shift Direction: Displays the hue towards which all colors are adjusted. This radial dial is equivalent to the bottom color wheel and it represents the angle at which the control point sits within the wheel.
-
Hue Shift: Alters the colors in the shadows of the image by rotating them around the color wheel. The relation between the outer and the main wheel reflects the degree to which this option was adjusted.
-
Saturation: Allows you to choose the intensity of the selected hue. This slider lets you control the same values as the Saturation slider located on the right side of the bottom color wheel.

