-
-
-
-
- Still have questions? Submit a ticket to our support team. Contact Us Or Call Us
-
-
-


The Viewer Panel includes the video preview - the player where you can watch the video you're working on. Whenever you make a change in the timeline you'll be able to see the results of that change here.
The tools that are available in this panel depend on the timeline settings you've selected.
The Playback Controls are located below the preview window. There are several playback settings for you to choose from.
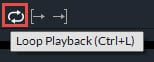
This option will make your video restart whenever it finishes playing when the playhead reaches the end of the timeline or the out point that you have set.
The Loop Playback option can be combined with the Set in Point and Set Out Point features to select the a specific section of your video to loop.

By setting In and Out points you can define the section of your video you want to play. You can also use this feature to export only a specific section of a project.

The playhead on the timeline lets you manually jump to any frame in your video. In addition to moving the playhead around in your timeline you can also adjust the playhead's position from the Viewer panel.


Precision is important during the video editing process and it is useful to be able to scroll through your video frame-by-frame. The Previous frame icon moves the playhead one frame back and the Next frame icon moves the playhead one frame forwards.

After you click the Play icon the video will start playing from the position of the playhead.
Many things (i.e. file format) can affect playback speed and real-time playback isn't always possible at first, but playback quality and resolution options can be used to solve these issues and allow for a real-time preview.
You can control playback via the J, K, and L keyboard shortcuts.
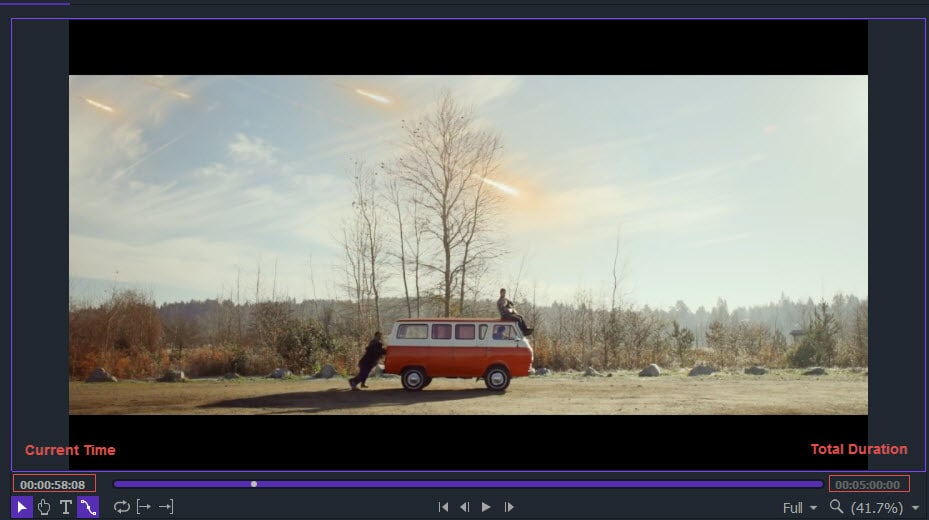
Time displays can be found on both sides of the Viewer panel. The time display located on the left side of the Viewer shows where the playhead is in the video / the timecode (or frame number) of the frame you are viewing. The time display on the right side of the Viewer shows the total duration of the timeline.
Right-clicking on either of the time displays will let you choose whether you want the displays to show a frame count or a timecode (as hours:minutes:seconds:frames).
The total duration on the project timeline is displayed in the Duration Bar. The work area is highlighted in a light grey color, and if you wish to change the range of your work area you can easily do so using in and out points.
Dragging the white vertical bar on the duration bar left or right will enable you to change the playhead's position on the timeline.
Directly below the Current Time display you'll find the following video editing tools:

The select tool enables the manipulation of effects and layers displayed in the Viewer panel. Activating the Select feature will allow you to change the position of layers.

If your clip is larger than the Viewer, the hand tool can be used to adjust which portion of it is visible. For example, if you are working with HD footage and have zoomed in on a particular part of your image then you can use the hand tool to pan around and see more of the larger image you have zoomed into a portion of..
It is worth noting that you cannot interact with effects or layers if this option is enabled.
An alternative to using the hand tool is to hover your cursor over the viewer, right-click with your mouse, and press down. This will allow you to change the size of the viewer panel by dragging the cursor.

This tool generates text layers in the Viewer panel.
With the Text tool selected, you can create new text directly in the Viewer display in two ways:
Further information is available on the Text Panel page.
You can optimize The Viewer panel for specific projects by choosing which information to display.
Scales
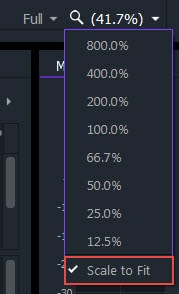
The Scale menu is located in the lower right corner of the Viewer panel. It allows you to change the zoom level of the image.
This option is useful in situations where a video is larger than what is displayed in the Viewer. The Scale to Fit option in the Scales menu automatically scales the image so you can see the entire frame. Selecting the 100% option from the Scales menu will show you how the footage will look once it is exported. The scroll wheel on your mouse can also be used to change the zoom level.
FilmoraPro lets you choose playback setting that will maximize your efficiency.
Changing the resolution and quality settings will not affect your exported video. Reducing the playback resolution quality helps to makes the editing process faster and smoother.
Playback Resolution
The resolution of the video playback in the Viewer panel can significantly impact FilmoraPro’s performance, especially if you are working with large files (i.e. 4K videos). It can also alter the accuracy of the images are displayed.
Playback Quality and Pause Quality
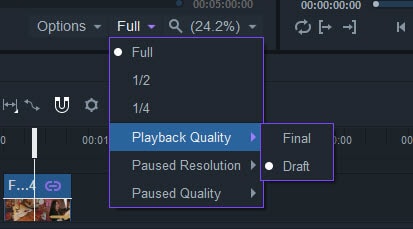
There are two options available for playback and pause quality:
Paused Resolution
Paused Resolution affects the image displayed when the playhead is stationary.
Color Bit Depth: This feature only impacts the way the colors are displayed in the Viewer. It has no impact on how colors will look in your exported video.
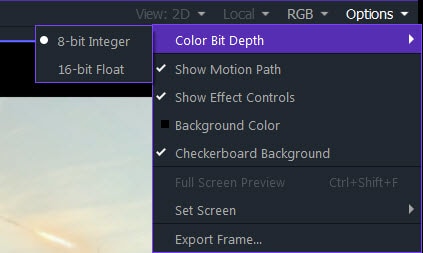
Show Motion Path: Animated layers display a line representing the movement over time. This can be turned on and off.
Show Effect Controls: As you apply effects to your clips, they will be represented in the Viewer as a circle, you can drag the circle to adjust the effects. This can be turned on and off.
Background Color: You can change the background color of the Viewer. This may be helpful during the compositing process as it can make it easier to spot unwanted gaps or spaces. The color does not affect the exported video.
Checkerboard Background: Transparent parts of a frame are hard to spot, but filling them with a checkerboard pattern can help them stand out. Checkerboard backgrounds are only visible in the Viewer panel, not your exported videos.
Full-Screen Preview: Select a screen in the Set Screen submenu and watch your video preview in full screen mode.
Set Screen: The Set Screen submenu allows you to select the display on which the video will be played in full-screen mode.
Export Frame: This feature lets you capture a high-quality still frame from a video clip as a PNG image.