-
-
-
-
- Still have questions? Submit a ticket to our support team. Contact Us Or Call Us
-
-
-


In FilmoraPro video editing tools are displayed in separate panels. Each panel has its own tab within a container. Scroll down to learn more about the panels featured in FilmoraPro or follow this link to get more information about different ways of arranging your workspace.
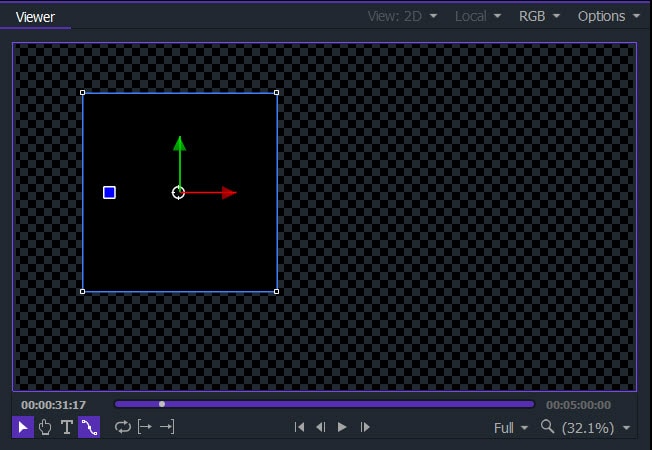
The Viewer panel, also called the preview window, is a common element of all video editing software that allows you to see the video you’re making. FilmoraPro's Viewer panel can be used to preview how the different pieces of media you’ve added will look in your final video so you can determine what is working and what needs changed.
The Viewer panel is an integral part of FilmoraPro's interface and cannot be removed or hidden when customizing your workspace.
For more information about the Viewer/preview window, click here: Introducing the Viewer
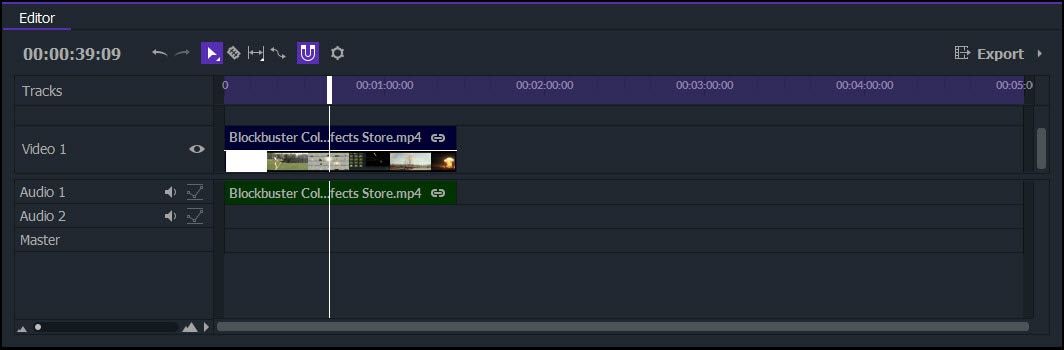
As its name suggests, the Editor panel is the area where all manipulation of video clips takes place. For example, cutting and trimming the footage, or adjusting the duration of applied transitions, are among the editing tasks performed here. Removing the Editor panel from the software's interface is not possible. More information is available here: Introducing the Editor.
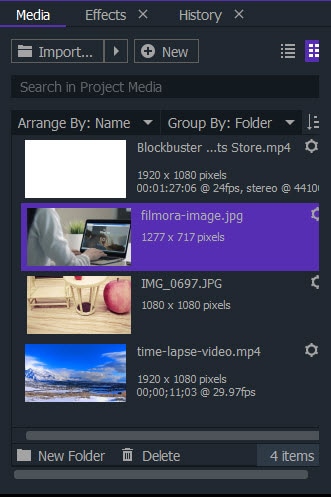
All files you import into a FilmoraPro project are displayed in the Media panel where they can be renamed and arranged in a manner that maximizes your efficiency. Learn more on the Media Panel page here: Media Panel.
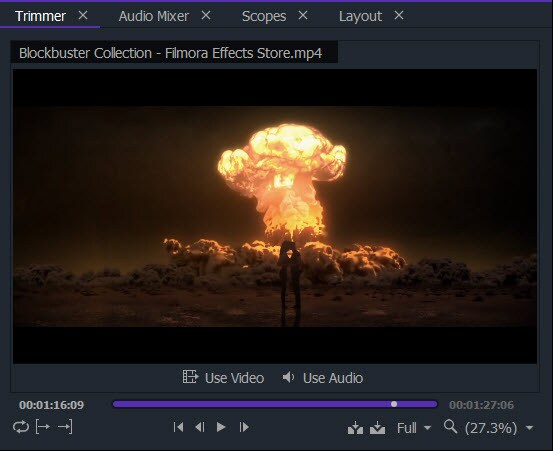
Sometimes you only want to use part of a clip in your video project. FilmoraPro's Trimmer panel allows you to select a video clip from the Media panel and choose the specific portion of it that will be added to the timeline. Learn more here: Trimming.
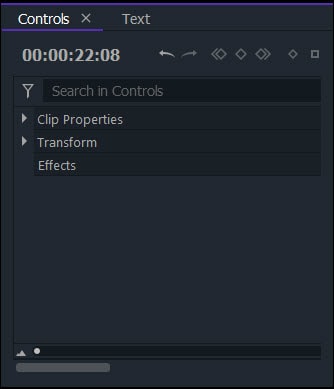
All properties and values of the selected layer are displayed in the Controls panel. Users can edit the properties or values of each layer directly from this panel. Learn more here: Controls Panel.
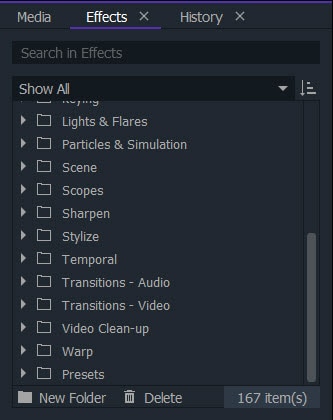
Use the Effects Panel to access FilmoraPro’s library of visual effects. Effects can be applied directly to clips on the timeline, or added to their own layers. You can even create your own new presets by customizing the built-in effects.
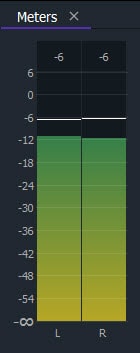
Balancing all of the audio files used in a project is made much easier by the Audio Meters panel. This panel provides a dynamic readout of audio levels and allows users to spot unwanted peaks in the soundtrack. This panel is useful for editing dialogue because it shows you if your dialogue recording is too quiet or too loud. Additional information about the Audio Meters panel is available here: Working with Audio.
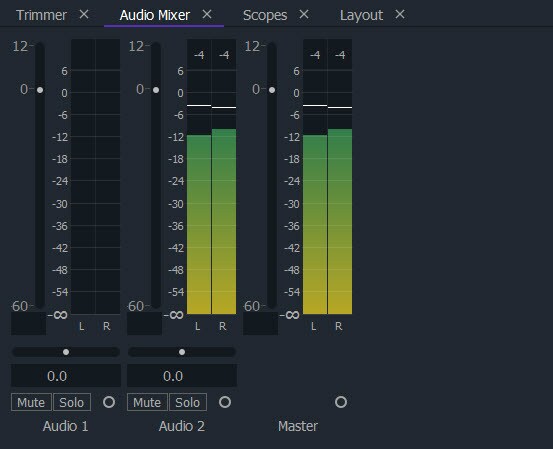
All audio files that are placed on the timeline's audio tracks can be fine-tuned in FilmoraPro's Audio Mixer panel. Each audio track has its own meter to indicate its levels. You can adjust levels and stereo pan for all audio tracks, mute them, or solo a track (mute all except one track). Head over to the Working with Audio page to learn more about the Audio Mixer panel
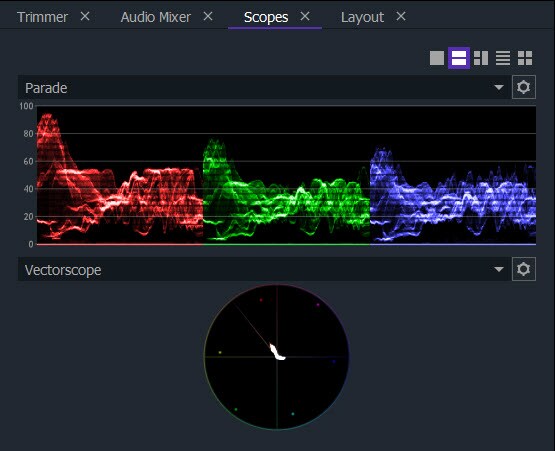
The color correction process can define the visual identity of your project. In FilmoraPro's Scopes panel you can monitor color ranges and see how the colors in your video will look when it is played on a TV or another screen. The panel contains a Vectorscope, a Histogram, an RGB Parade, and a Waveform monitor that grant you total control over color values during the color correction process. Additional information about Scopes is available here: Introducing Scopes.
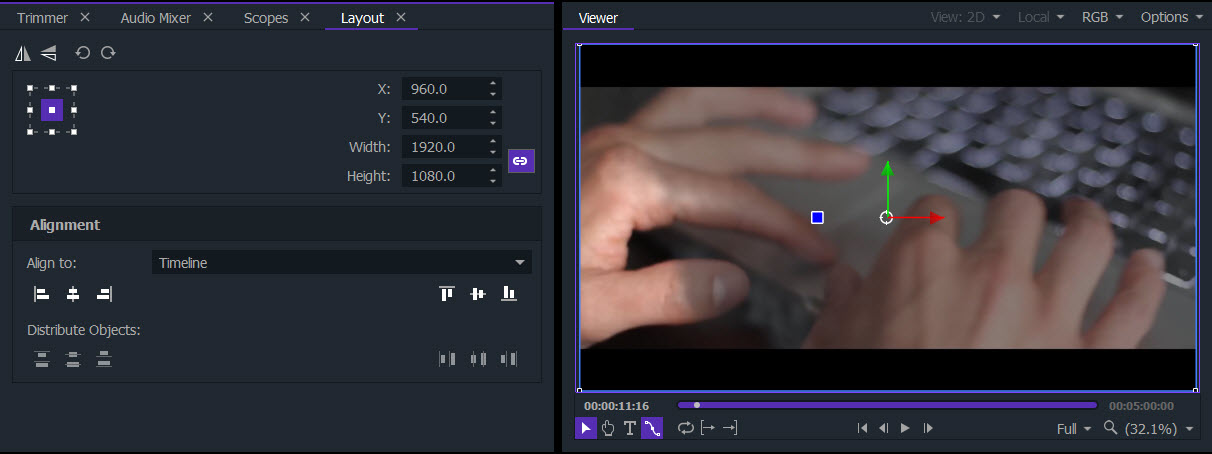
The Layout panel offers tools that let you readjust the position of your selection. Learn more here: Layout Panel.
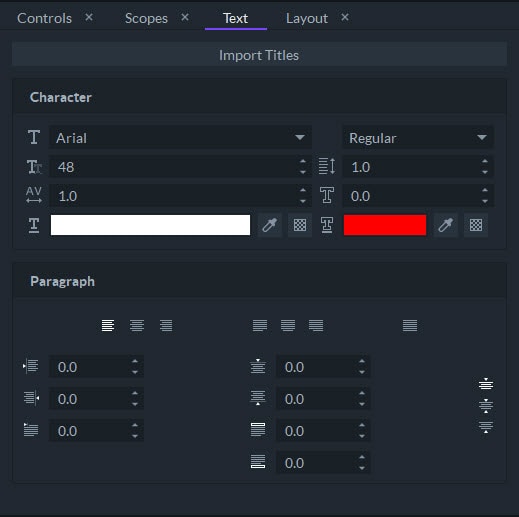
Any text you add to a project in FilmoraPro can be edited from the Text panel. You cannot remove this panel from application window because it is an integral part of the interface. For more information, visit the Text Panel page.