-
-
-
-
- Still have questions? Submit a ticket to our support team. Contact Us Or Call Us
-
-
-


Here's how to add text and titles in FilmoraPro:
Text characteristics like font and color are changed in the Text menu, but Text must be created inside the Viewer using the Text tool.
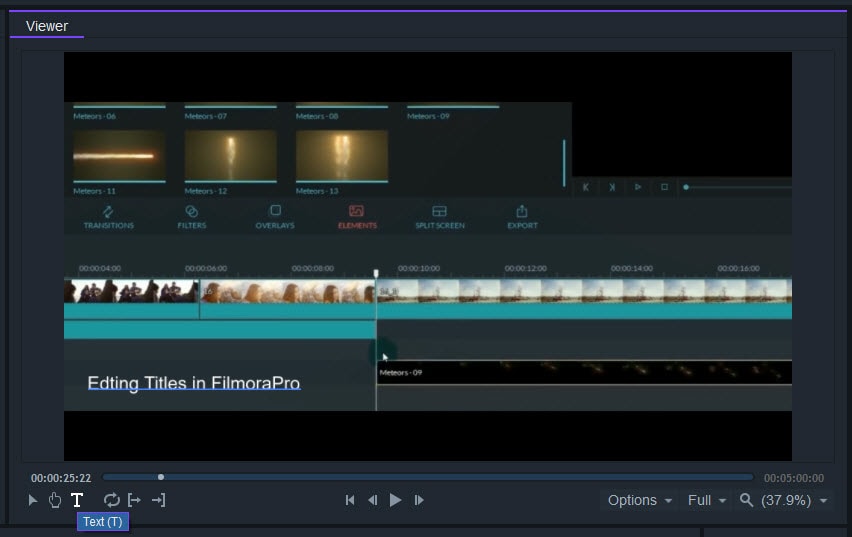
The icon for the text tool looks like a 'T' and is located underneath the Viewer. Click on it to transform your cursor into the text tool, and then click on the area of the viewer where you want to start typing.
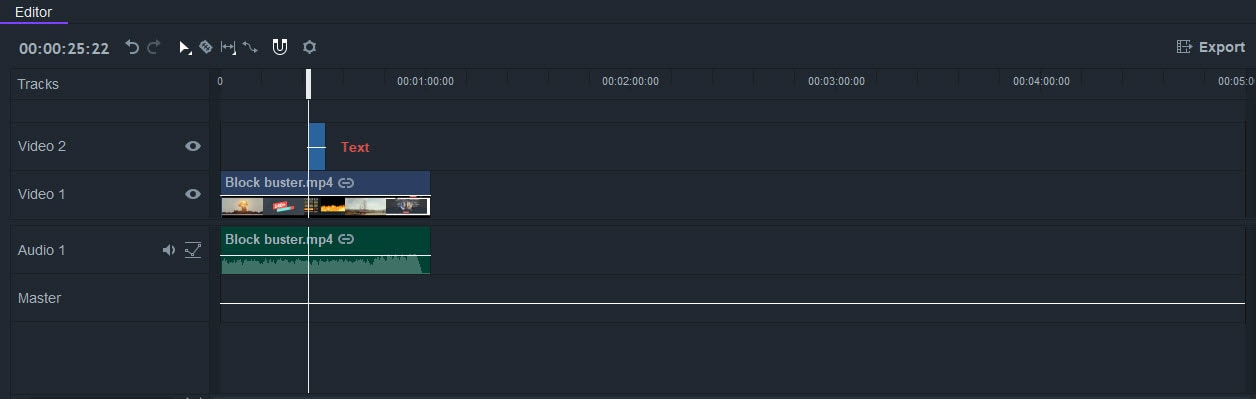
Your new text layer will show up in a new track in your timeline.
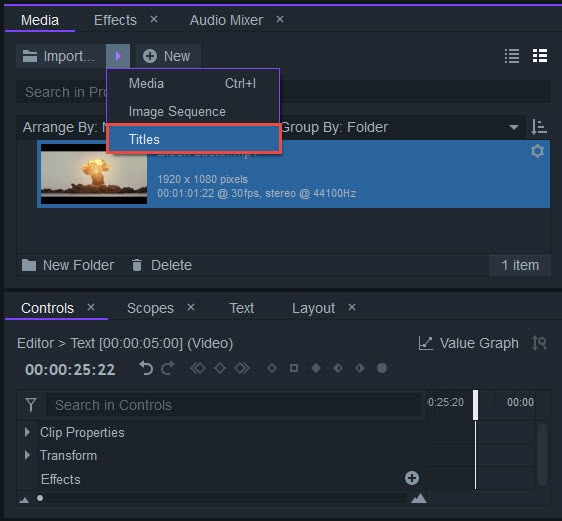
FilmoraPro has a variety of pre-built titles you can import via the Media panel.
Click on Import and then choose Titles from the submenu to see a list of the text styles. Click on the one you want and click 'Import' to add it to the Media panel. From there you can drag it into the timeline.
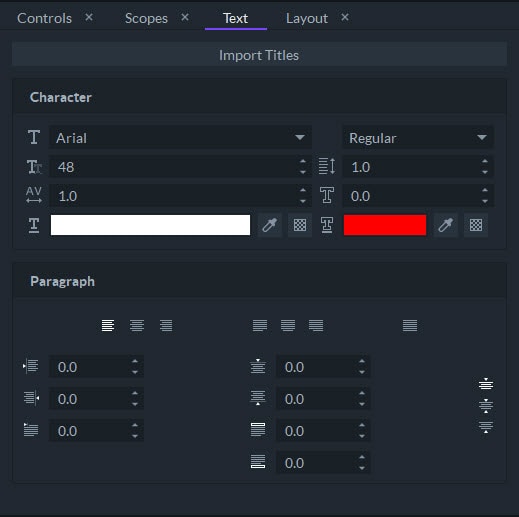
You must have your text highlighted in the Viewer in order to change its characteristics.
There are two ways to animate text in FilmoraPro:
Find the Animation folder in the Effects panel and drag the animation you want to apply onto your Text layer in the timeline. You can adjust the properties of the animation from the Controls panel.
Select your text in the timeline and open the Controls panel. From here you can animate your text using keyframes.
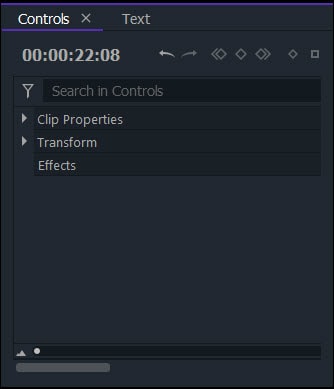
The list of properties under Controls > Transform all have grey circles next to them. To turn on keyframing for a property, click on its circle to turn it white and set your first keyframe.
Throughout the duration of your text layer you can continue putting new values next to properties that have keyframing turned on. Every time you change the value next to a property with a white circle, a new keyframe will be set. Your text will move, grow, rotate, or fade between keyframes with different values.