Every blur tool has got intuitive image controls necessary for the use of blur effects.
Note: There is inclusion of a Clamp to Edge property, which is a smooth transition by some blurs, necessary for averaging the pixel’s color values found next to the hard edges.
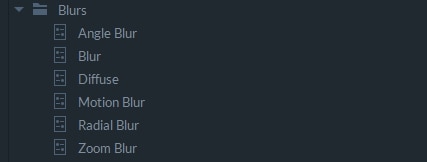
Angle Blur
As its name suggests, this effect blurs your image in a defined direction, being necessary for the demonstration of some quick moves.

-
Angle: This effects is used to rotate the angle wheel to determine which path the blur follows
-
Length: This effect lets you have the strength of the blur in control.
-
Clamp to Edge: This feature is responsible for keeping the blur off from outside the edges as long as it is enabled. However, when disabled, the blur may go beyond outside of the layer edges.

Blur
This effect is used to apply a standard and fast blur.

-
Radius: Controls the intensity of the blur effect. This is useful for defining the area that each pixel needs.
-
Iterations:This is the frequency of the blur. The more the iterations, the smoother and bigger the blur.
-
Dimension:Applying the blur in different directions which is vertically, horizontally, or both.
-
Clamp to Edge:Useful to deter the blur from going beyond the wanted regions of the layer which it being applied to. Remember to enable this feature for it to function.
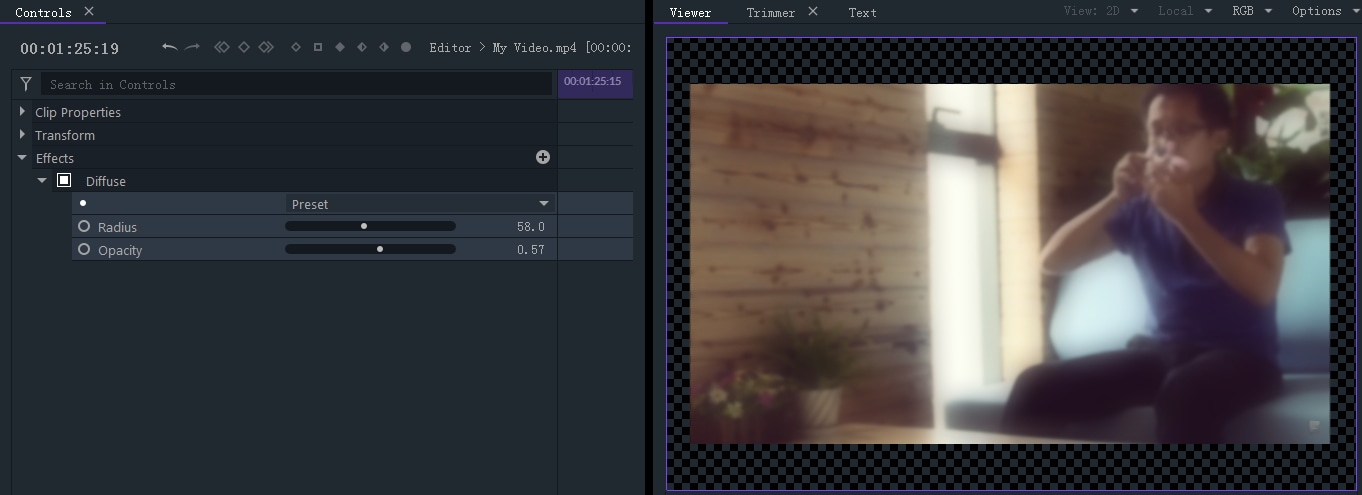
Diffuse
Generating a soft focus appearance by letting you duplicate the layer, changing the desired blending mode to the screen before merging the duplicate to the original layer.
-
Radius: It controls the blur’s intensity and as well determines the area that the blur needs. A calculation is done of each pixel.
-
Opacity: The degree at which you are able to see through the blurred footage.
Motion Blur
Motion Blur allows you to create a sense of speed by adding a blur that moves in the direction of choice. The distance setting also helps in controlling the amount of blur, enabling you to add speed effects as desired.
Mode
You can select on which mode to use whether default or custom settings. The earlier one automatically directs you to predefined settings while the later one incorporates other available settings like Shutter Angle, Shutter Phase and Samples.
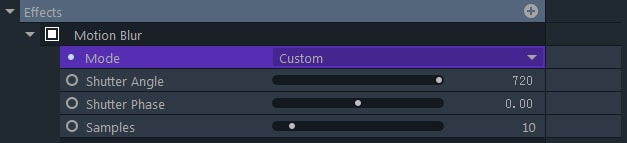
Custom
-
Shutter Angle: The larger the shutter angle, the more motion blur you’ll get. You can comfortably know the amount of open time of a real camera shutter via the shutter angle. It is therefore the amount of time a film will see the motion of a certain frame.
-
Shutter Phase: A way of measuring the speed of the moving object. It is useful in determining the blur that is either or behind an object.
-
Samples: Motion blur is constructed by sampling the position of the layer over multiple frames. The more the samples, the more accurate the quality of the motion blurs. There is no need to work with fewer samples as they may not give the correct image even though they are faster to accomplish.
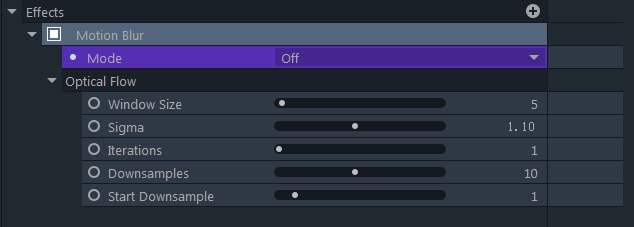
Optical Flow
This technique is the pattern of the motion of an image object between different frames as caused by an object’s movement. The speed of pixel movement largely depends on the amount of blur that is applied to it. Let’s see how these advanced settings are applied.
This technique is the pattern of the motion of an image object between different frames as caused by an object’s movement. The speed of pixel movement largely depends on the amount of blur that is applied to it. Let’s see how these advanced settings are applied.
-
Window Size: Specifies the quantity of the surrounding space of the current pixel that will be searched. A larger window will lead to the likelihood of finding the patch.
-
Sigma: Part of an algorithm that is useful in tracking abilities. Changing the sigma may interfere with the results either positively or negatively. Calculating the blur incorrectly may lead to trial and error option for better results.
-
Iterations: Performing the tracking algorithms may go on and on for an unknown number of times. The more the iterations, the more accurate the end result even though it may take longer to conclude.
-
Downsamples: Digital audio signal need to be made smaller to enable optical flow to track movement effectively. This act lowers its sampling rate and size hence reducing the bit rate. It is also possible to create different levels of downsampling. Besides, this will make it easy for calculation of the algorithm for every downsample level.
-
Start Downsample: It is the norm for the tracking algorithm to begin with the first downsample by skipping the full resolution and making the end result leads to less interference by image noise. The more the Start Downsample is increased, the higher chances for it to increase the results speed. This will nonetheless reduce the product of the tracking results with lower accuracy.
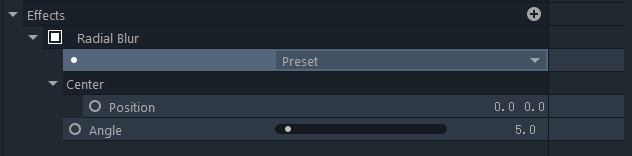
Radial Blur
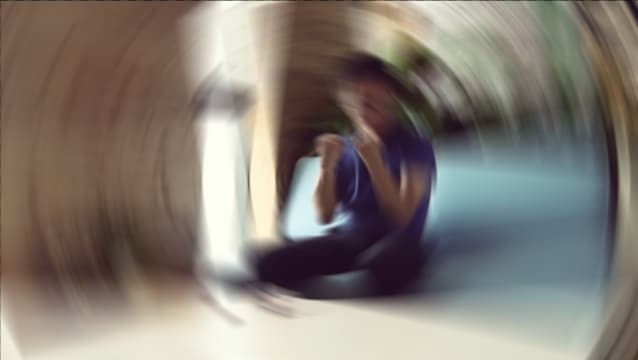
This filter is leveled to the blur of a rotating camera that produces a soft and appealing blur. There is the amount option that puts the blur amount under control. You can also drag the center blur point to another new location by using the control point in the Viewer.
-
Center Position: This can be calculated from any part that appeals to you. Better still, you can opt to type a value manually or drag the Position property.
-
Angle: Sets the angle of the rotation of the blur. This makes it easy to determine and control the amount of blur applied. The amount of blur is defined in degrees as opposed to the usual pixels in the event that you are at a distance.
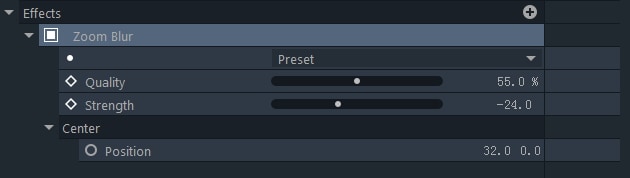
Zoom Blur
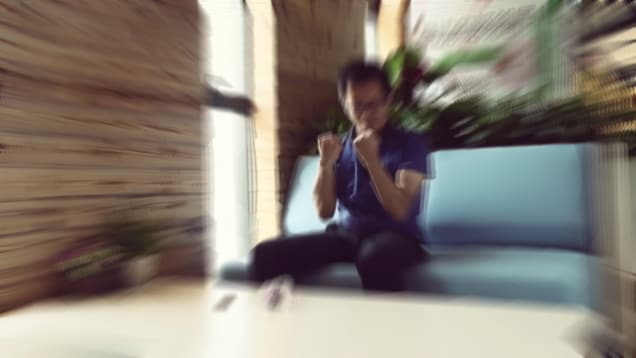
The shot takes the form of blurring from the center outwards. It gives the look as though the scene is bursting out, an effect that adds movement and action to a still photo.
-
Quality: Controls the smoothness of blurring. Increase in quality automatically smoothing the blur result. However, higher quality may need more time to calculate.
-
Strength: Controls how much the distance (in pixels) are applied to the zoom bur effects.
-
Center Position: The center point from which the blur is calculated can be at any location of choice. You can enter the values manually or use the position property. The center point can be in any new location.

