-
-
-
-
- Still have questions? Submit a ticket to our support team. Contact Us Or Call Us
-
-
-


The Trimmer lets you preview a file from the Media Panel and trim down to just the section you want to include in your project before placing it in the timeline.
You can also access the Trimmer Panel after you place a media asset on the timeline by right-clicking a clip and choose Open in Trimmer. The new In and Out points for a clip will become visible on the timeline immediately after you designate them in the trimmer panel.
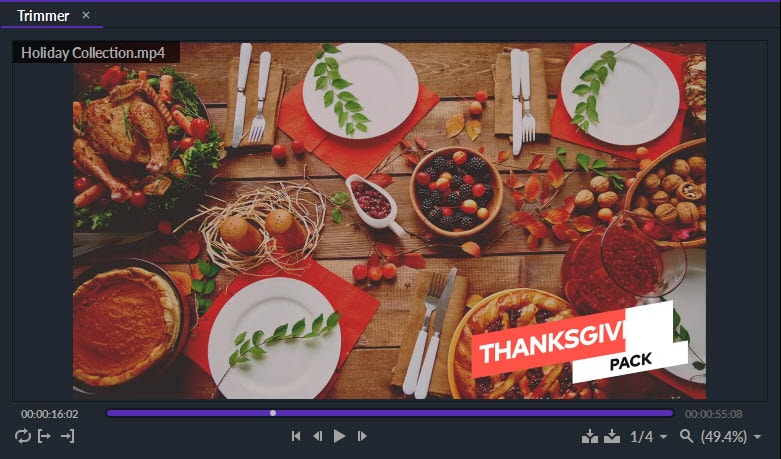
Like the Viewer, the Trimmer features playback tools. The Playback Controls can be found near the bottom of the Trimmer panel.
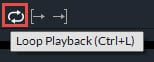
If you choose to activate this option a clip will start playing from the beginning (or the In Point) each time the playhead reaches the end (or the Out Point).
The Set In and Set Out Point buttons let you define the section you want to loop by placing the playhead at the exact frame in the video where you want the loop to start or end and clicking either the Out or In button. Set In and Set Out Points

The In and Out points are used for different purposes in different panels. In the Viewer Panel, they are used to define the work area on the timeline.
In the Trimmer Panel, the In and Out points are for defining precisely which part of the video clip you want to place on the timeline. You can then drag the media asset from the Trimmer Panel to a track on the timeline. While you're dragging the file, a green outline will appear to show you where the clip will be placed
Files that are added to the timeline directly from the Media Panel will not contain any of the changes you made in the Trimmer Panel. Media files must be added to the timeline from the Trimmer if you want the changes you made in this panel to appear in the clip you place on the timeline.
If your source media contains both audio and video, by default both will be used when you add the media to the timeline. To add only the audio or video elements, use the following tools:
Use Video: Click on the Use Video button and drag the cursor to a video track on the timeline to add only the video portion of the clip.
Use Audio: Click on the Use Audio button and drag the cursor to an audio track on the timeline to add only the audio portion of the clip.

The position of the playhead on the timeline determines which frame will be displayed in the software's Viewer and Trimmer panels. Consequently, the playhead can be controlled from both of these panels.

The first frame option allows you to place the playhead at the beginning of the timeline instantly. It is particularly useful for longer projects. This function can also be performed using the Home key.

Precision is of utmost importance when video and audio files are trimmed. The Previous and Next Frame buttons enable you to move through footage frame by frame so you can find the perfect position to set the In and Out points.

After you click on the Play button your video will start playing forward in real time from the position on the Timmer's progress bar at which the playhead is located. Certain types of timelines don't permit the real-time playback and, in such situations, the RAM preview or Pre-Render Features should be used if you want to preview the footage in real time.
FilmoraPro also allows you to use J, K, and L keyboard shortcuts to control the playback of the media files on the timeline or in the Trimmer Panel.

Insert Button – This tool will place a video clip at the playhead's position on the timeline. Any clips that are already on the timeline will be moved to the right in order to make space for the new clip. If the playhead is positioned over a clip, clicking on the Insert button will slice that clip at the playhead's position and the new clip will be added in the middle.
Overlay Button – This tool will also place a video clip at the playhead's position on the timeline, but instead of moving all existing media in the space where the new clip is added will be replaced by the new clip.
moving all existing media in the space where the new clip is added will be replaced by the new clip.