-
-
-
-
- Still have questions? Submit a ticket to our support team. Contact Us Or Call Us
-
-
-


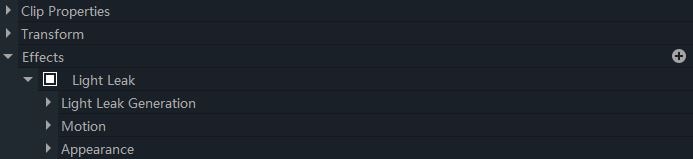
Lights & Flares are video effects that can be found right under the Keying effects in the Effects panel. You can also hit on the plus button next to Effects in your Controls panel and select Lights & Flares.
Anamorphic Lens Flare produces you to produce broad flares depending upon the source layer. Let’s understand the uses of the properties of this layer.
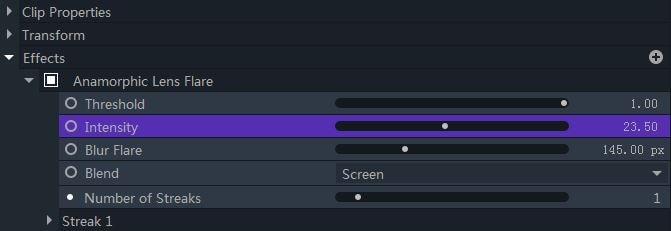
Threshold: Make use of this to define the amount flaring produced by source layer.
Intensity: This property will help you to adjust the resulting effect to achieve a finer output.
Blur Flare: Use this property to create more realistic and less distinct flares.
Blend: You can opt for several different modes like Screen, Lighten and Multiply etc. depending upon your need.
Number of Streaks: Opt for this when you wish to add more number of flaring streaks. Moreover, you can customize each streak individually.
Below is a display of the effect.
There are ample of similar properties between Auto Light Flares and Light Flares effect. The prominent difference between them are, Auto Light Flare effect recognizes the brighter regions in a layer, apply light flare, adjust intensity and scale automatically all on its own depending upon the source.
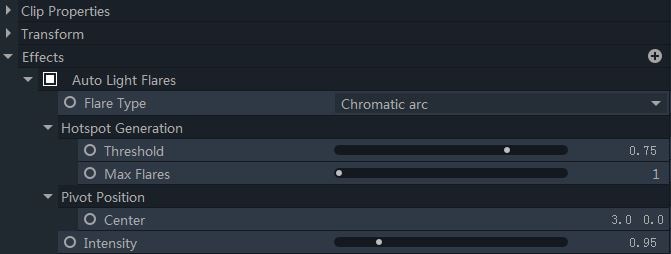
Hotspot property group: With the Hotspot property group, you have the complete control over the adjusting color, saturation, gamma and hue direction of the light flares.
Rays property group: With the Rays property group, you can easily focus on the quality of light ray by controlling the length and width of rays.
Below is a display of the effect.
In order to incorporate a glowing aura to the brighter regions of a layer, Glow effect will certainly be a wise choice.
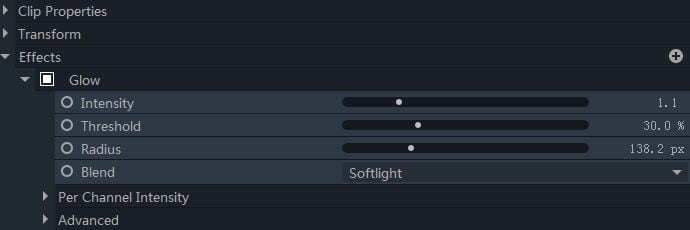
Per Channel Intensity: The property group Per Channel Intensity helps you to effectively shift the Glow color by control the Red, Green and Blue values.

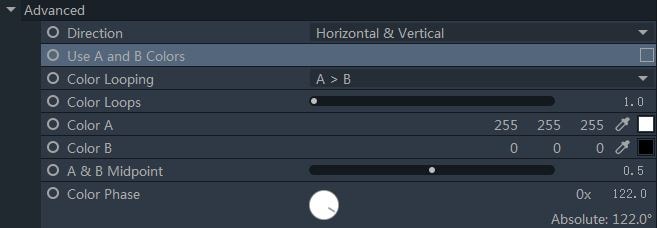
Advanced property group: It enables you to customize further the Glow’s appearance, including direction, A/B color choice or creating a specific color gradient as well.
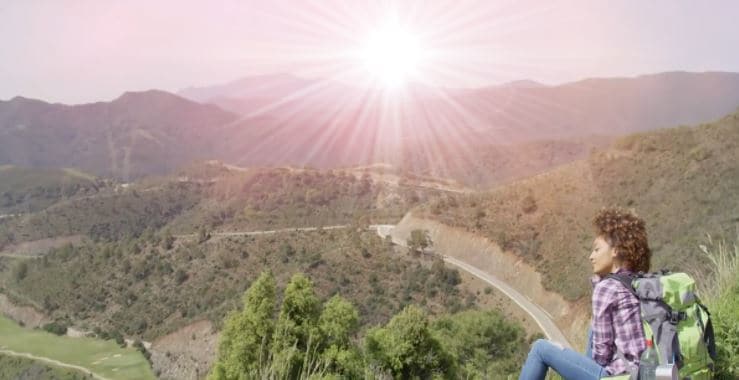
Below is a display of the effect.

This effect is an ideal way of generating a diverse range of realistic lens flares & lights. Moreover, you can heavily customize each flare type to produce an endless variety of alternatives.
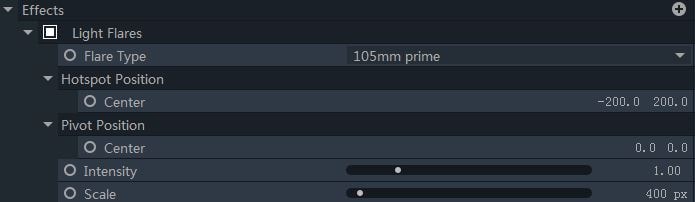
Light Flares are developed with the help of hotspot, rays and distinctive tertiary elements, each of which can be tweaked individually.
When it comes to positioning a light flare, you can easily adjust it using the Hotspot and Pivot property. Wherein, the main flare can be positioned using the Hotspot and the Pivot automatically animates the rays or other additional elements.

Below is a display of the effect.
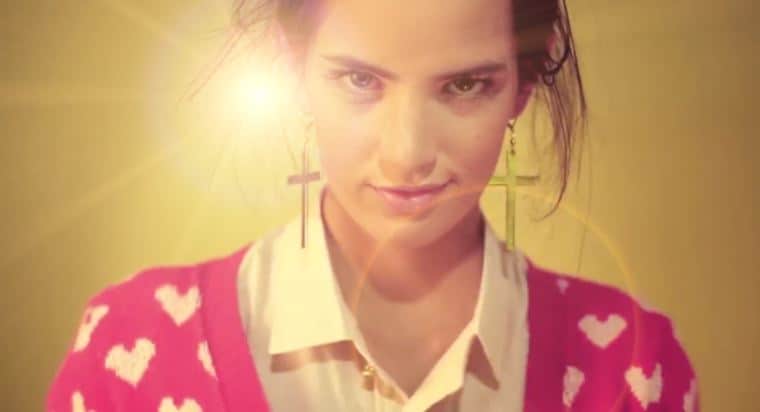
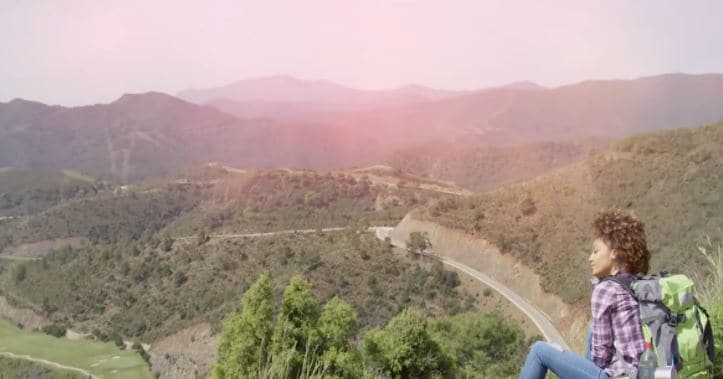
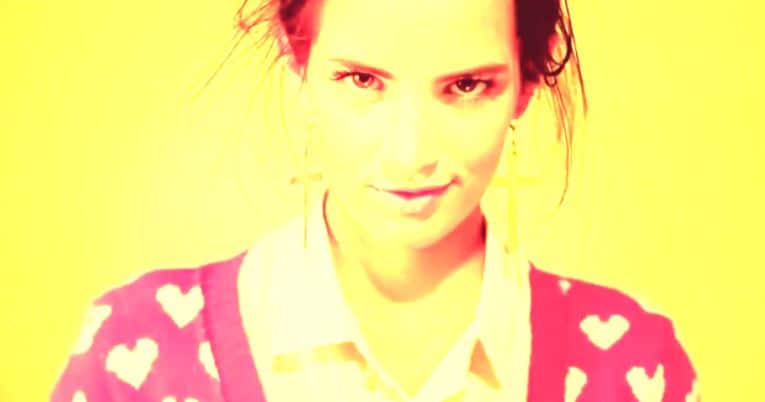
With the help of this effect, you can produce an emerging color gradient pattern that stimulates the appearance of unwanted light lurking into the camera while shooting.
Below is a display of the effect.
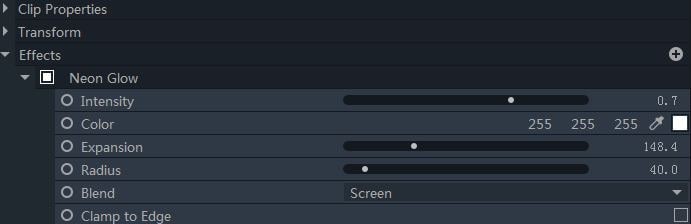
With Neon Glow, you can easily create an effect like lasers or light-sabers. This works by creating an illuminating edge surrounding the layer’s alpha channel.