-
-
-
-
- Still have questions? Submit a ticket to our support team. Contact Us Or Call Us
-
-
-


‘Generate’ effects are used to create new visual elements to your videos. You apply these affects to layers as you would with any other effect.
This cool effect generates a cloud texture which moves across the screen. Below we will discuss the different options you have for this effect.

Center: This allows you to reposition the cloud pattern
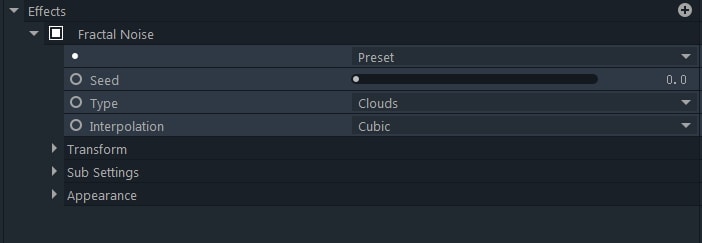
Shape: In order to change the level of detail that you see in the cloud pattern, you need to change the shape ‘frequency’. ‘Iterations’ generates aa pattern of higher quality and the ‘seed’ adjustment generates a new pattern altogether.
Speed X/Y: This allows for the cloud pattern to automatically be animated in the direction of your choice.
Blend: Use this to change the blend mode of the clouds on the ‘host layer’
Cloud Brightness: This adjusts the overall brightness of the cloud effect.
Offset: Use this to change the contrast of the cloud effect.
Cloud Color: Use this to adjust the foreground color of the cloud.
Background Color: This adjusts ‘fill’ color on the background of the cloud.
You can use this tool to add a drop shadow to your layer. From here, you can then completely customize it in terms of its scale, distance and its appearance. You can even choose to just render the shadow without using a layer.

Angle: Use this to change the angle’s shadow in relation to the source.
Distance: Use this to separate the shadow from the source. The direction of the shadow is defined by the ‘Angle’ set above.
Shadow Color: Use this to change your shadow’s color.
Opacity: Use this to change the level of transparency of the shadow.
Scale: Use this to define the size of the drop shadow in relation to the source.
Scale Pivot: Use this to select the point at where the shadow is scaled.
Penumbra: Use this to make the shadow softer by feathering the edges.
Shadow Only: Use this to just render the shadow and not the source.
The End Credits Crawl adds a professional, feature film like scroll at the end of your project. They are automatically animated and formatted for you. However, it does come with the ability to modify it if you want to get creative.

You can completely reformat the design elements including the titles, roles and names. If titles or roles are left out, the credits crawl still formats itself in the correct order so that everything makes sense.
This is used to generate a variety of textures using procedural methods. You can customize each individual fractal method using the properties shown below to create the effect you desire.
This tool creates a grid overlay on your project. The grid lines and spacing are fully customizable as shown below.

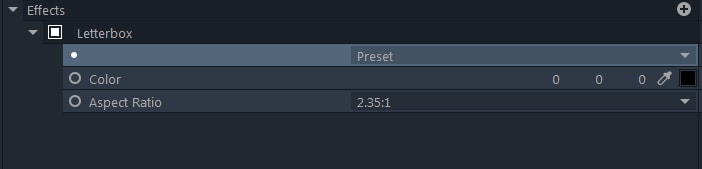
This tool allows you to quickly and easily add letterboxing to your project. There are a number of presets to chose from which all represent standard aspect ratios in film.

This tool allows the quick creation of a picture-in-picture effect. You can use any of the layers in your timeline and the size/positioning of the PiP is fully customizable.
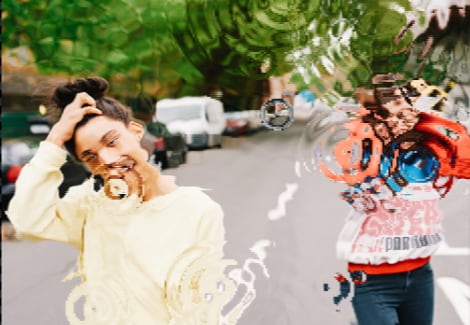
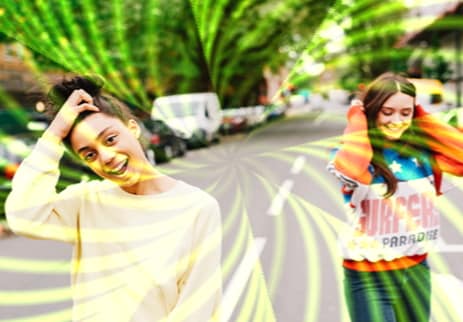
This creates a cool ‘ripple’ effect across your movie and automatically distorts the background.

Seed: Use this to create a new ripple pattern. The patterns are randomized.
Droplets per Second: Use this to control the number of droplets you have on screen at a given time.
Size: Use this to adjust the size of your droplets. The smaller the settings, the more distinct the ripples will appear and vice versa.
Number of Ripples: Use this to specify the number of ripples you want to create per droplet
Viscosity: The viscosity levels changes how apparent the ripples are. Lower numbers/viscosity means more apparent ripples, like you would see in thin liquids such as water. Higher numbers/viscosity means less apparent ripples, like you would see in thicker liquids such as paint.
Displacement: Use this to change the amount the ripples are displaced across the screen
Speed: Use this to change the speed of the ripple.
Lifetime: Use this to determine how long each ripple will last.
Radio waves are geometric shapes that are inserted into the film. They are fully customizable and can be animated and warped into anything you like.

Position: Use this to move the position of the radio waves.
Shape: Use this to define the Geometric shape you want.
Rotation/Curvature/Pinch/Shift: These tools are used to warp and twist the shape to your liking.
Color: Use this to change the color of the shape.
Opacity: Use this to change the opacity of the shape.
Wave Start: Use this to set the time that the waves should start appearing.
Fade In: Use this to make your waves gradually fade in.
Fade Out: Use this to make your waves gradually fade out.
Wave End: Use this to set the time when you want the waves to end.
Start/End Width: Use this to adjust the width of the shape at the beginning and the end of the animation.
Line Blend: Use this to change the internal blend mode of the pattern
Frequency: Use this to determine the number of times you wish to repeat the pattern.
Expansion: Use this to determine the speed at which the pattern expands from the center of the screen.
Spin: Use this to change the speed of the pattern’s rotation
Blend: Use this to change the blend mode of the radio waves effect on the ‘host layer’
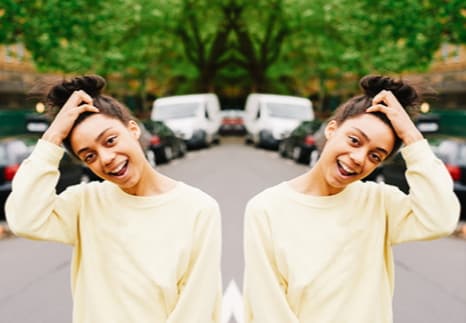
This tool is used to quickly and easily create a reflection of the current layer.
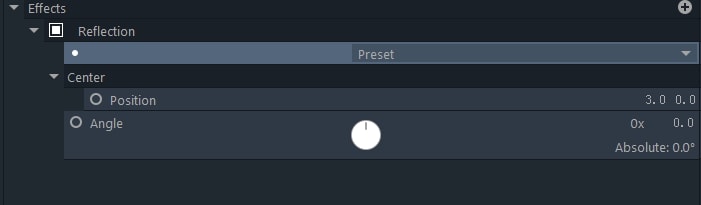
Position: Use this to adjust the point where the reflected image meets the original
Angle: Use this to select which axis you wish to reflect your picture on.
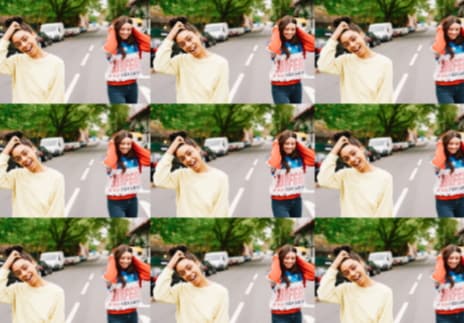
A tile is used to create a tiled image of the layer without the need to create duplicate images. Adjust the size from 100% downwards using the ‘scale’ tab. 100% will show the original image but as you reduce the percentage the area will begin to tile.

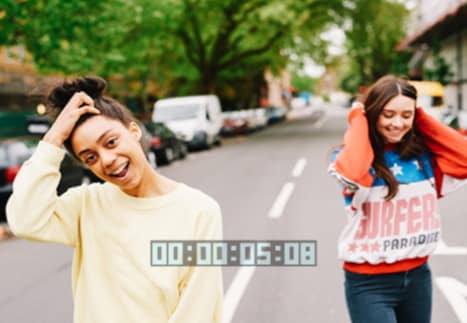
A useful element which creates a counter showing your current position in the video.
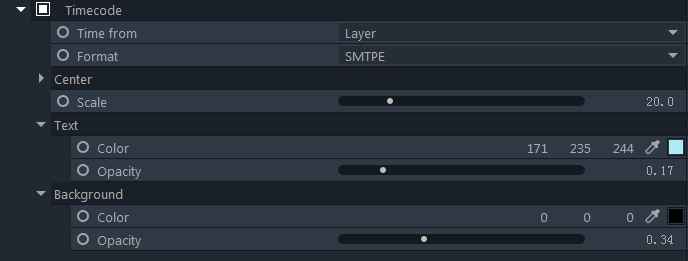
Time From: Use this to select where the timecode generates. You can either chose layer or playhead position.
Format: Use this to choose what format the timecode will be displayed in
Center: Use this to reposition the timecode.
Scale: Use this to adjust the size of the timecode.
Text: Use this to change the timecode’s color as well as the opacity
Background: Use this to either change or remove the background color of the timecode.
A popular element used for placing vertical videos into standard landscape frames. The background, which would usually be black, empty space, is filled in with a highly pixelated/blurred image of the video. This adds depth to the video and keeps the audience piqued but doesn’t distract from the actual content.