-
-
-
-
- Still have questions? Submit a ticket to our support team. Contact Us Or Call Us
-
-
-


To make use of Particles & Simulation effect, you need to:
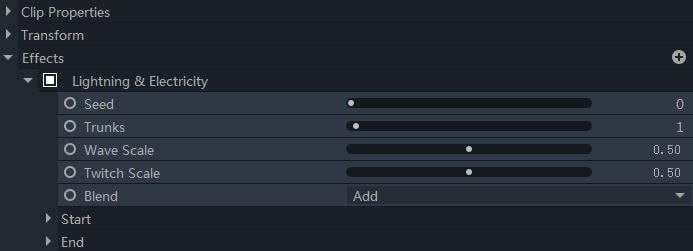
With FilmoraPro Lightning and Electricity generator, you have the power to produce electrical effects of endless variety. Here are the different important elements of Lightning:
Core: The core of the lightning effect is a solid color center, usually white.
Glow: The glow surrounding the edge of the lightning effect is a softer color.
Trunks: The main lines used to produce lightning are Trunks.
Braches: Other adjoining lines produced along the Trunks are Braches that makes the effect more detailed/classified.
Twigs: Lastly, Twigs are generated across branches to add fine details.
Note: You can also make use of relevant property groups in order to tweak the number of Trunks, Branches and Twigs.
You can determine the shape of the lightning with the help of the Wave and Twitch Scale.
Wave Scale produces a higher undulating, curved line. While Twitch Scale amplifies the amount of twists and turns on that line.
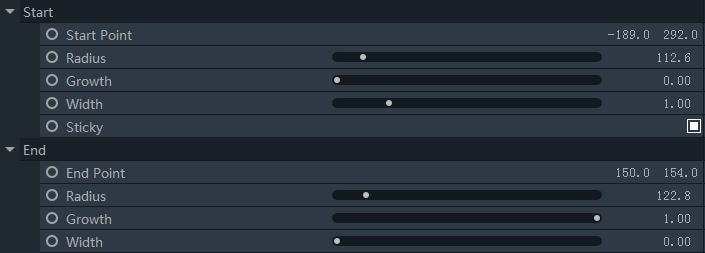
The dimensions and animation of the lightning effect is controlled by the Start and End property groups. Alongside, make use of the Growth property to make the lightning more extended, travelling down to its length providing a more realistic appearance of lightning strike.
Speed – determines the speed of the movement of lightning.
Jitter – determines how often the regeneration of the lightning is carried out to an entirely new position.
Scale – determines how much displacement the lightning covers from its central position.

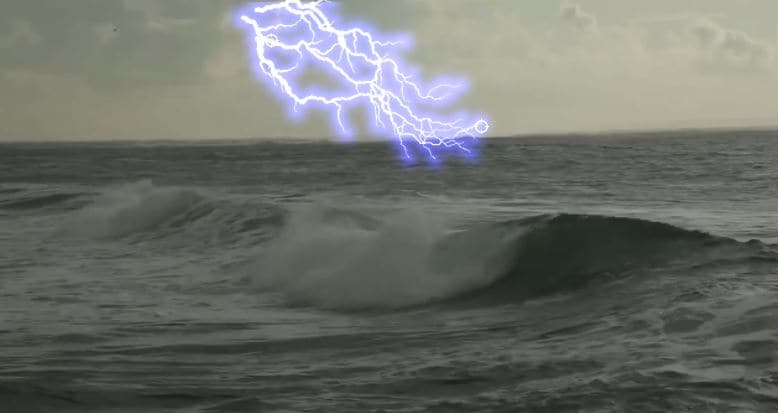
Here is a display of the effect.
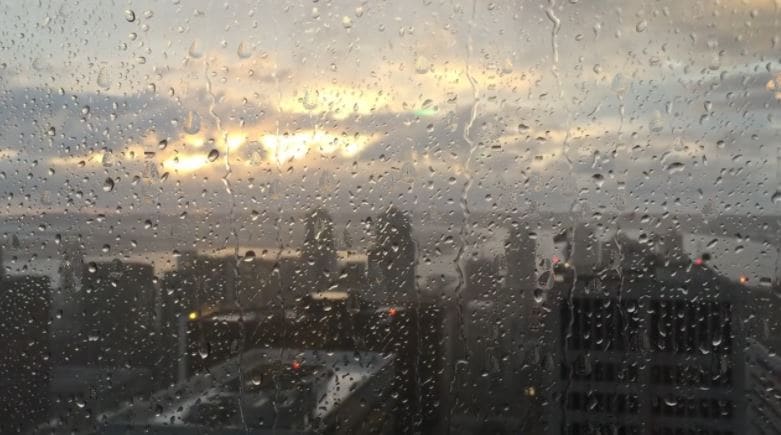
Making use of Rain on Glass feature helps to instantly simulate an appearance of window that is covered with raindrops.
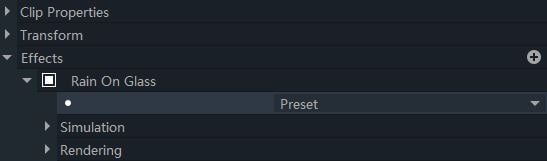
To determine the quantity and size of raindrops, you need to make use of the simulation controls.
Drops Per Second: This helps you to simulate the effect of how hard it’s raining by adjusting the number of new raindrops hitting the frame every second.
Rain Drop Size: Enables you to adjust the size of the rain drops.
Seed: With this you can randomly alter the pattern of the raindrops.

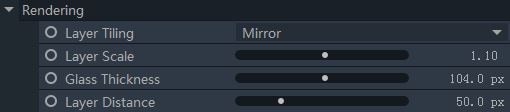
Rendering settings handles the subtle distortion of the original image which simulates the appearance of looking through glass.
Layer Tiling: Use this property to set how the remaining area will be filled when the image is scaled smaller than the frame.
Layer Scale: Use this feature to alter the source image’ scale within the effect.
Glass Thickness: Opt for this feature to alter the Glass distortion which is applied to the image. Thicker the Glass, more will be the glare on the image.
Layer Distance: This modifies the distance of the image outside the glass.
To give a realistic experience, raindrops must contain micro reflections of their surroundings. In order to define what must be enclosed in those micro reflections, the Environment Map property is utilized. The layer, on which the Rain on Glass effect is being applied, is used as the Environment Map by default.
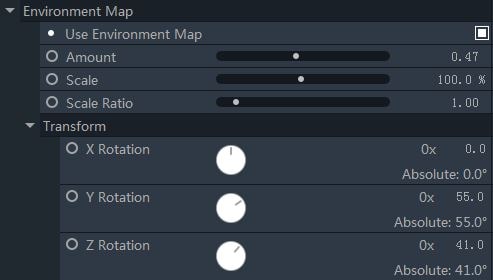
Use Environment Map: Turn on or off Environment Map functions.
Source: Choose the source layer that you wish to utilize as your environment map.
Amount: This defines the intensity of the reflections of the environment map.
Scale: Alter the image size within the reflections, eventually, simulating the distance between the environment and the raindrops.
Scale Ratio: Used to alter the width to height ratio. Generally used to compensate for the distortion that occurred due to Environment mapping.
Transform: Used to rotate the environment map surrounding the X, Y and Z axes.
Here is a display of the effect.