-
-
-
-
- Still have questions? Submit a ticket to our support team. Contact Us Or Call Us
-
-
-


Masking refers to concealing parts of a layer (generally a video clip or image and any effects that have been applied to it).
This technique is used to create a matte, which controls what is revealed and what is hidden.
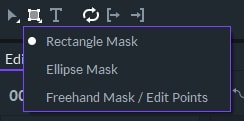
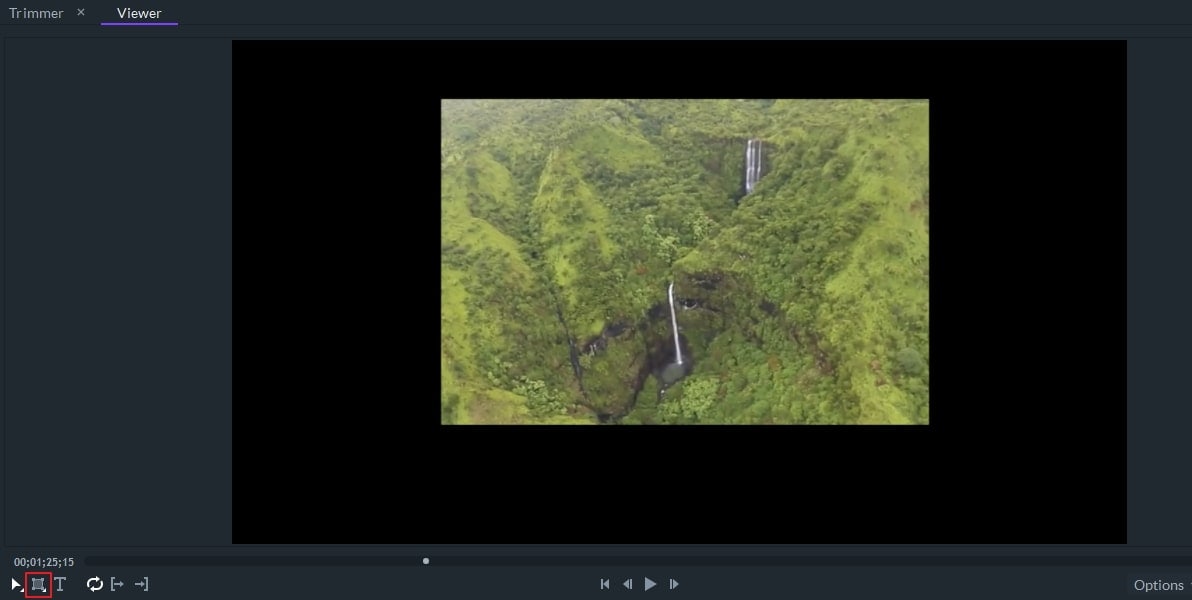
Go to the Viewer panel after you’ve added a video clip or image to the timeline. You’ll see an square icon![]() at the bottom left corner. You will find rectangle, circle/ellipse and freehand masks from left to right after you click the square icon.
at the bottom left corner. You will find rectangle, circle/ellipse and freehand masks from left to right after you click the square icon.
Tip: You need to touch and hold the square icon to get the three masking options.
Hold the Shift key to create a perfect circle or square mask. And with the Alt key (on Mac), you can centre the mask.
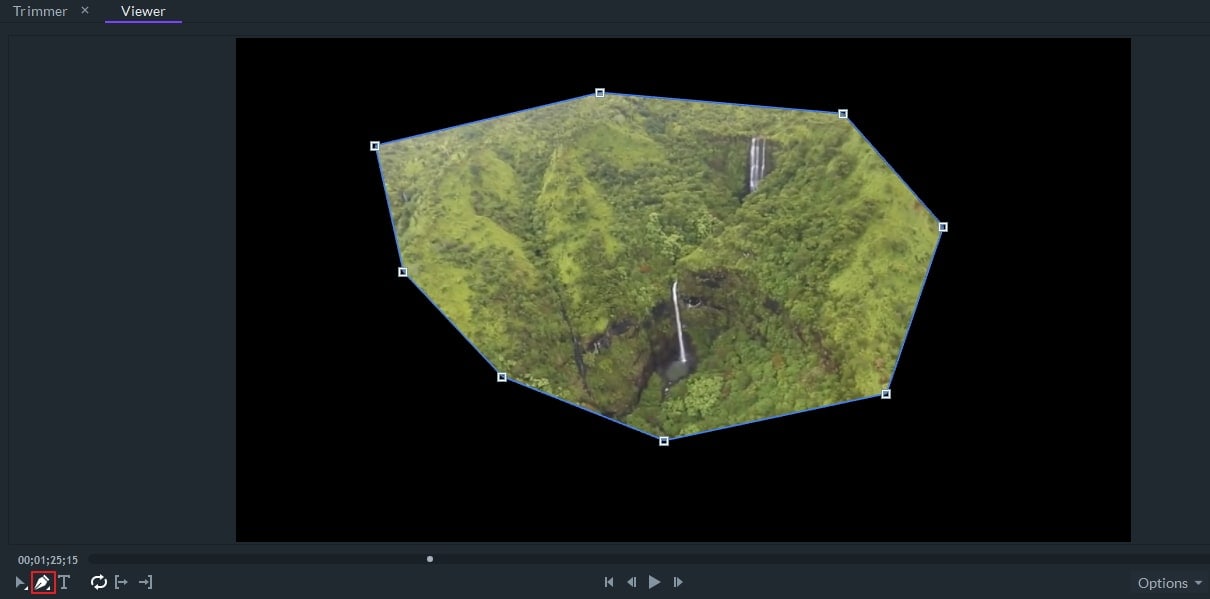
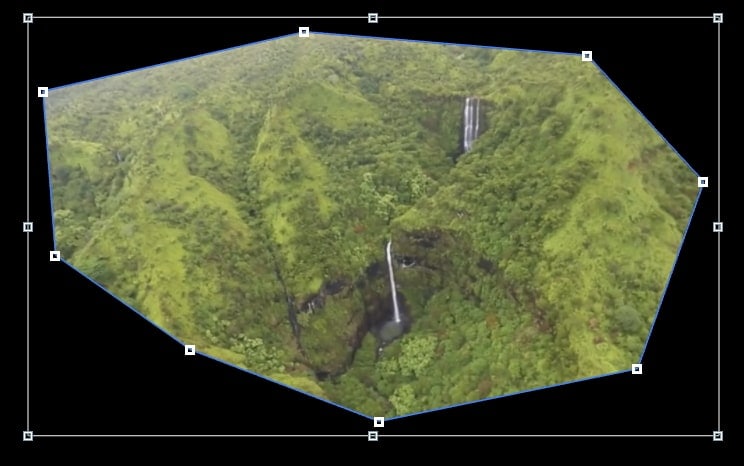
Select the tool and click on the viewer to draw the points of your shape. Lines will be created between the points. You can drag lines to curve them.
You can use the extension handles to adjust the lines and points. You can also modify points my right clicking on them and choosing from these options.
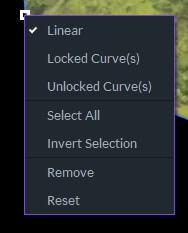
Make Curved Locked: Good for making curves smoother. Adjusting one extension handle will adjust the other simultaneously.
Make Curved Unlocked: Good for making sharp corners while keeping your lines curved. You will be able to adjust the handles separately.
Make Linear: Creates an angled corner with straight lines on either side.
Close your freehand mask to activate it. To close your mask, click on the first point you created. The mask will close and activate, so long as it has at least three points.
You can customize and edit the masks you create in two ways:
Via Freehand Shape Tool – Use this to make adjustments to your mask’s shape. You will be shown all of the available mask shape points. To access this tool, first select your mask in the Controls panel.
Via Selection Tool – Use this to adjust your mask as you would a layer in your project. You can adjust the scale and position without altering the shape. To access this tool, first select your mask in the Controls panel.
To edit your mask’s shape, use the Freehand Shape tool. Here’s how:
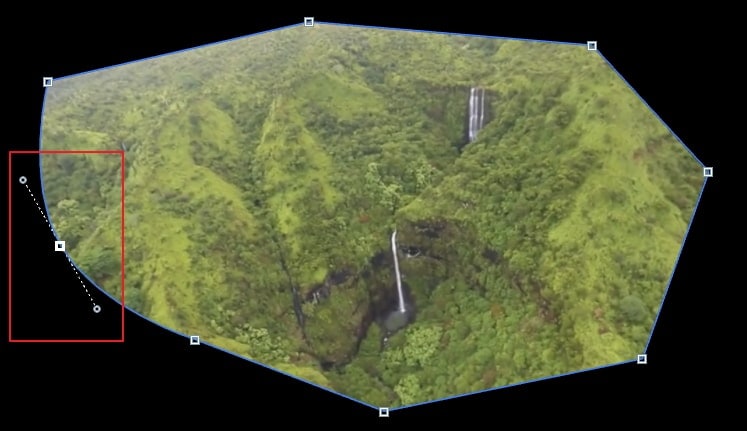
Click on the individual points and drag them to change your shape. To change the curvature, curved points have additional Bezier controls.
To add a new linear point, click on a line. To add a new curved point, click and drag a line.
To edit multiple points, first select them. A box will surround the selected points.
For more options, right click on the selected points. You’ll see a menu with these options:
Use the Select tool in the Viewer panel to adjust the scale and position of your mask. Start by selecting your mask in the Controls panel.
You will see bounding boxes around the shape of your mask in the viewer panel. Use these to scale or position the shape without changing the shape itself. You can also reposition the mask by clicking and dragging it.
Hold down the Shift key and start dragging the mask to reposition the anchor point. Note: if you drag any corner, it will uniformly scale the selected points from the anchor point.
You can animate the Position, Scale, and Rotation properties of your mask (if you have the Path property’s keyframes enabled) to change over time using animation keyframes.
Keyframing individual mask points is not possible. You can learn more about animation on the Keyframes page.
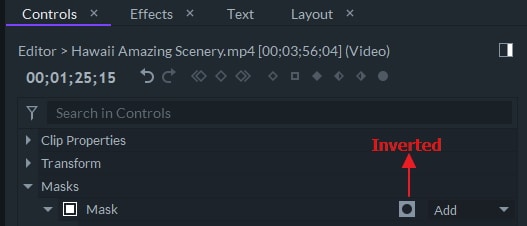
These properties can be modified in the Control panel or in the timeline.
Inverted: Switch whether the mask is the area inside or outside of your shape.
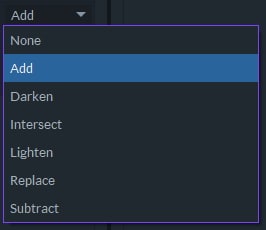
Blend: Lets you blend the multiple mask shapes together.
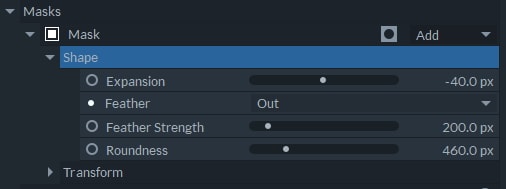
Shape:
Transform:
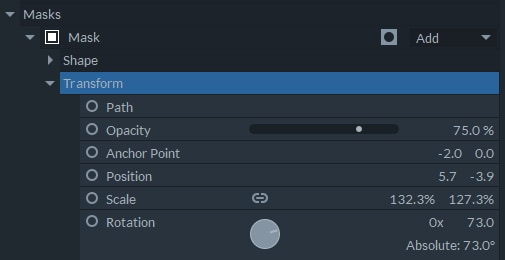
Rotation – Rotate the mask around it’s anchor point. The rotation is expressed in a number of turns and degrees.