-
-
-
-
- Still have questions? Submit a ticket to our support team. Contact Us Or Call Us
-
-
-


You can access different tools in the Editor Panel.
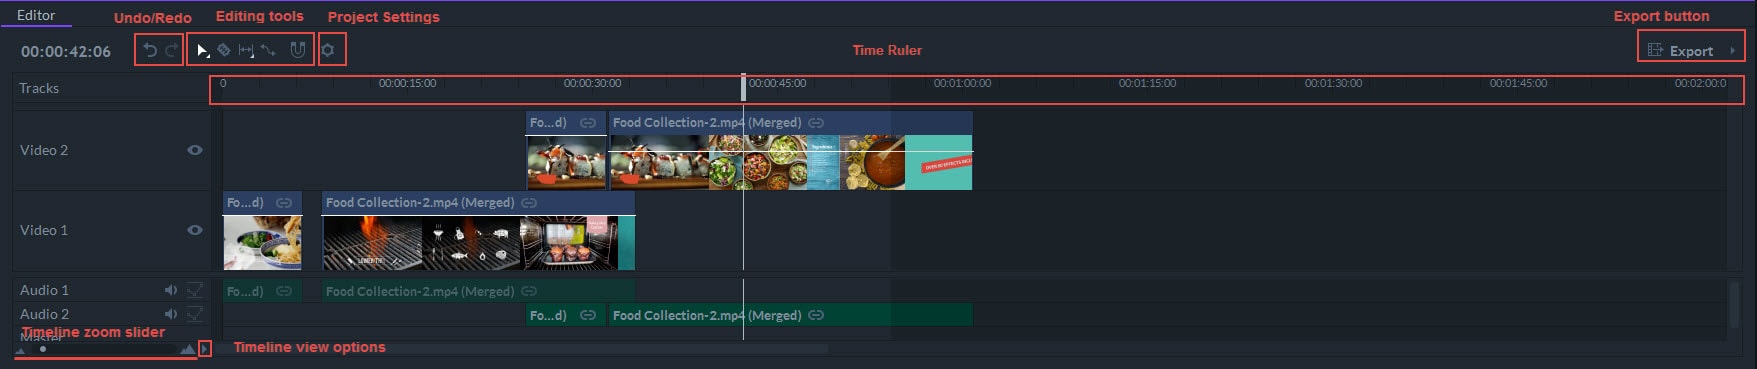
You can see the duration of your project on the Time Ruler that is located along the top side of the timeline. Clicking on the Time Ruler will change the playhead's current position and enable you to choose which frame of a video clip will be displayed in the Viewer Panel.
Dragging a playhead to a certain location on the Time Ruler will allow you to move through your project and preview your clips before you perform other video editing actions at that particular location. Inserting the precise time value into the time display in the upper left corner of the Editor Panel will move the playhead to that exact point in your Time Ruler.
It may not be possible to contain a large video editing project with a lot of different media assets all in one screen. The Zoom bar can be used to scale the timeline. You can either zoom in to a specific area of the timeline or zoom out to preview how the entire project looks on the timeline. You don't have to place video clips onto the timeline before you can scale it, although adding a clip to a video track may help you get a better feel of how much you should zoom in or zoom out the timeline.
The Hand Tool and scroll bars can be used to pan the video and audio tracks left or right after you zoom in on a particular segment of the timeline. The Ctrl+Home keyboard shortcut enables you to automatically scroll to the playhead's position. Being familiar with the Editor Panel's scaling and panning options will increase your video editing efficiency.
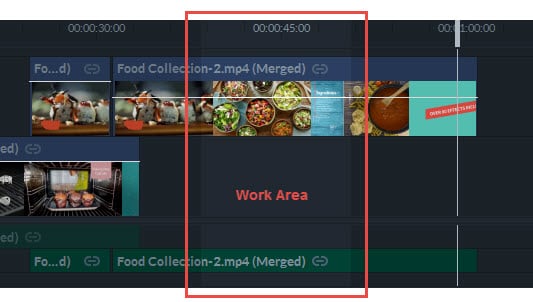
A light gray area on the Time Ruler shows the selected work area. Once you define the work area, you will be able to export just that part of the timeline, not your entire timeline. You can also choose to loop your selected work area in the Viewer panelas another way to review your work.
Press the I key on your keyboard to set the In point, then drag the playhead to the location on the timeline where you want to set the Out point and press the O key. Alternatively, you can use the In and Out buttons in the Viewer Panel to define the work area.
Pressing the P key on your keyboard will make the size of the work area equal to the duration of all clips you placed on the timeline. Holding the Alt key and dragging the work area will enable you to move it without changing its duration.
To loop a work area, select the Loop Playback icon in the Viewer.
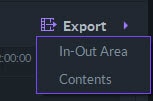
The Export button that is located in the upper right corner of the Editor Panel contains two exporting options that let you decide which portion of the timeline you want to add to the Export Queue.