-
-
-
-
- Still have questions? Submit a ticket to our support team. Contact Us Or Call Us
-
-
-


After launching FillmoraPro, you'll land on the Home Screen where you can browse through your recent projects or start new ones.
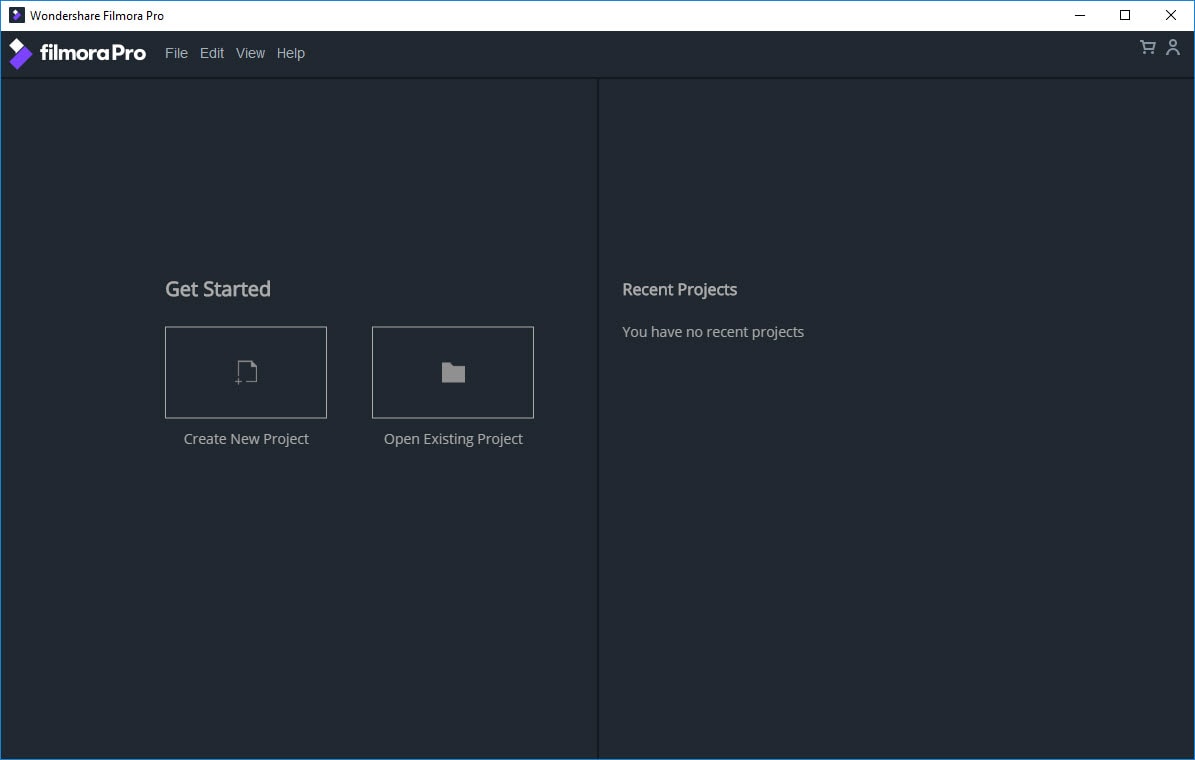
Clicking on the Create a New Project option will take you to the software’s application edit screen. Before you start importing media assets or placing video clips to the timeline, you should head over to the File menu, where you can find the Project Settings option.
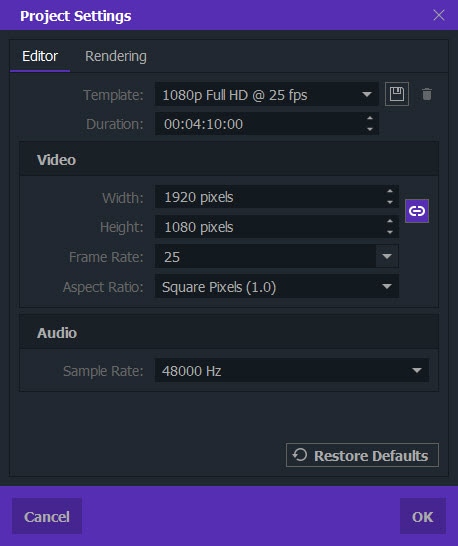
The Project Settings window will pop up on the screen, so you can quickly select the properties that best fit the project you’re currently working on. Within the Project Settings window, you’ll be able to see Editor and Rendering tabs. Each of these two tabs contains properties that enable FilmoraPro’s users to customize their projects in virtually any way they want.
You can choose from a number of template project settings that are optimized for working with full HD or 4K footage at 60 fps. The Customize option lets you select the project settings manually and create new templates by simply clicking the Save icon after adjusting all of the available project properties.
Knowing the resolution, frame rate or the aspect ratio of the footage you’ll be editing in FilmoraPro can help you customize the project settings quicker. You shouldn’t worry if you don’t know these technical details, because the software is going to adjust the project settings automatically each time you import a new file that has different resolution or aspect ratio values than the ones selected by default.
Offers a number of different sample rate options that can be used for a wide array of projects. In most cases, the sample rate of an entire project should be the same as the sample rate of the audio files used in that project. On some projects, you may be forced to work with audio files that have different sample rates, but you can solve this problem by selecting the sample rate you intend to use when you export the project.
Besides the overall quality of the video and audio files you import into the software, you can also control the playback quality of your footage. The options available in the Rendering Tab only impact how files are displayed within the software and they don’t influence the output quality of your videos. Higher quality playback settings improve the quality of the images you view in FilmoraPro, while choosing less demanding settings may help you to preview the footage faster. The Rendering options can be changed at different points of the video editing process, to ensure a smoother workflow, as users can easily select high-quality playback settings while performing video editing actions and then switch to lower resolution playback to preview the results.
Color Bit Depth – There are two Color Bit Depth modes
You can change the Color Bit Depth at any point, from the Render Tab in the Options window, which enables you to use the lower color depth while editing, and then preview the video using the 16-Bit Float option.
Antialiasing Mode
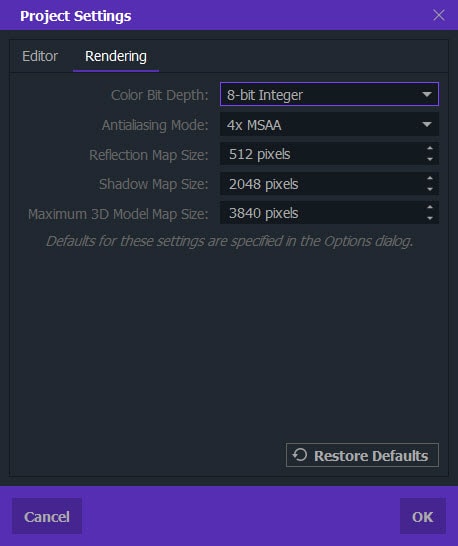
Reduces aliasing along the diagonal lines of videos during the rendering process. This feature is enabled by default when a video is exported from the software, but if you’re still working on a project you can toggle it off and on in accordance with the demands of your project. The software offers two antialiasing methods, 4x MSAA, and 8xMSAA.
You can learn more about the MSAA technique here.
Confirm all the adjustments you’ve made in the Project Settings window by clicking on the OK button.