- for Windows
- for Mac
Action Cam Video Editing-filmora
Filmora provides a variety of practical features for editing action cam footage such as fisheye correction, video stabilization, speed controls, and color correction. Here’s how to use them:
Fisheye Lens Correction
After importing video footage to the timeline, double click on it to open the editing panel and then go to Lens correction in the Video Tab. Click the checkbox to enable the fisheye correction feature.
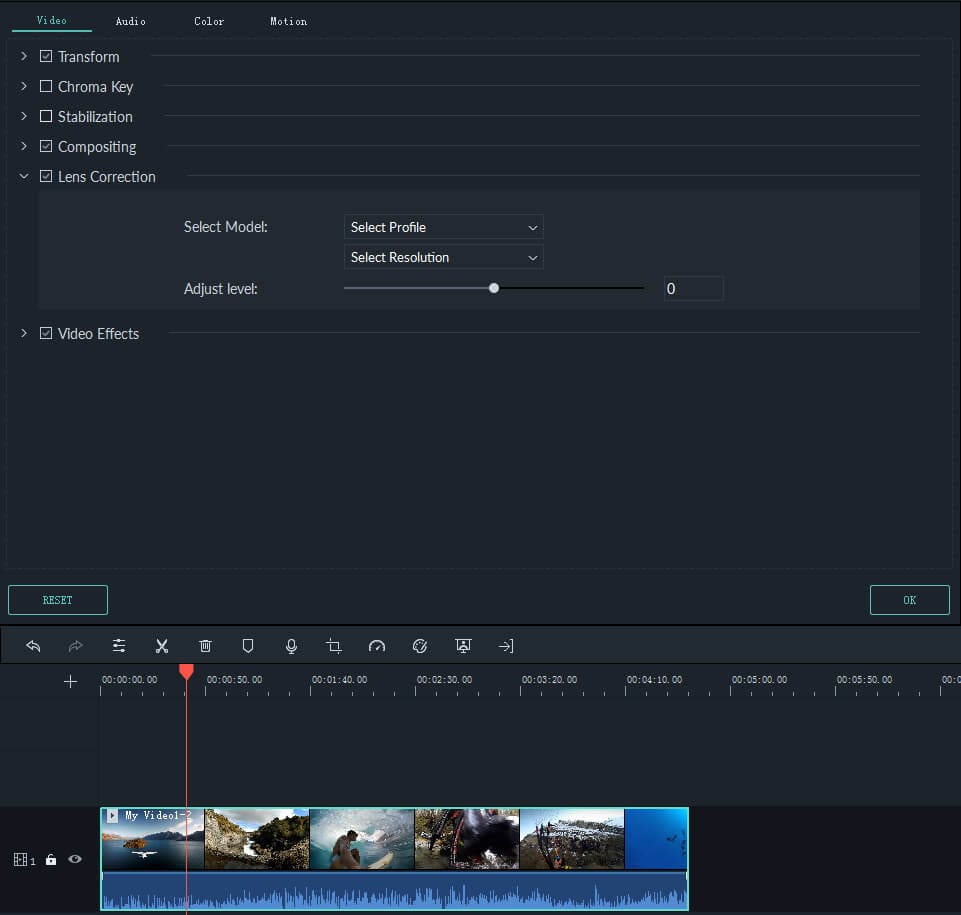
From the Select Profile drop-down list, select your camera model. Then, in the drop-down menu below, select the capture mode resolution your video was shot with. This menu will be empty until you choose your camera model. You can adjust the correction level by dragging the Adjust Level slide bar.

Check your results in the preview window and click OK when you’re done.
Change Video Speed
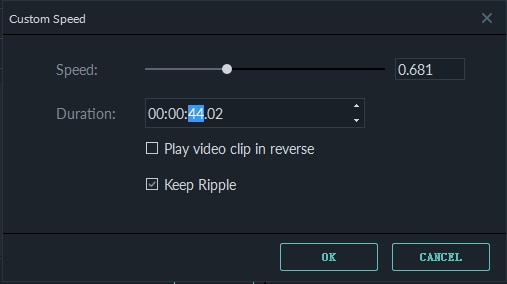
To change the playback speed of your action camera video clip, right click on it in the timeline and select Speed and Duration to open the Custom Speed window.
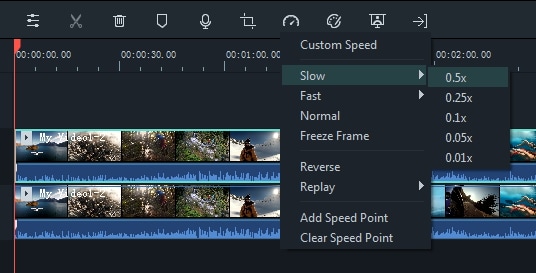
You can also select the video clip in the timeline and then click the Speed icon in toolbar to open a dropdown menu with options for changing your clip’s speed.
Create a Freeze Frame
Here is a guide to creating Freeze Frames in Filmora:
- Import your video clip to the Media Library.
- Drag the video clip into the timeline.
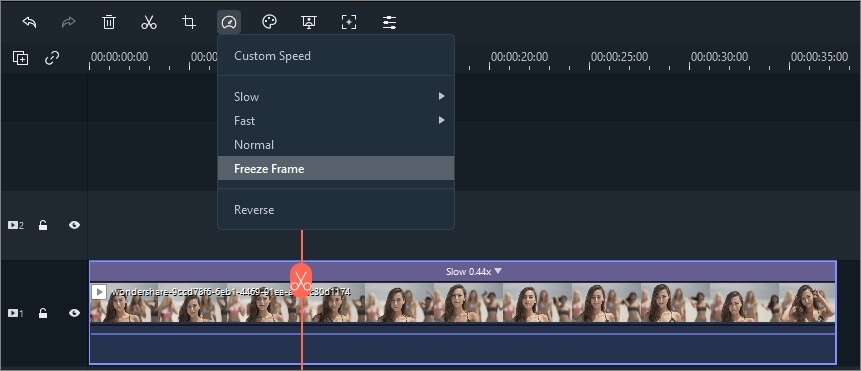
- Move the playhead to the frame of the clip that you want to freeze, then right click on your video clip and choose Add Freeze Frame or select the speed icon in the timeline toolbar and choose Freeze Frame. Make sure you have the correct clip selected before you create your freeze frame.
- Your freeze frame will last 5 seconds by default. To adjust the duration, click on the freeze frame inside your video clip on the timeline and then click on the Duration button that appears. This will open the Duration window, where you’ll be able to enter a new length for the freeze frame.
Stabilize Shaky Footage
Camera shake causes visible frame-to-frame jitters in your recorded video. With the Video Stabilization feature in Filmora the video clip can be smoothed out quickly and easily.
Double click on your clip in the timeline to open the Editing panel and find Stabilization in the Video tab. Check the box to enable the feature And then click the Analyze button.

After the analysis is complete, drag the slider to increase or decrease the stabilization level. Increasing the stabilization level will cause you to zoom in. Sometimes the edges of your video may appear flawed after the analysis, but increasing the level should correct this since you will be zooming in past those edges.
Color Tuning / Color Correction
To access the color correction tools in Filmora, double click on the footage in the timeline to open the video editing panel and then switch to the Color tab.

You could also select the video footage in the timeline and then click the Color Tuning icon in toolbar.
To learn more about color correction, please read the Advanced Color Tuning guide.