

This lesson of our Filmora9 tutorial is dedicated to the Render Button that will ensure the smooth playback of video files and visual effects, you add to the timeline.
Rendering Previews from Filmora9’s Timeline
The playback of high-resolution video files can lag sometimes if the computer used for editing those files doesn’t have enough processing power. Lagging can occur regardless of the video editing software you are using, but Filmora9 offers a quick way to fix this issue.
The rendering process can be described as a process during which a computer processes information from a particular data source and creates a preview image that is displayed in the software’s preview window. After you add new media files to the Filmora9’s timeline, a red line will appear over the portion of the timeline these media files occupy indicating that the footage hasn’t been rendered yet.
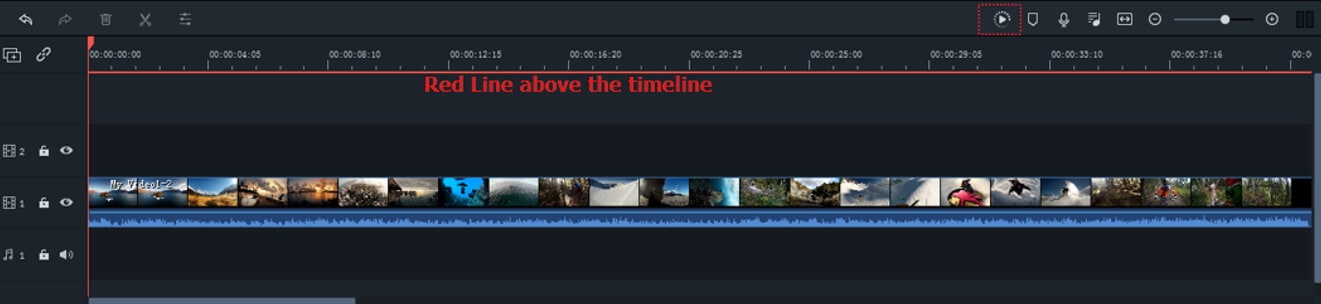
Your computer will generate rendered versions of the files you placed on the timeline after you click on the Render Preview button that is located in the upper left corner of the Filmora9’s timeline.
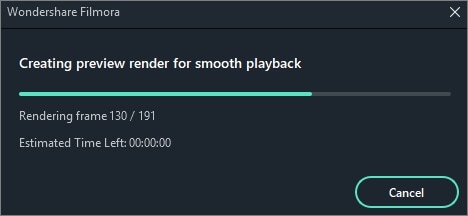
The Render Progress bar will pop up on the screen, informing you about how much time remains until the rendering process is completed. Keep in mind that rendering process can take a while if you are working with a lot of different high-resolution files.
The rendering process will eliminate the lagging effect that commonly occurs when multiple visual effects are applied to the footage. Once the rendering process is completed, the red line displayed over the media files will turn teal.
Under its default settings, Filmora9 doesn’t automatically render all files you add to the timeline, so all video clips or visual effects you placed on the timeline after the rendering process is completed have to be rendered separately. The red line is going to be displayed over all unrendered media files on the timeline.

Besides clicking on the Render Preview button, you can also hit Enter button on your keyboard to start a new rendering session. Rendering all media files added to timeline will make the workflow smoother and faster.
Adjusting the Render Preview Settings
You can set different render preview settings for each new project separately. Simply click on the Preferences option in the File menu and once the Preferences window pops up on the screen head over to the Performance menu.
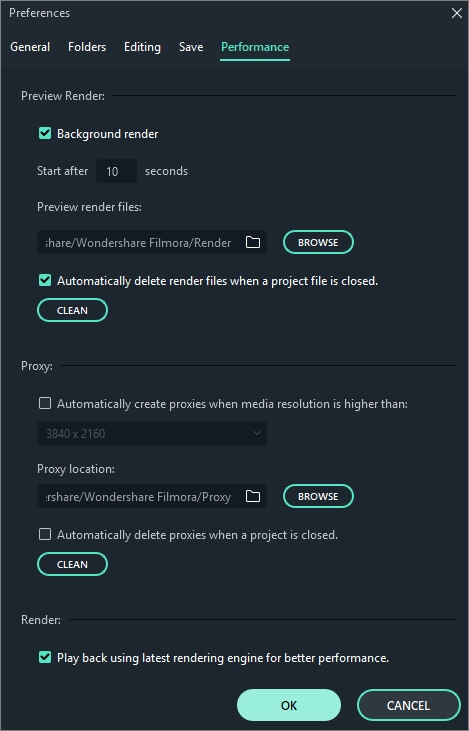
Under the Preview Render menu, you can enable the Background render option which will perform the rendering automatically after you add a new media file to the timeline. You can set up how long it takes for the automatic background rendering start by setting the amount of time. However, enabling Background Render can slow down the Filmora9 video editor if your computer doesn’t have a lot of processing power.
So, if you are editing a video on a computer with limited processing capabilities, you should leave the background render box unchecked. Filmora9 lets you set the destination folder for all preview renders you generate while working on a certain project. Click on the Browse next to the Preview Render file folder and proceed to select the destination on your hard drive where all preview renders are going to be kept.
In case you don’t want to keep the files you render after you close Filmora9, you should enable the Automatically delete render files option when closing a project option. However, deleting render files is only advisable if you no longer need them, since going through the rendering process repeatedly can take a lot of time. Instead, you can just click on the Clean button after you completed a project and delete all preview render files from the destination folder.