

In this tutorial, we’ll work with text and titles. Here, we’ll learn how to create text, how to use a text panel and how to import titles.
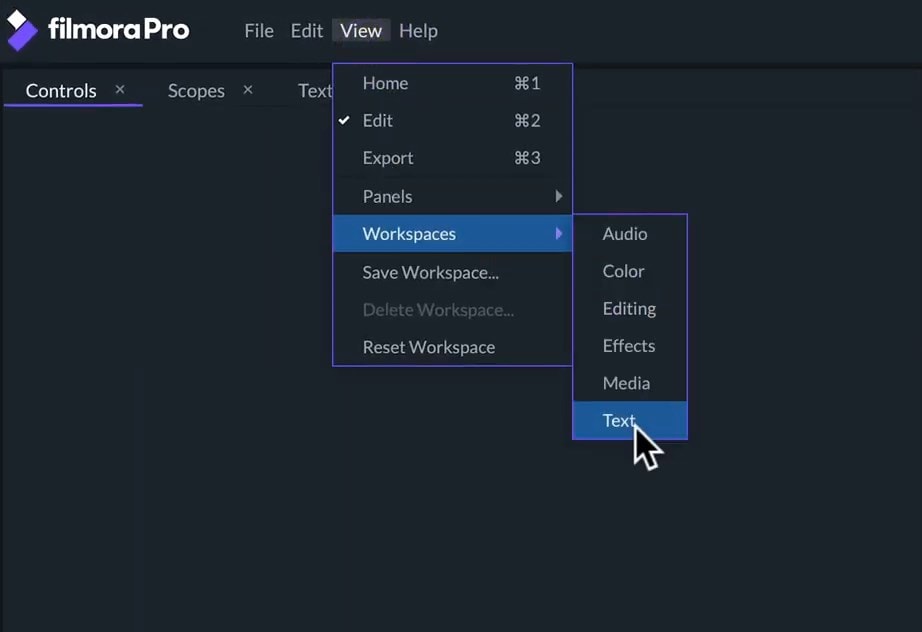
To get a better workflow with titles, we’ll use the text workspace. So, let’s click on View > Workspaces > Text to open text workspace.
Let’s Learn How to Create a Text
To create a piece of text, we’ll use the text tool on the Viewer Panel. We can click on the “T” icon or choose the hotkey T.
With this tool selected, we’ll have two options to create a new text. We can simply click on the screen where we want our text to start writing or we can click and drag to a text box. Drawing a text box is really useful when you want to contain a large body of the text.
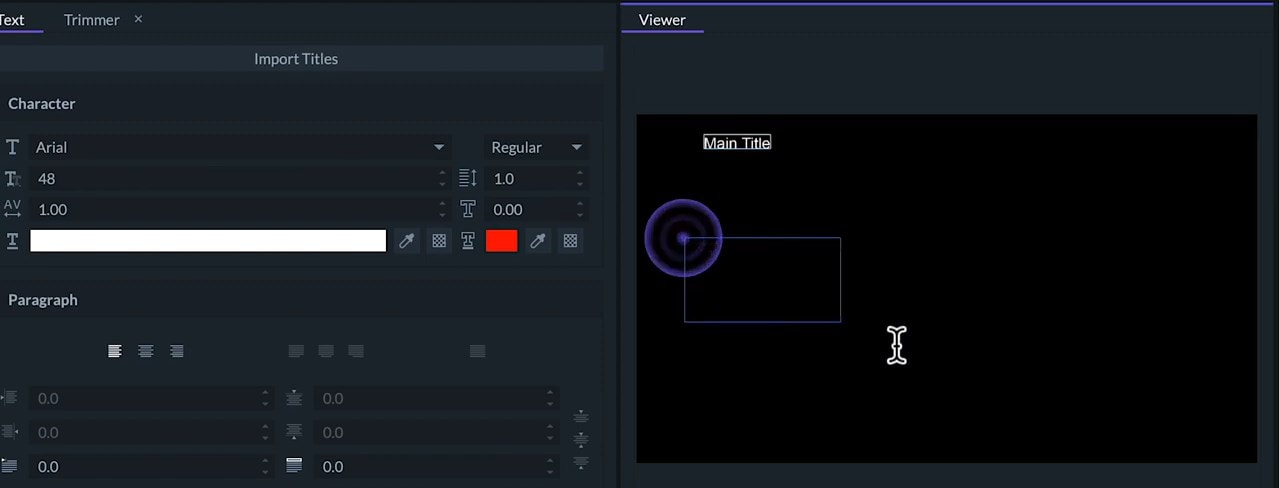
Once we created a text, it will appear as a new layer on the timeline. We can highlight the text to adjust its settings on the Text panel.
Character Section
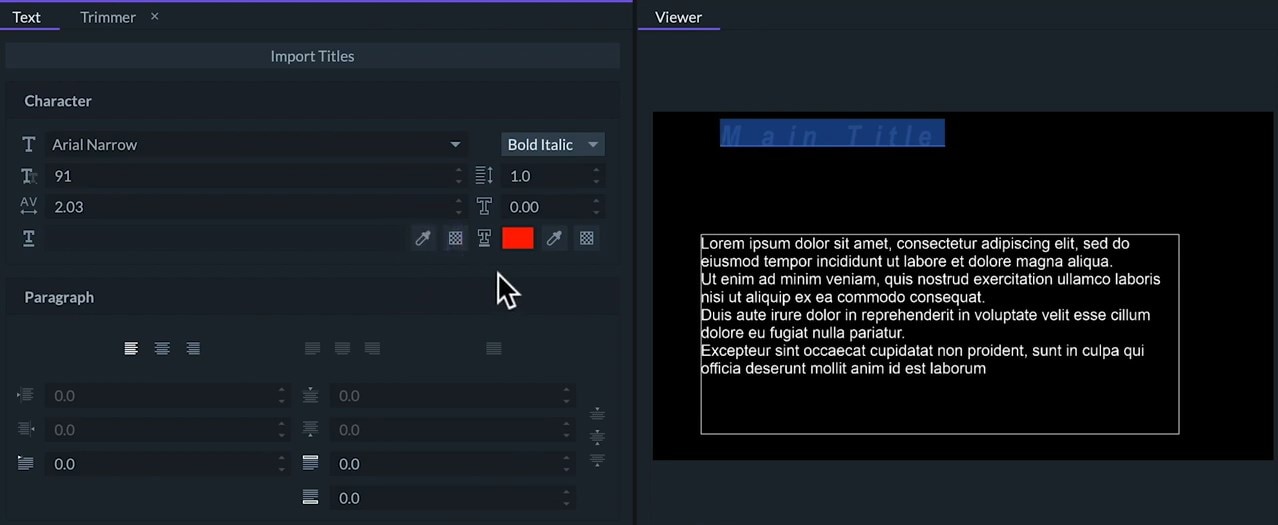
On the Character section, we can change the font family and its style. Here, we can change the font size and the space between characters. On the next bar, we can select a color of the text, pick a color of the screen, or make the text transparent.
If we change the width of our stroke, we’ll be adding some outlines to our text. Below the text width option, we can select the color and transparency of the stroke. If our text has more than one line, we change the line spacing in the box located above the text width option.
Paragraph Section
Here, we can select the alignment of the text - to the left, to the center and to the right. Then, we need to justified text to the left, to the center or to the right. Finally, it will be fully justified. We can also align the text vertically to the top, to the middle or to the bottom of the text box.
The Indentation options will create limits for the text inside the text box. We can change it on the left, right, top and bottom.
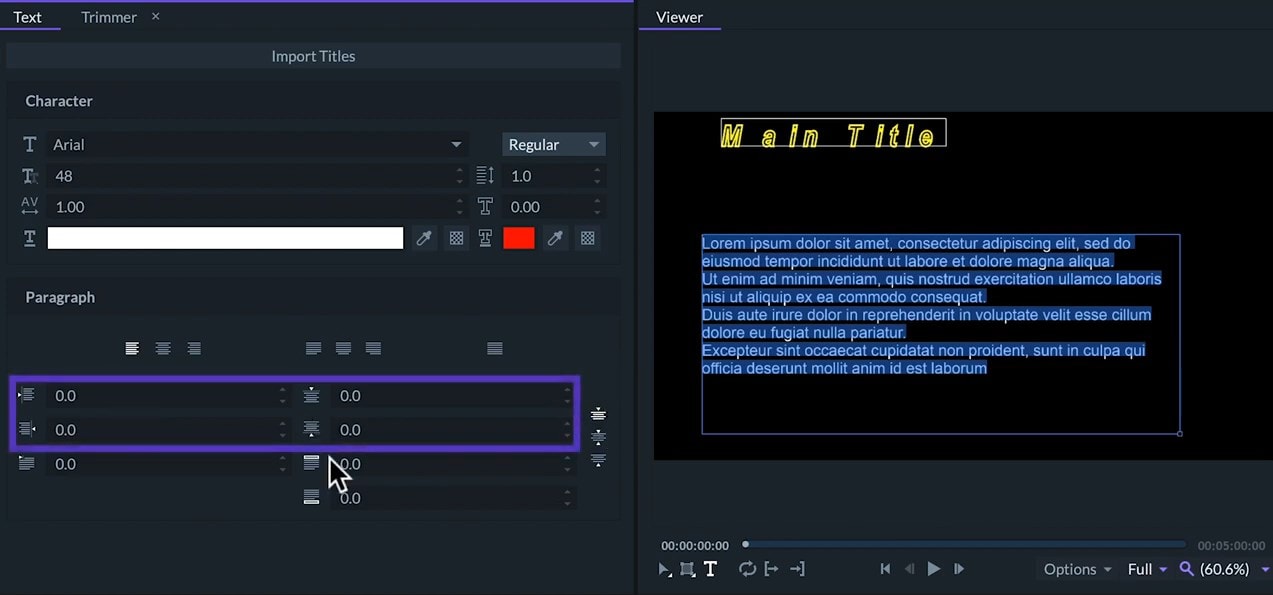
We can also add indentation for the first line of each paragraph. The last option will change the spacing between the lines before and after the paragraph. Most of the options on the Text panel can be applied to a selected part of the text only.
Let’s Learn How to Import Titles
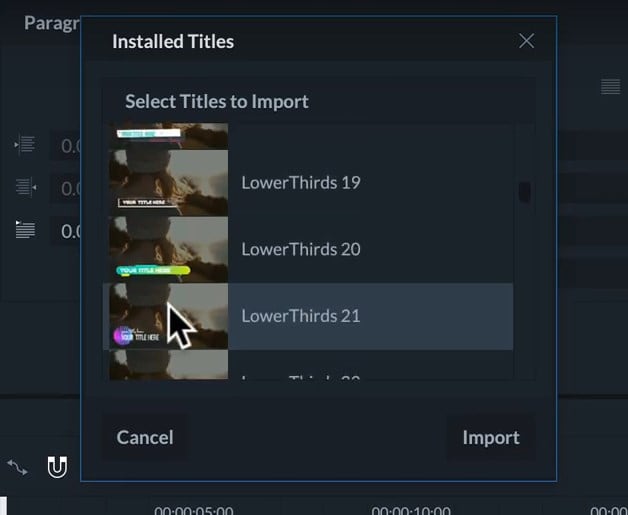
If we click the Import Titles on the Text panel, then a window will pop-up. Here, we can select from a list of pre-made animated titles and lower thirds which are editable. FilmoraPro offers a lot of different designs for various uses. But, in this case, we’ll use a pretty simple one.
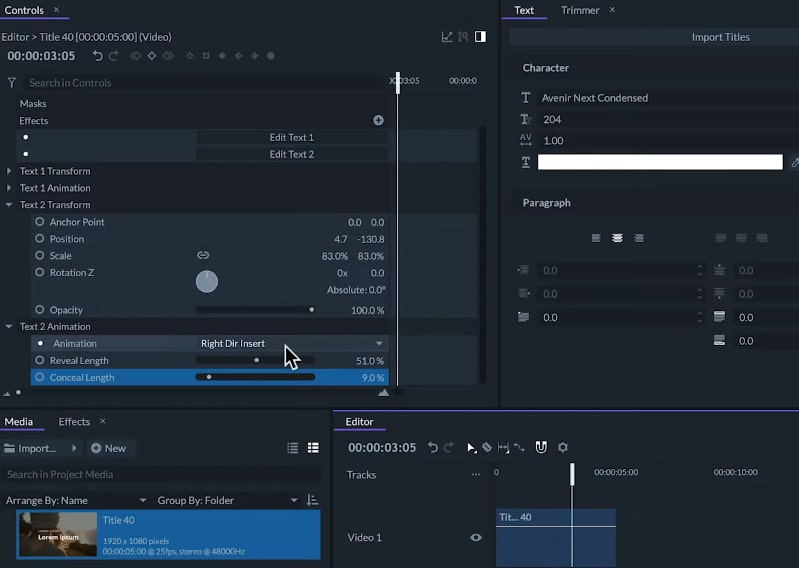
Once the title is imported, it will appear in the Media panel so we can drag it to the timeline. If we hit play, we can see how it’s animated. In this case, the title is made out of two pieces of text. FilmoraPro will automatically name them as Text 1 and Text 2. Each piece of text will have three options on the Controls panel - Edit, Transform and Animation.
Editing Text
To edit this text, we can click on the Controls Panels on the edit text button or click on the text with the Text tool. After that, we can write the title we want and use all the tools from the Text panel.
On the Text Transform options, we will have all the standard transformations. But, they’ll be applied to one part of the text from the title only.
On the Text Animation options, we can choose how long the animation will take to appear and how long it takes to disappear with their respective sliders.
We can select different types of pre-made animations from a long list in the animation box. In this way, we can choose titles with the style we want.
So, these are basics of creating text and titles. To learn more about FilmoraPro, make sure to check out our other tutorials.