

In this tutorial, we’ll go deeper into the advanced editing options. We’ll learn about - Overlay Clip & Insert Clip options, Track Options, Tools on the Editor Panel and Ripple Delete Option.
Overlay Clip & Insert Clip
When we are editing, there are several advanced tools we can use to speed up our process and make it more precise. When working in the trimmer after setting the in and out points, we can place this selected part of the clip in between other clips on the timeline.
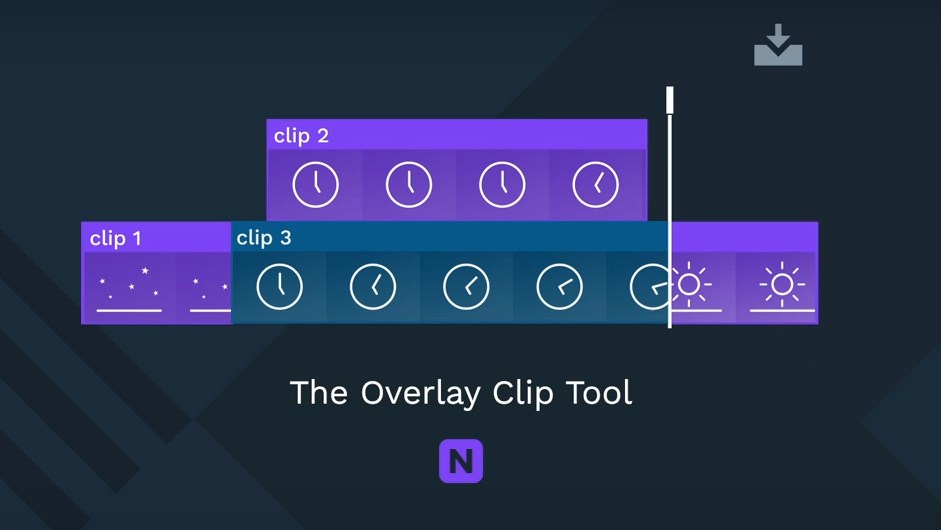
To do this, we should place the timeline playhead where we want to place the endpoint and click the insert clip or overlay clip icons. Else, we can use the hotkeys B or N respectively. This will place the selected section of the clip in the first track on the timeline wherever the playhead is located.
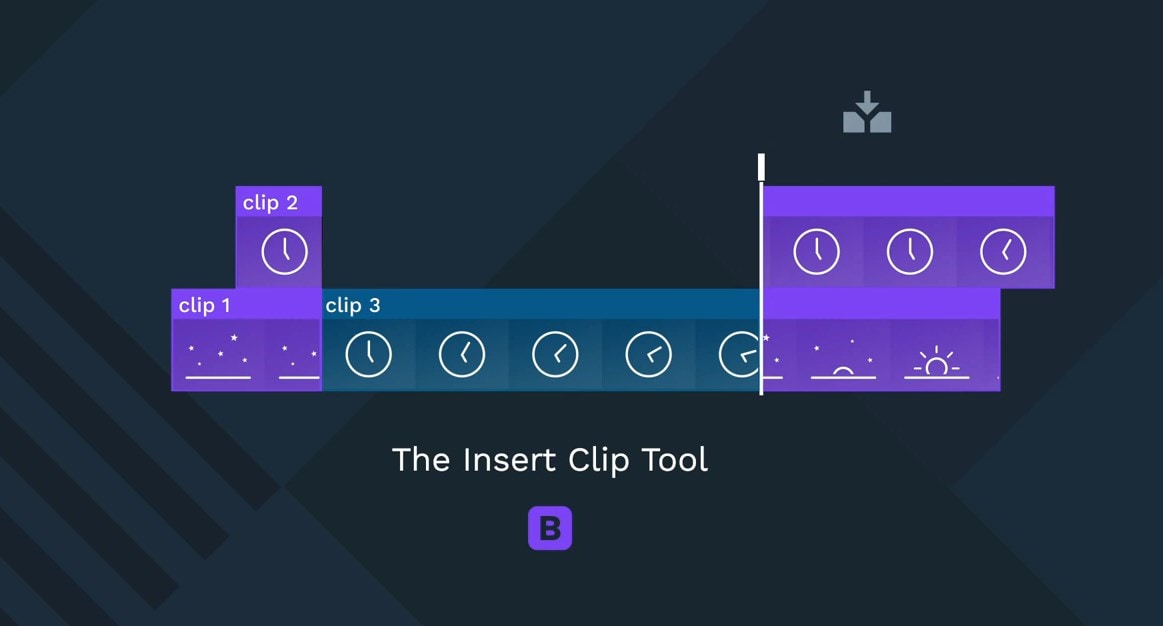
If we already have another clip in that place, the insert clip option will spit every clip where the playhead is and move every track on the right just enough to fit this new clip in.
Conversely, the overlay option will erase enough space of the existing clip in the first track to fit in the new one.
Make Track Invisible/Visible
When working on the editor panel, we can make a complete track invisible by clicking on the icon that shaped line an eye. To make it visible again, we can just click that icon again.

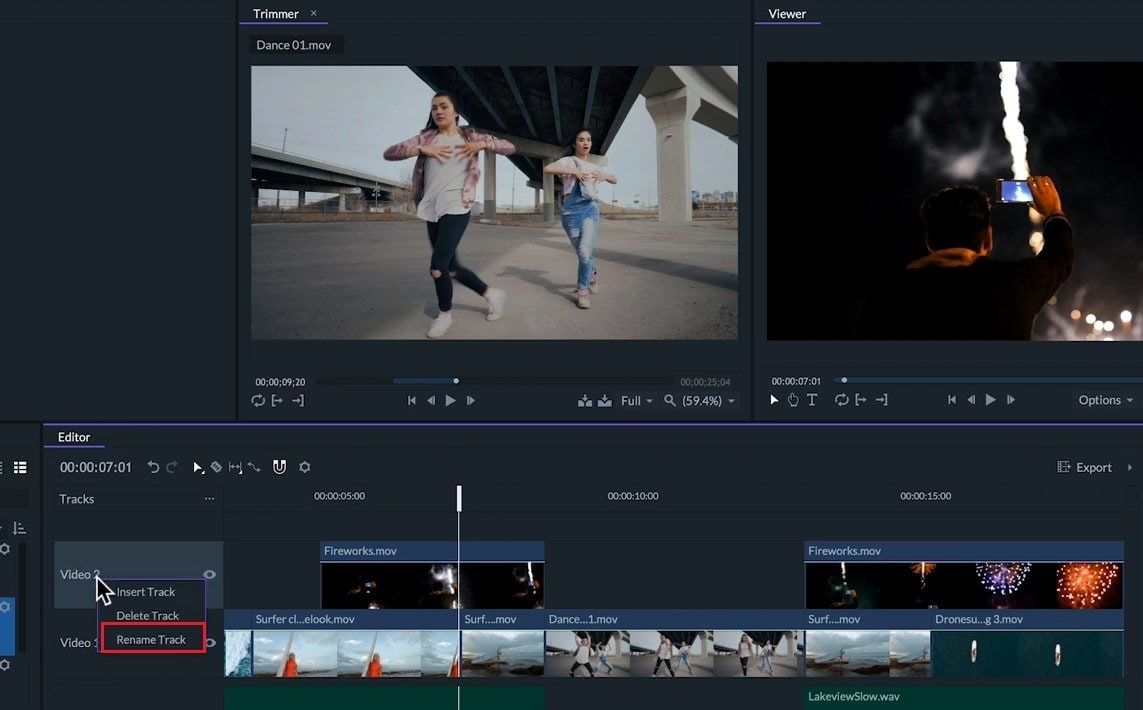
Rename Tracks
We can also rename our tracks to optimize our workflow better by right-clicking on the track names and then, click on the Rename Track.
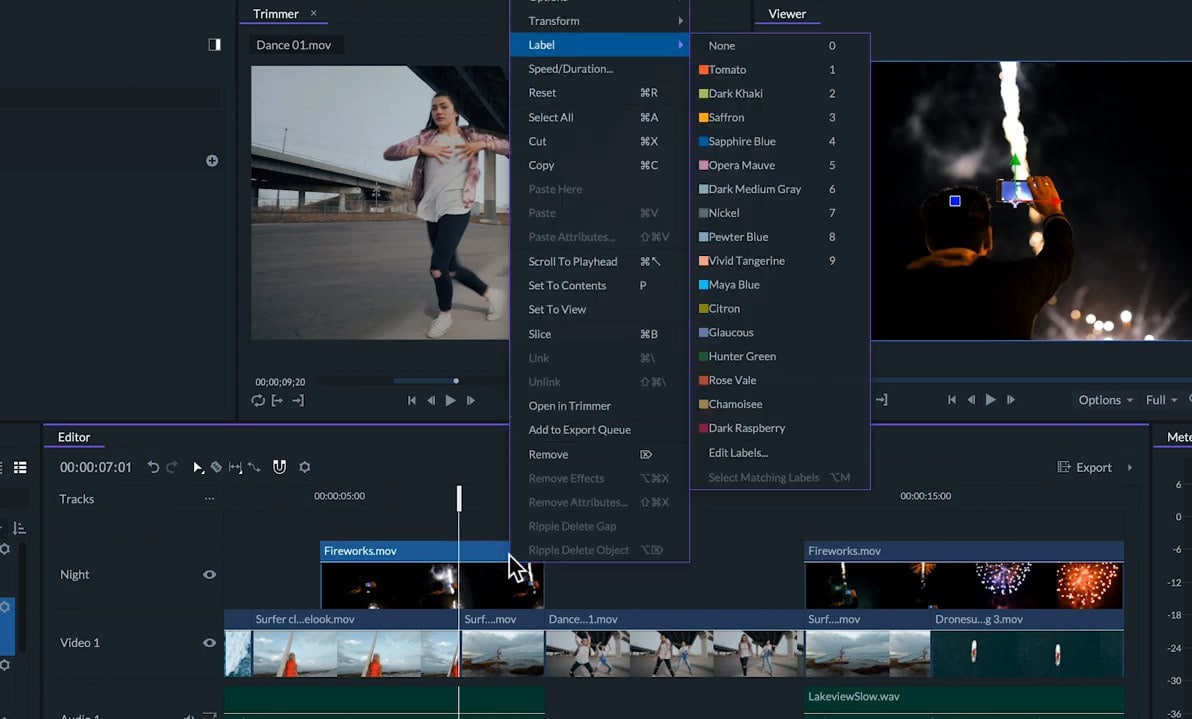
Add Colors on Clips
We can put colors on this clip to identify them faster by right-clicking on the clip and going to Label and selecting the color we want.
Tools on the Editor Panel
If we go to the upper part of this panel, we’ll find a variety of tool icons
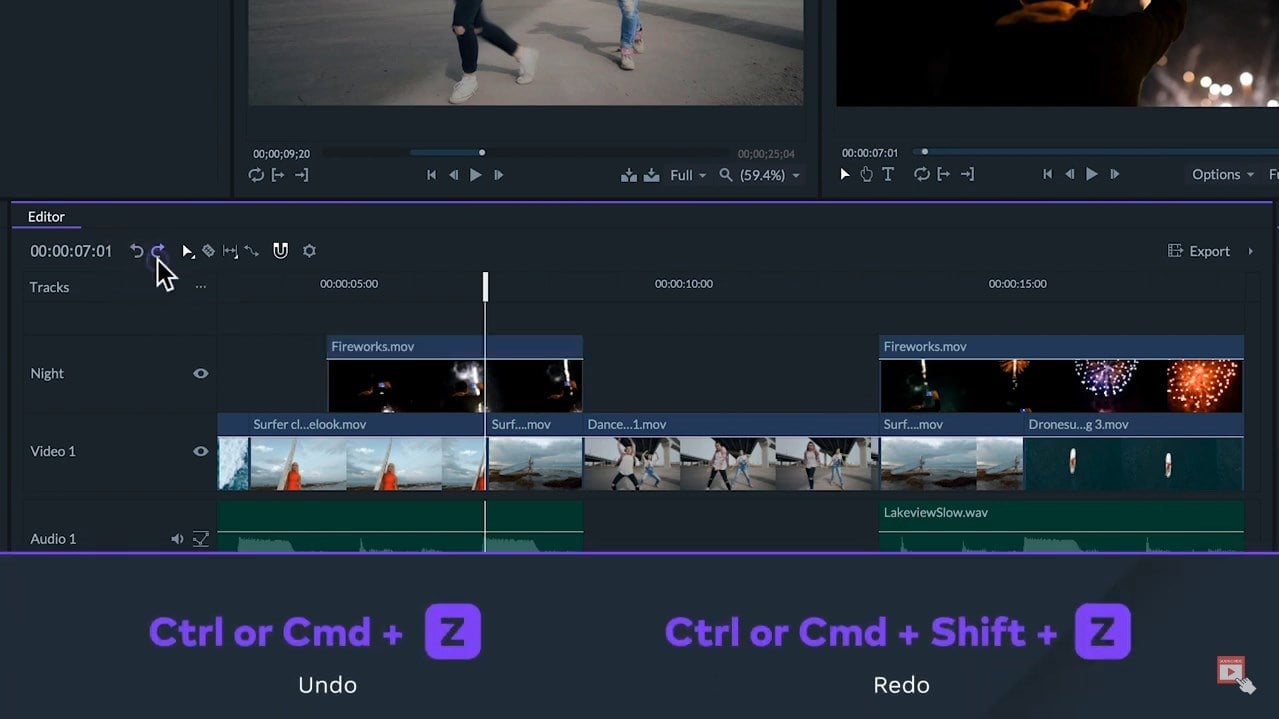
1. Undo & Redo Arrows
First one, we have the Undo and Redo arrows. We can also use those with hotkeys Ctrl or Command + Z to undo and Ctrl or Command + Shift + Z to redo.
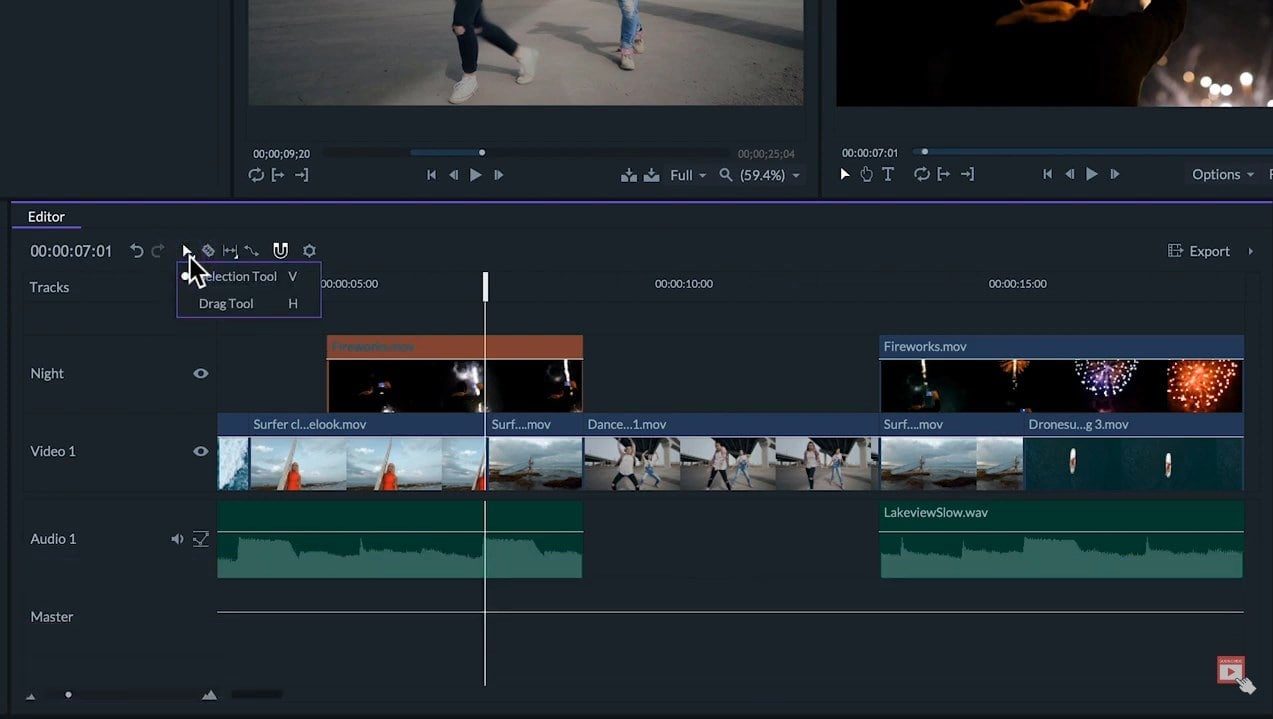
2. Selection Tool
Next, we have the Selection tool, which is already selected by default. We can hold click on it and another tool option will dropdown. Here, we can select the Drag tool which we can click on or select by pressing the H key. This tool is made to navigate around the timeline without modifying the Edit.
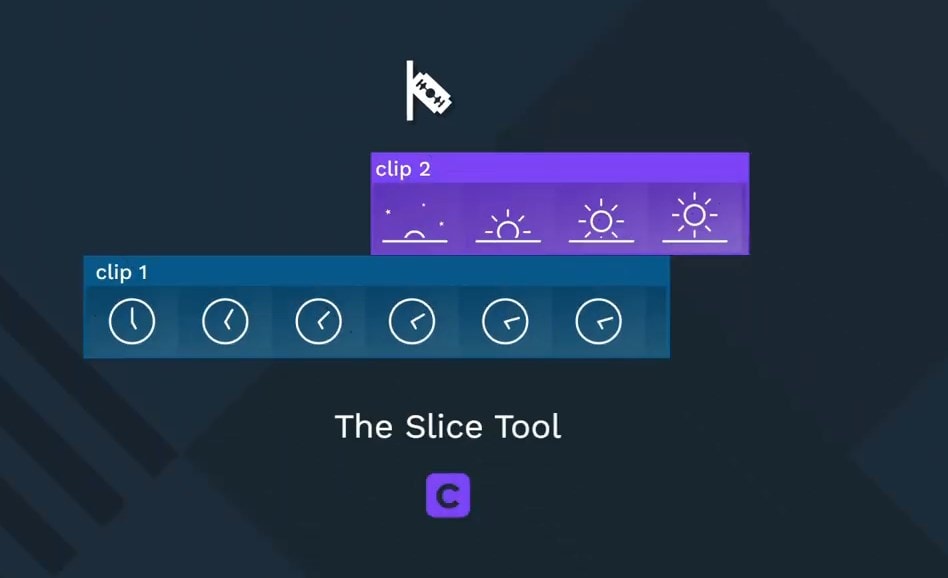
3. Slice Tool
Next, we have the Slice Tool (shortcut C). With this tool selected, we can click on any audio or video clip to split it. If we want the cut to be across all of the tracks, we can hold the Alt key while we click.
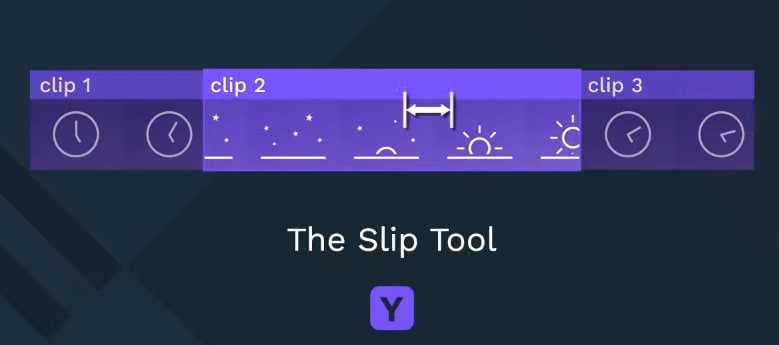
4. Slice Tool
Next, we have the Slip Tool or hotkey Y. This tool will let us slide the in and out points of the clip without changing its position or length in the timeline by clicking and dragging to the left or to the right we can slip. While using these tools, the Viewer will display information for reference such as in and out frames, the adjacent clip frames and time codes.
If we click and hold on the Slip Tool, we will see more menu options drop down which we can click on.
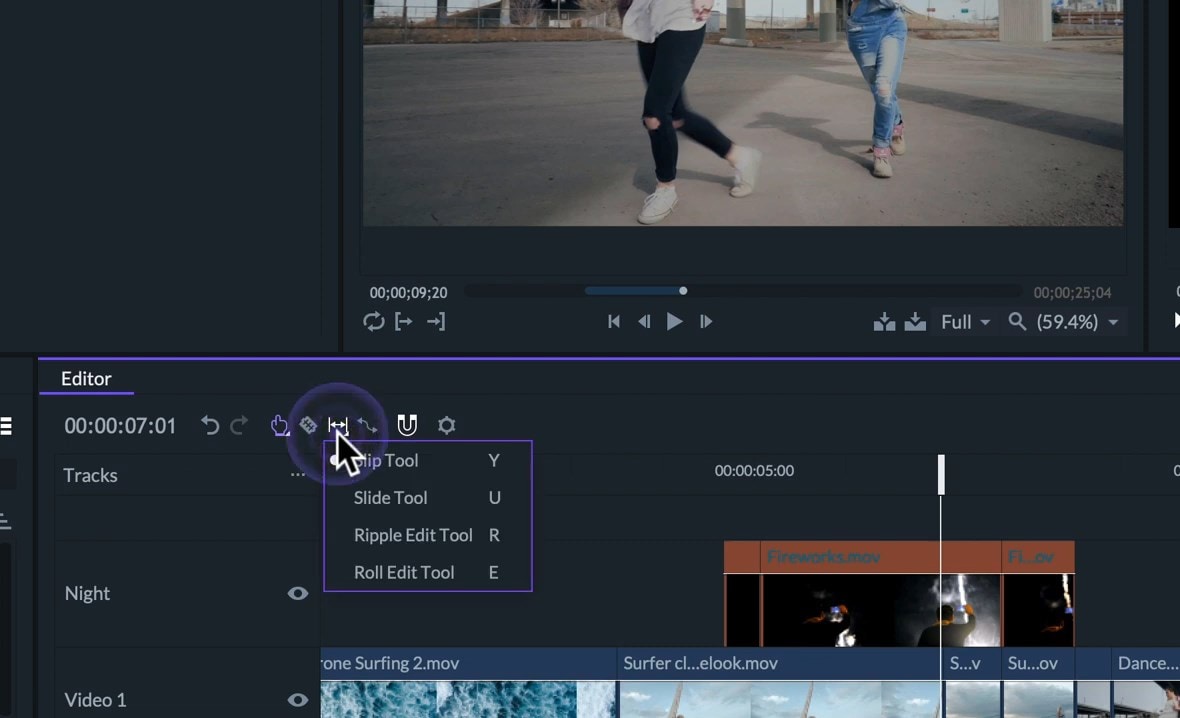
Slide Tool
Here is the Slide Tool (hotkey U). This tool will let us move a clip in the timeline adapting the adjacent clips to the same track to avoid any gaps appearing next.
Ripple Edit Tool
In this drop-down, we also have a Ripple Edit Tool. This tool let us trim a clip by maintaining the original position of its endpoint on the timeline and adjusting every clip on the right to avoid leaving gaps or overlaps.
Roll Edit Tool
Another tool we have in this drop-down is the Roll Edit Tool (shortcut E). This lets us modify the cut between two adjacent clips without altering anything else.
5. Rate Stretch Tool
The Rate Stretch Tool (hotkey S) will let us stretch or squish a clip in the timeline modifying its speed instead of its in and out points.
6. Snapping Tool
The Next icon on the panel is the Snapping Tool (Shift + S) will let activate or deactivate the snapping option. By default, when we’re editing the tracks, they’ll tend to stick to the playhead or align to the beginning or end of the other tracks showing a red line. If we deactivate this feature, this won’t happen.

Project Settings
The Gear icon will open the project settings that we’ve seen already in previous tutorials.
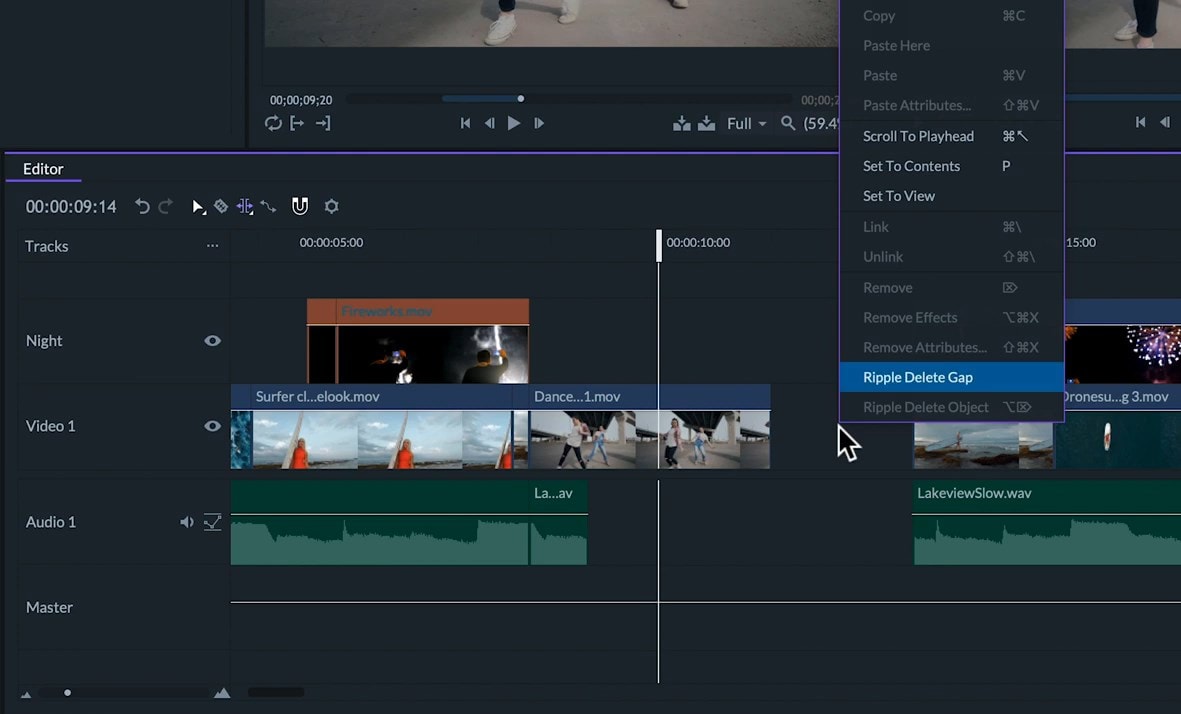
Ripple Delete Option
To delete an space, we can right-click on it and then, click on Ripple Delete Gap. This will move all the clips on the right of the gap to the left to fill this gap. We can also delete a clip without leaving a gap by right-clicking on it and then, click on the Ripple Delete Object. All clips on the right of this clip move to the left so there is no gap remaining.
So, these are all the tools you can use in the FilmoraPro editor. To learn more about FilmoraPro, make sure to check out our other tutorials.