In this tutorial, we are going to show you how to export our projects. We will get to know some of the video formats, export presets and the format settings. Once we finish our edit and we’re happy with it, we’ll need to export it. This means, turning our projects into an actual media file so it can be played, burnt to a DVD, or uploaded to social media.
Export Settings
We can export the complete composition by clicking on the editor icon on the editor panel and then clicking on the Contents. Or if we want to export just a section of our project, then we can set in and out points in the viewer panel icons or you can use shortcuts I and O keys the same way we did with the trimmer.
And then we can click on the Export In/Out area. A dialog window tells us that the timeline has been added to the export queue.
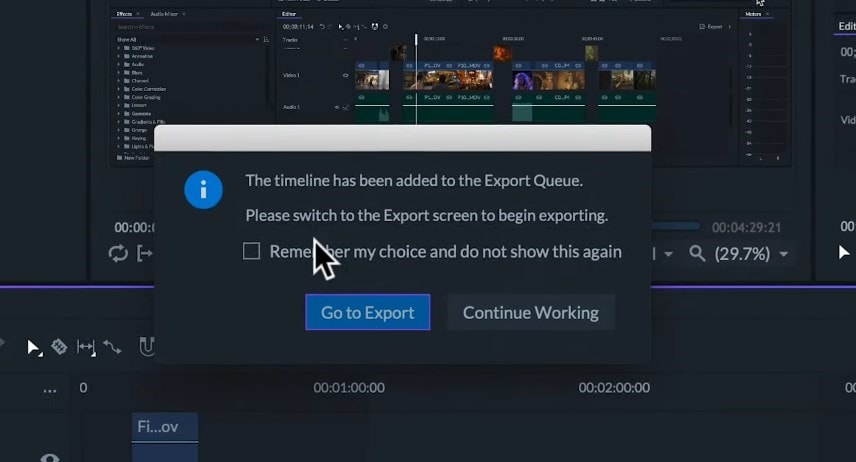
Let’s click on the Go to Export button; this will take us to the Export screen. In this screen, we have three panels.
Cue Panel: On the cue panel, we will see our projects with its information on the export. If we’ve exported more than one project to the render queue, we will find them all here.
Output Column: On the output column, we can click to select where to export the video and how to name it.
Preset Column: On the preset column, we can choose between different combinations of the settings prepared for a variety of uses, e.g. we can choose HD video to upload on Facebook or Full HF video for an iPad.
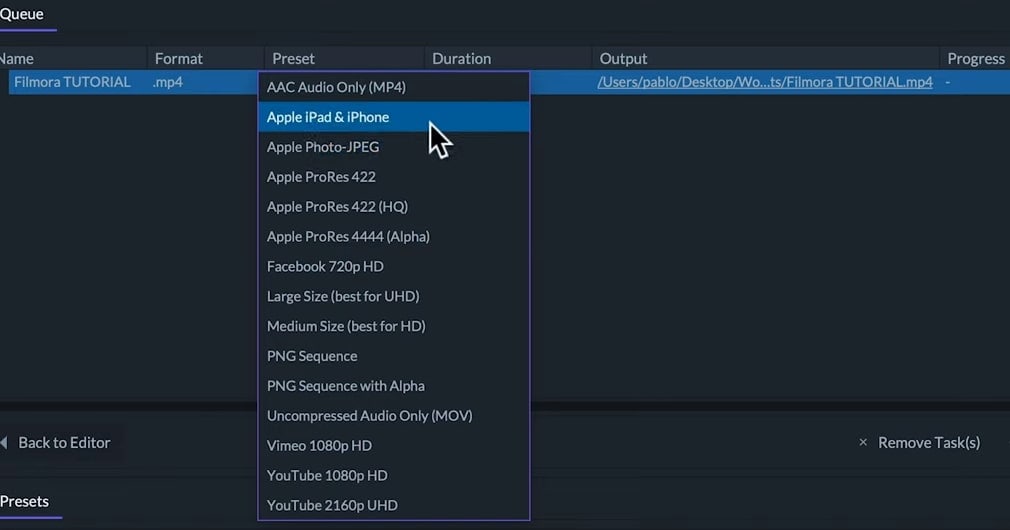
In most cases, we just want to select one of these presets and export the video. We can see all these built-in presets in the Presets panel. We can select which one of these will be selected by default by double-clicking on it. We can also edit them and create new ones.
Let’s Create a New Preset
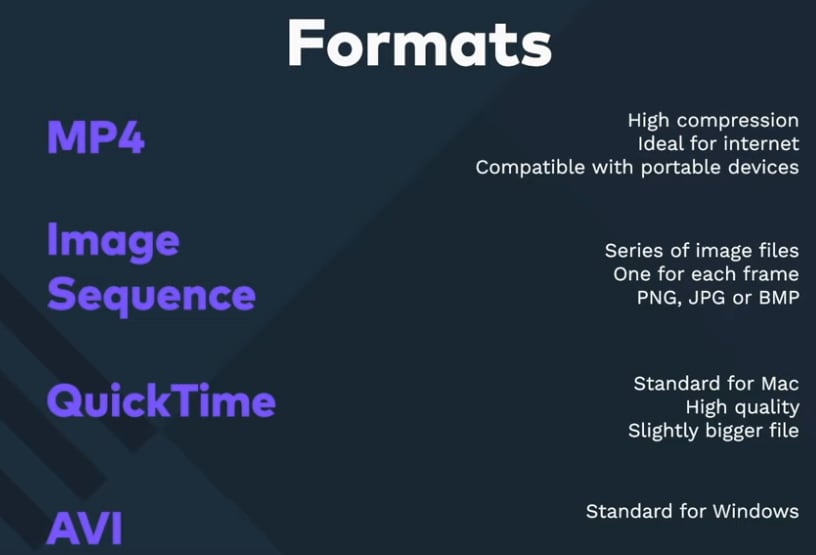
We can right-click on the panel and go to the Create Preset option. Or we can directly click on the New Preset button. Then we’ll select the format and we can select between the four formats.
- MP4- This is a compressed file format with a smaller size and ideal for social media and compatible with most portable devices.
- Image Sequence- It will create a series of image files, one for each frame of video.
- QuickTime- It is the standard video format for Mac. It will produce a higher quality result usually with a slightly bigger file size.
- AVI- This format will only be available on Windows PCs and is a bigger sized and uncompressed format with greater quality.
In this case, I will select the QuickTime format. Now, the edit export preset window will pop up. The first thing to do is to name our new preset. I will call this one tutorial preset. Here we can add a comment so it’s easy to identify the purpose of this preset.
If you need ideas, you can look at built-in preset comments. In this case, I will write for FilmoraPro tutorials. We can select if we want to export audio-only or only video or both by activating/deactivating the White squares on the Property column.
Video Properties
On the video properties, we can select the codec, dimensions, scale mode, frame rate, channels. They are listed in detail here.
Codec
The codec is the algorithm process of how the video will be coded and decoded. This also affects its compression. With higher compression, the file size will be smaller and with lower compression, the video quality will be higher. Not all codecs will be available for all the formats. Some codecs are only available on Windows or on Mac.
The Apple ProRes codec is standard for Mac on QuickTime format files. There are five different codecs for the ProRes from lower quality to higher quality. These are 422 proxy, 422 LT, 422, 422HQ, and 4444.
The photo JPEG codec will use the same type of compression of JPEG image files. It will maintain a good quality image, especially on a low frame rate.
GoPro Cineform is designed for professional video editing with speed and quality at the expense of very high compression size.
The DVD formats are made to export the videos for Cathode TV monitors; there is an NTSC and PAL version available.
Dimensions
On dimensions, we can choose if we want to stick with original project dimensions or if this preset is going to transform the resolution of the final video. If we deactivate this white square in the used source column, we can choose the final dimensions.
Scale Mode
In Scale mode, we can choose how the image file will adapt to the new size.
Frame Rate
Next, we can choose to change or keep the frame rate.
Channel
On the channel, if we change from the RGB to RGBA, then the final video will export any transparency we’ve created. This option is available for some codecs only.
Audio Properties
The audio properties include Codec, channels, sample rate, and bit rate.
Bitrate
The higher the bitrate, the higher the quality and a lower amount of compression in the video.
Sample Rate
You can select the sample rate from the drop-down menu as you want.
After customizing all the properties, click on the Ok button. In this way, our new preset will appear in the User Preset Folder on the Preset Panel. And we will be able to choose it from the column in the Cue panel.
Once our settings are set up, we can click on the Start Exporting button. This process may take some time but we will see the progress in the Cue panel and preview the current exporting video on the Preview panel.
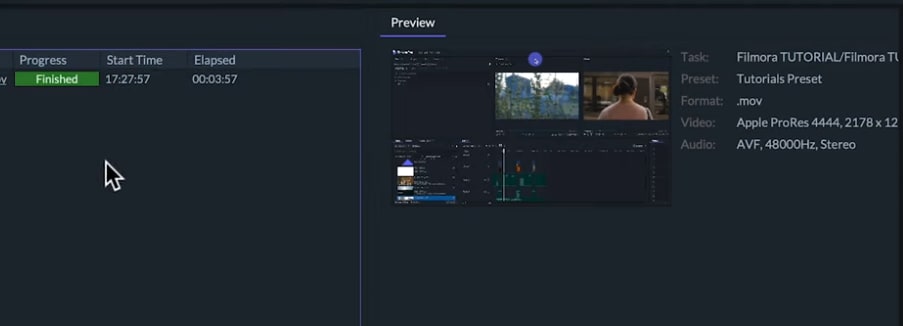
When the process is over, we can search for the path we have chosen to export our project. Or just click on the Output column and then we will find our video file edited by us ready to be played, sent, or uploaded.

