

In this tutorial, we’re going to learn how to change the speed of a clip. We’ll learn how to use the Rate Stretch Tool, the Speed/Duration feature and the Speed Effect.
Let’s learn different ways to change the speed of a clip.
Using Speed/Duration Feature
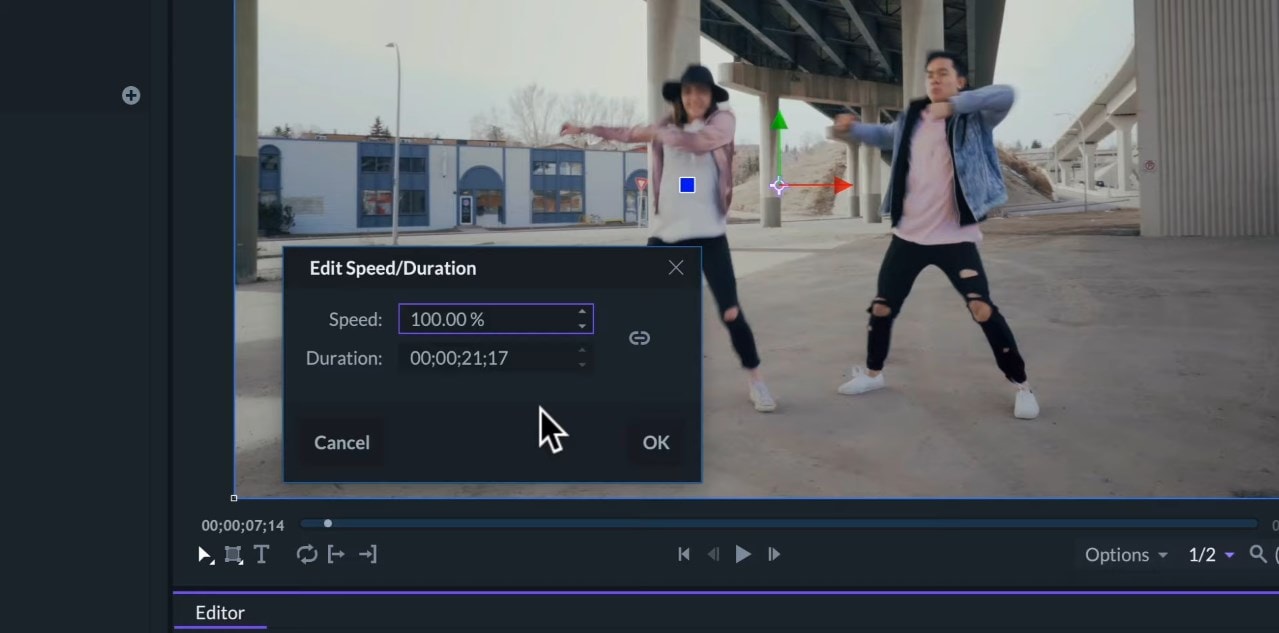
There are several ways to change the speed of a clip to make it play in slow or fast motion. The first one is by right-clicking the clip and clicking on the Speed/Duration feature. A window will appear and here, we can change the percentage of the speed, which by default will be set to 100% i.e. normal speed.
A higher number will be faster and a lower number will be slower.
Else, we can select the final duration that we want the clip to have and the speed percentage will Auto-Adapt to it.
Using the Rate Stretch Tool
We can also quickly change the clip speed by simply dragging it with the Rate Stretch Tool (Hot Key S). If we stretch the clip, it will play slower and if we squeeze it, it will play faster. This tool comes quite in handy when we know the space in the timelines that we want to fill with the clip.
For instance, notice the clip shown in the below figure or video, with this clip that there are no frames to extend by trimming. We can stretch the video to fill the gap and the snapping red lines will help us match with the cut.

Using Speed Effect
The last way of changing speed is by applying a speed effect. This one is a more advanced tool because it lets us add keyframes and negative values to the speed. This means that we can make the speed ramps and also, make the clip go forward and backward.
I’ll explain with some examples for better understanding-
To enable keyframing, we can click on the circle left to the Speed. This way a new keyframe will be created every time we change the speed value. The value of this effect corresponds to the value of the project. So, 1.0 is regular speed, 2 is double the speed, 3 is triple, 0.5 is half the speed and 0.25 is quarter.
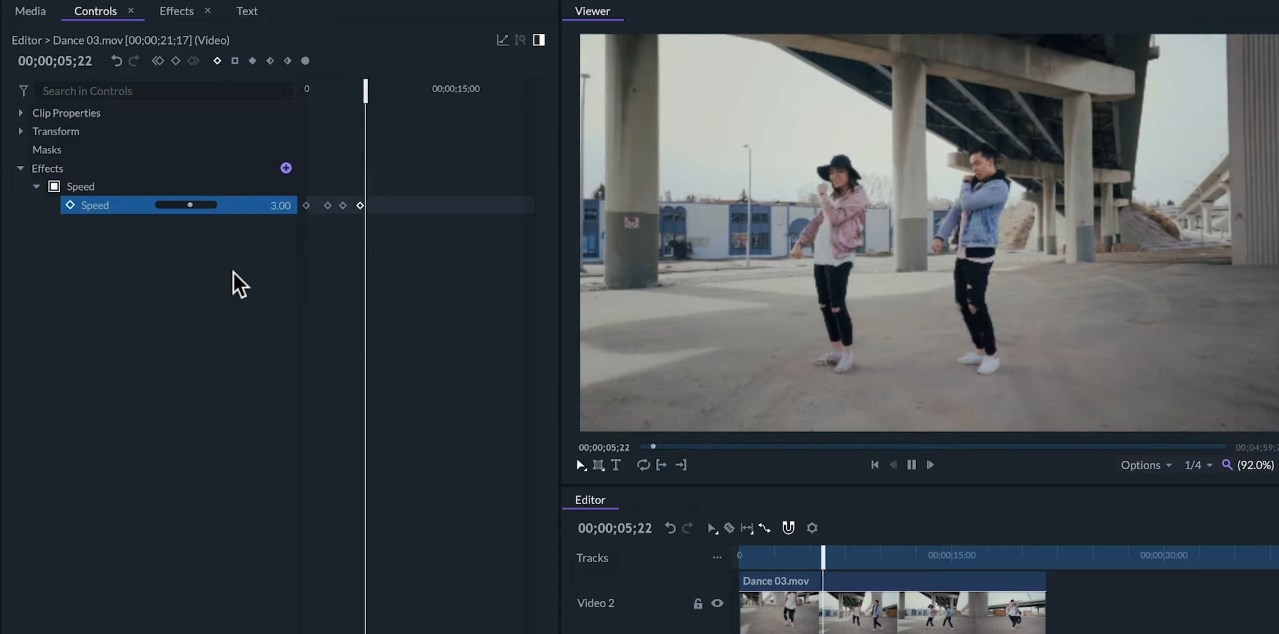
Zero means no movement so the frame would be frozen and any negative value will play the clip backward. So, negative 1 is playing backward at normal speed, negative 2 is playing backward at double speed and so on.
As I’ve activated keyframes on the speed value, we can see how the speed changes a long time. This technique is known as speed ramping.
Be aware though that this effect will not change the size of the clip on the timelines. Also, this effect will not affect the sound in the clip like the rate stretch tool does.
A feature of this effect is that it automatically adds frames blending which will soften the movement of slow motion so that the end result doesn’t look as choppy. Usually, if we want to use videos in slow motions, we should increase the frame rate on the camera when recording. This will let us have slower and smooth videos, but the possibility of doing this will depend on the camera that we’re using.