

In this tutorial, we’re going to learn how to sharpen and blur our image. We’ll learn the sharpen effects, the blur effects, and some techniques related to them.
Sharpen Effects
We can sharpen an image if it’s softer than what we’re looking for and we need to add some details to it. We can also use it to recover the detail if it’s slightly out of focus. If the image is completely out of focus, we’ll not be able to recover it.
In the Effects panel in a Sharpen folder, we have sharpened and unsharpen effect. Both have the same purpose, but with some different options.
Let’s start by applying the sharpen effect to our clip. To try to get more detail out of it, this effect will increase the contrast in all of the edges.
- Strength - it will adjust the amount of sharpening.
- Feature Size -it will increase the radius around the edges that are getting sharpened.
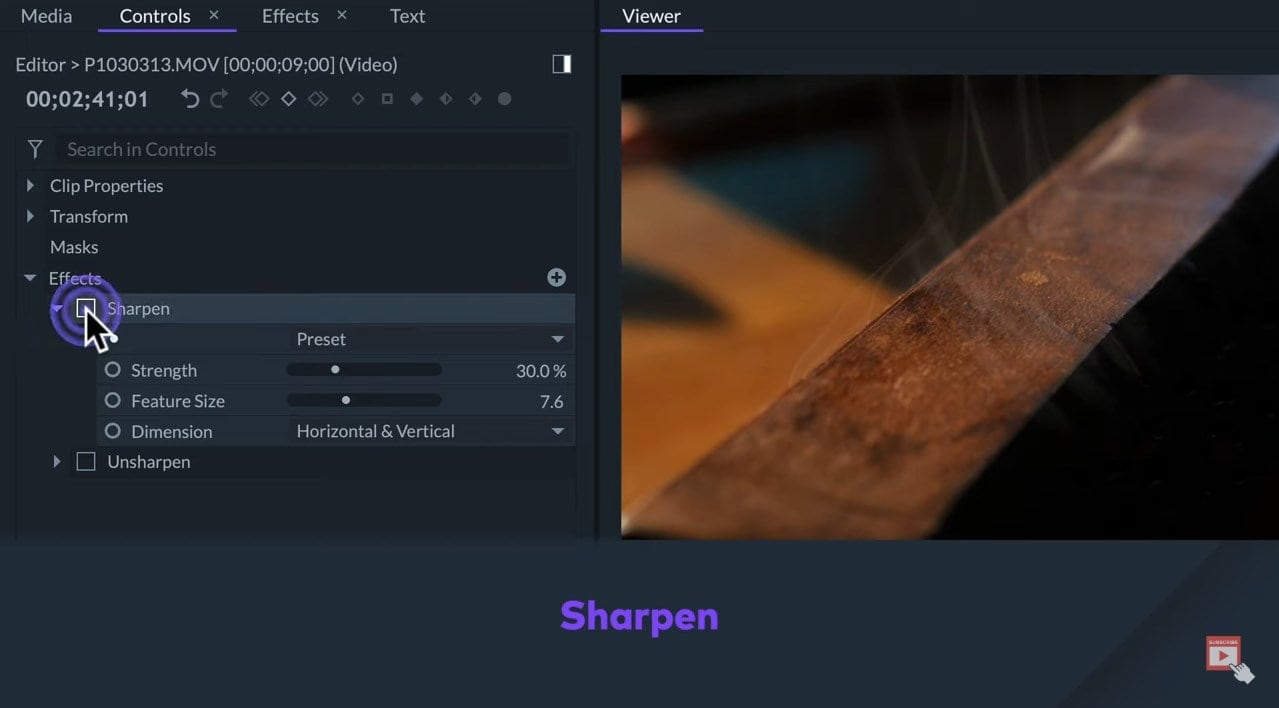
The downside to this effect is that it affects the overall image. So, it usually ends up adding some noise to the areas that are out of focus.
Unsharpen Effects
The unsharpened effects will let us change the amount and the radius similar to the sharpen effect. But, there is also the threshold that will modify which edges will be affected. So, if we increase the amount a little bit, we won’t be affecting the areas that are out of focus. The downside to this effect is that in some cases it will only affect the outlines of some objects. In other cases, it will cause some artifacts like the red details shown in the video.
Thus, it is up to you to check and decide which one of the effects to use in each case.

Blur Effects
1. Blur
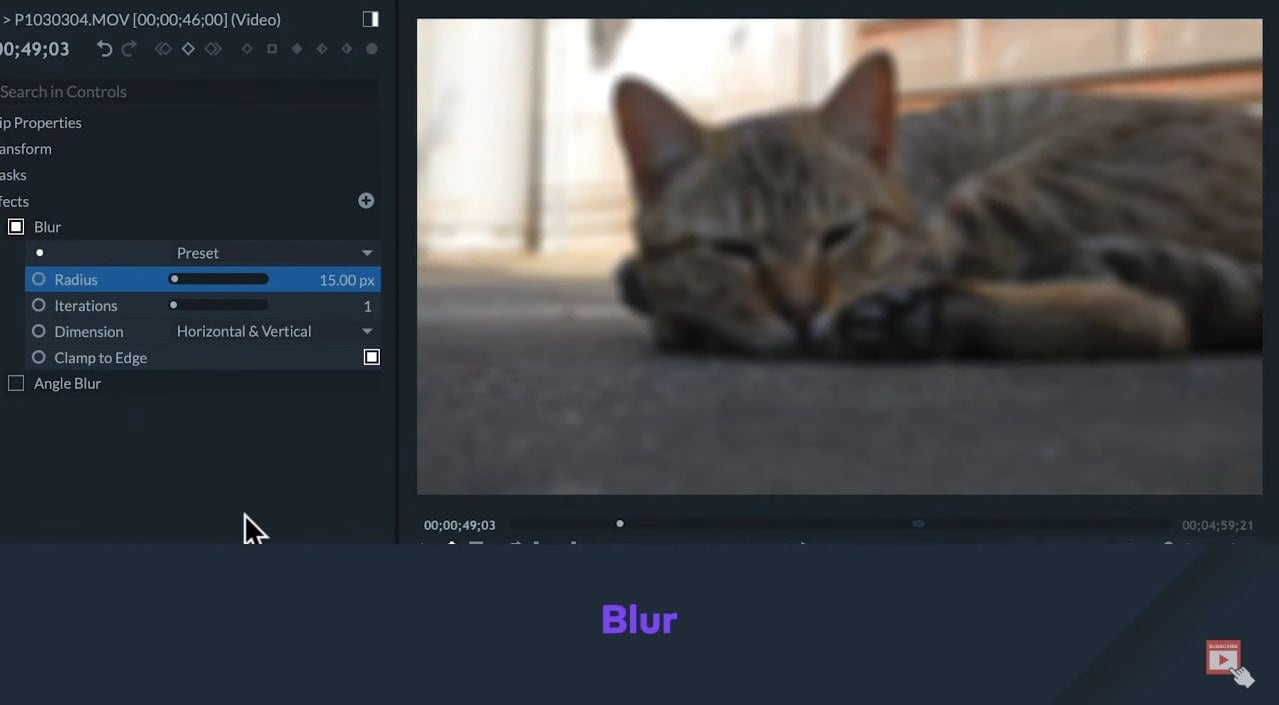
Blur effects will do the opposite of the sharpen effect. They’ll make the image loses details in certain ways to create aesthetic effects or to imitate camera distortions. The blur effect will affect the overall image by applying a fast blur like a lens out of focus.
- Radius - With the Radius, we can affect the strength of the blurriness.
- Iterations - it will affect the frequency and softness of this blur.
- Clamp to Edge - it will maintain the opacity on the edges to avoid translucent edges by the blur. This is especially useful if our clip matches the size of the project. But, if want to apply for a smaller file like this graphic shown in the video, we may deactivate this feature.
2. Angle Blur
Angle Blur will blur an image within a direction. This effect emulates what happens when a camera makes a quick move sideways. In this effect, we can choose the direction and strength of the blur. As an example, we can add this effect to the clip when it speeds up to add more sense of velocity.
3. Radial Blur
Radial Blur will blur an image around the spot in a frame in a circular pattern. We can adjust the angle of the blurriness and the position of the center. This will emulate what happens when the camera spins on the z-axis. So, for example, I have applied it to the drone shot that you can check out in the video.

4. Zoom Blur
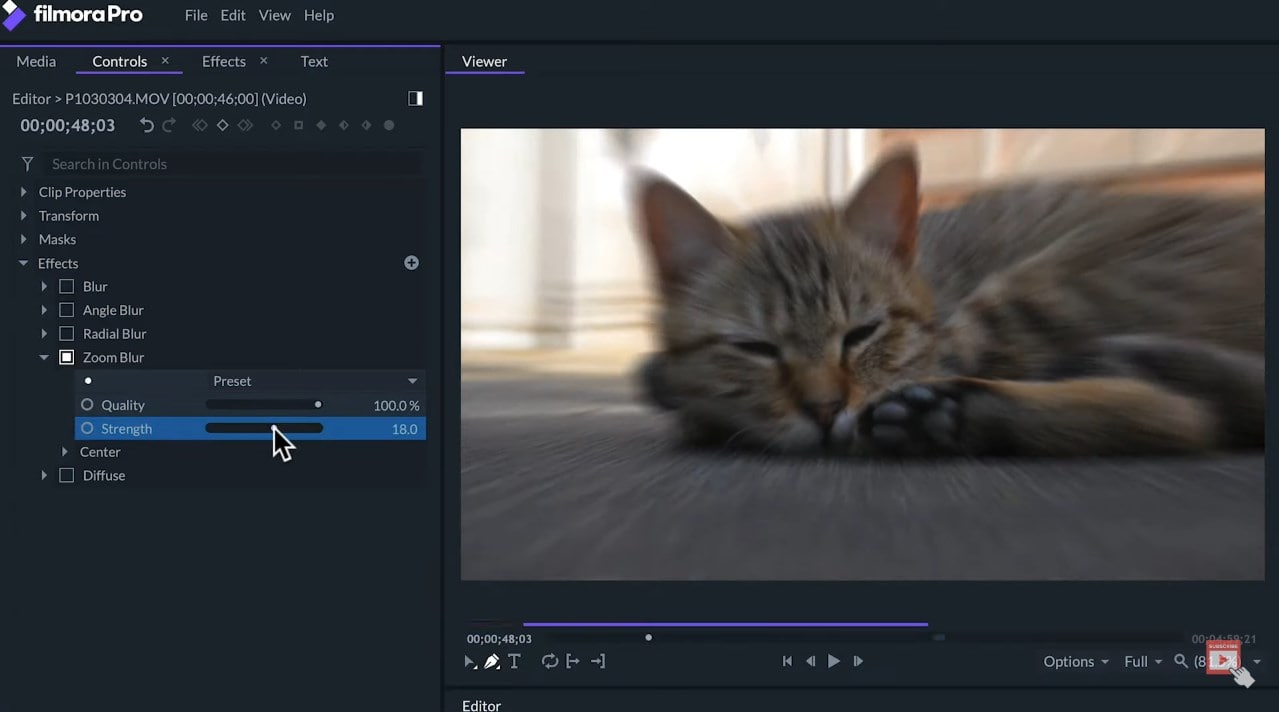
Zoom Blur will blur an image from the center to the edges of the frame imitating the blur of a camera moving forward or backward or quickly zooming. If we decrease the quality, the individual iterations will be visible.
5. Motion Blur
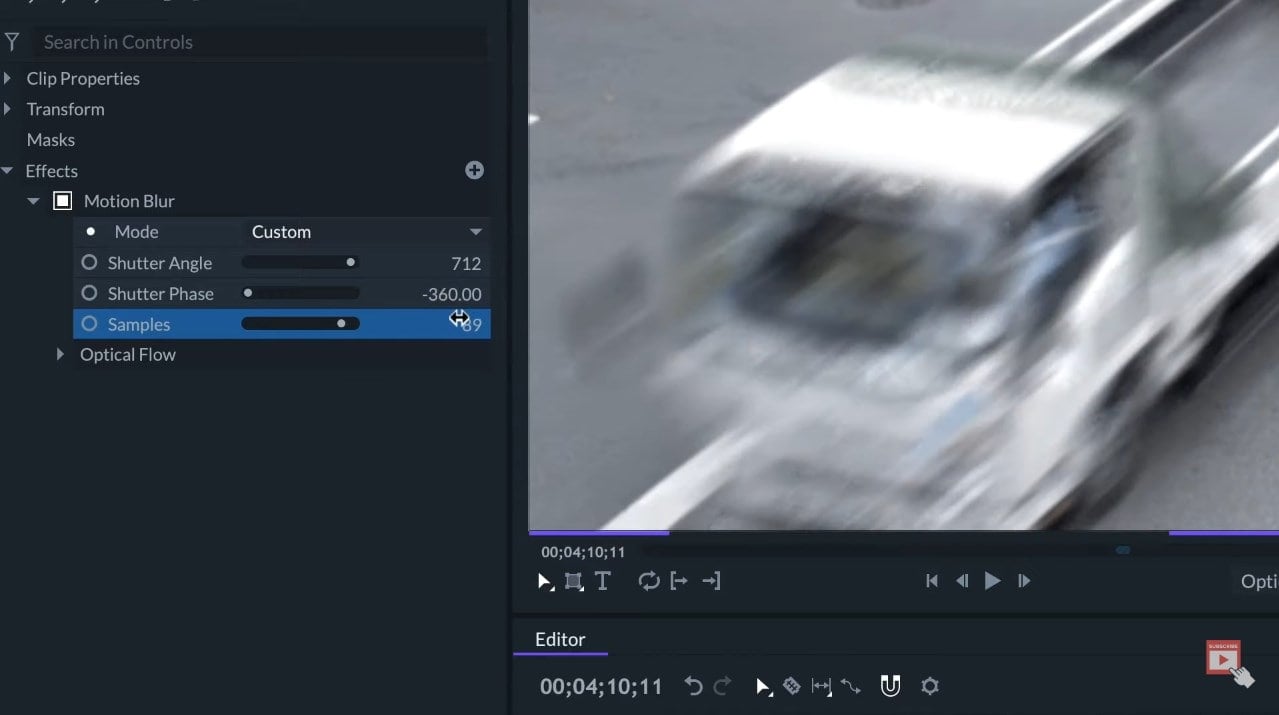
Motion Blur will blur fast-moving objects and not the ones that are not moving that fast. To use it, we should set a mode to custom. By increasing the Shutter Angle, it will extend the motion blur. The Shutter Phase will position the blur in relation to the moving objects. This will offset the blur in front of or behind the object. If we go too far with the slider, we will some iterations and artifacts, but increasing the Samples will make the blur smoother.
Defuse
Defuse will overlay a duplicated layer out of focus to generate a softer blur like a dreamy effect.
Techniques
Now, let’s see a trick to make some effects with blurs. If we overlay two copies of the same clip on different tracks we can apply some blur to the clip on the bottom track and then masking the clip on the top, we can select which section of the frame will not be affected by the blur. This technique will help us guide the viewer’s eye to pay attention to a certain section of the frame.
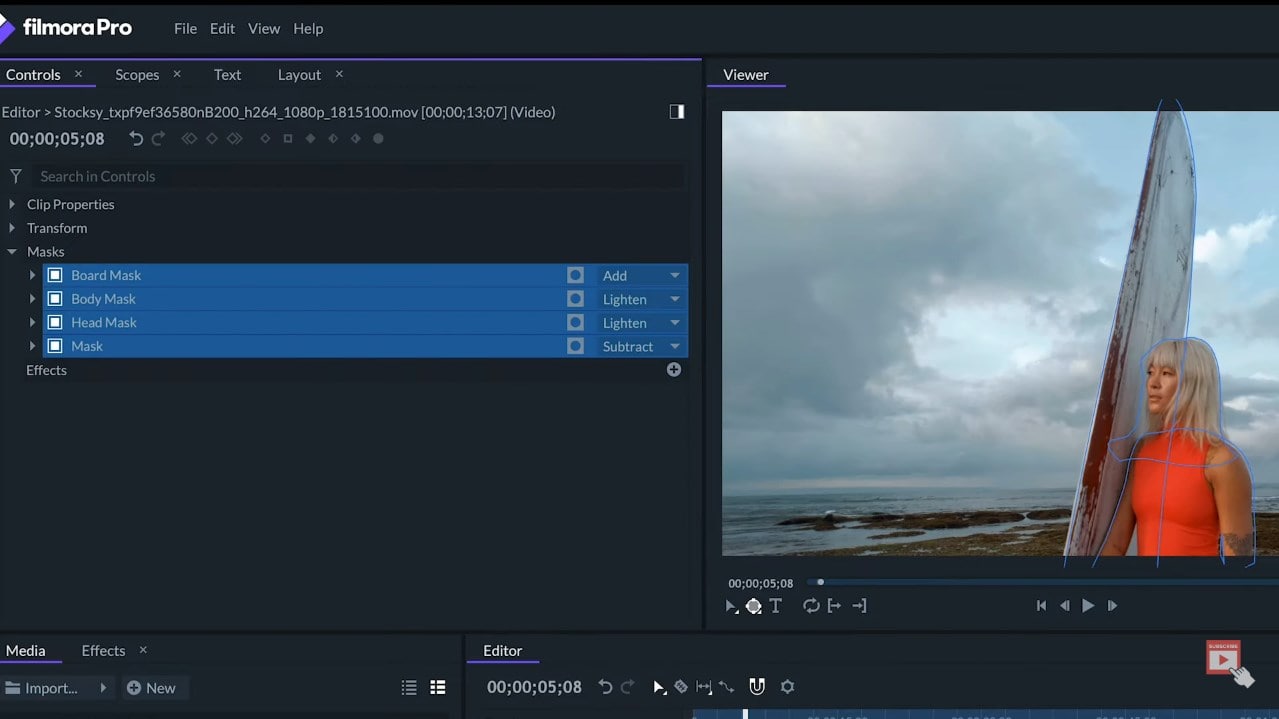
For example, in this first clip, I’ve masked out the subject leaving everything else out of focus. This is a good way to fake a shallow depth of field.
For this shot as shown in the video, I’m making a circular mask in the center of the frame. Adding some feather to it and using radial blur, this way I’m faking some lens distortion on the edge of the frame to get this aesthetic look.
In the drone shot, I can apply a rectangular mask with a lot of feathers in the center of the shot to fake tilt-shift effects. This way the landscape looks like a miniature.
I can apply some color effects and scale to the clip at the bottom to make the background for motion graphics.
So, that’s how to work with blurring and sharpening. To learn more about editing in FilmoraPro, make sure to check our other tutorials.