

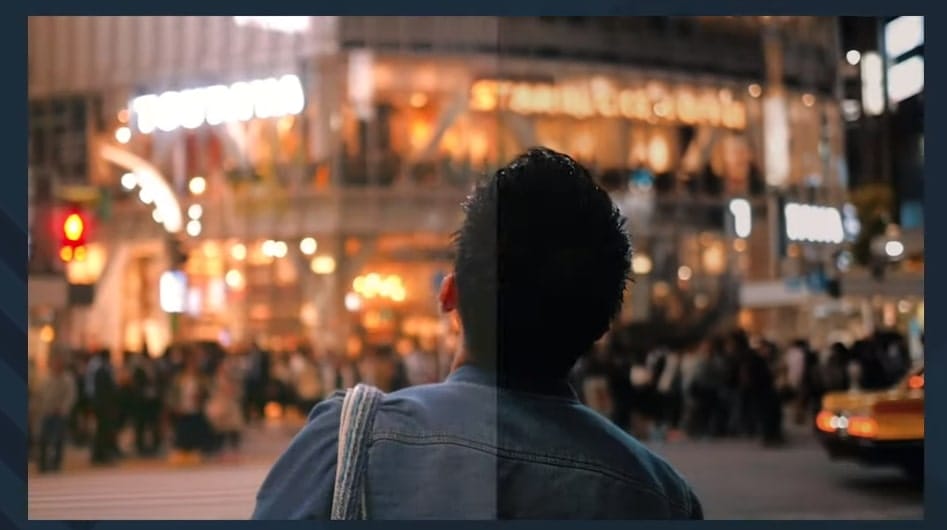
In this tutorial, we’re going to have a look at color grading. We’ll learn some new tips effects and how to do this process of color grading.
Color Grading
Color grading is a step to give a style to our video and it always comes after color correction which is a step where we match the clips. If we try to color grade first, we’ll be modifying our initial footage a lot which makes matching the clips later a lot harder.
While color correction is a technical process, color grading is much more subjective and there’s not one single or correct way in doing it.
The goal of color grading is to give a style or mood to your video. So, to color grade, we should always think about what kind of we’re trying to go for and why. Do we want the mood to be more tense and dark or warm and cold and sad and maybe you want to use a specific color palette?
It’s good to experiment with different effects but just applying random effects without thinking about the reason why we are doing it might end up giving the wrong vibe for our final video.
Any effect we use for color grading should be applied below the effects we’ve used for color correction. Otherwise, it’s going to ruin our corrector and the clips might not match.
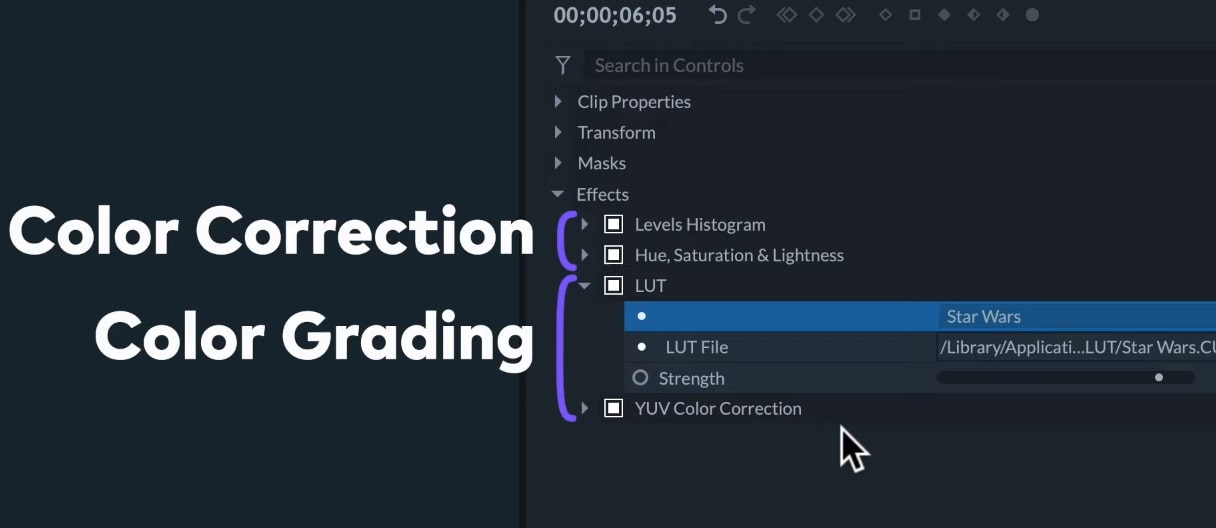
The most popular effect for color grading is the LUT effect. LUT means Lookup table and the effect that will let us choose between the different look-up tables that are already available in the random FilmoraPro or the ones that we’ve downloaded.
We don’t need to stick to the default look of the lights so we can also reduce this effect by reducing the strength to mix back the original colors and to get a mood that we’re looking for. We don’t find the LUT we want, we can create the look for color grading from scratch by using different effects or combine these effects with LUTs.
Let’s go over some effects that can be used for color grading
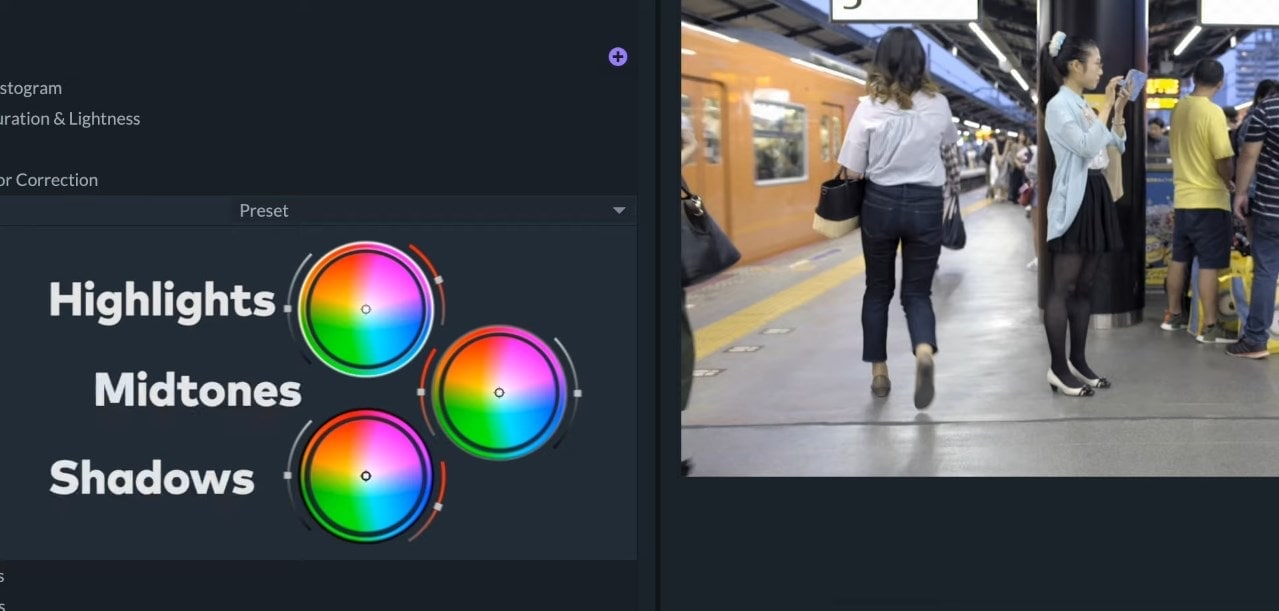
1. YUV Color Correction
YUV Color Correction is one of the most powerful effects for color correction and color grading in FilmoraPro. It has three wheels - one for the highlights, one for the mid-tones and one for the shadows. So, with two sliders around the wheel, we can adjust the brightness and saturation. The circular dial will alter the colors by rotating them around the color wheel and we can’t intimidate the desired color by moving the small marker, as shown in the video.
In this way, for example, we can give different colors to the highlights and the shadows.
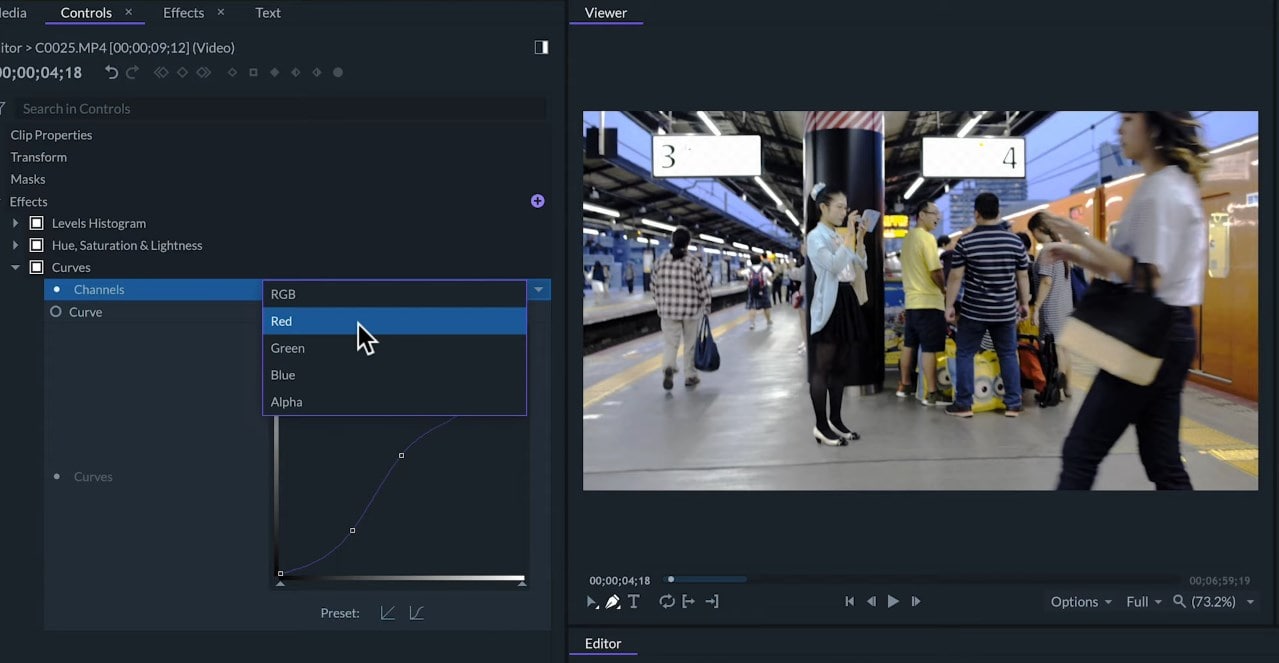
2. Curves
The Curves effect is similar to the Levels effects, but it works a little bit differently. The left side of the line represents the dark pixels and the right side represents the bring pixels.
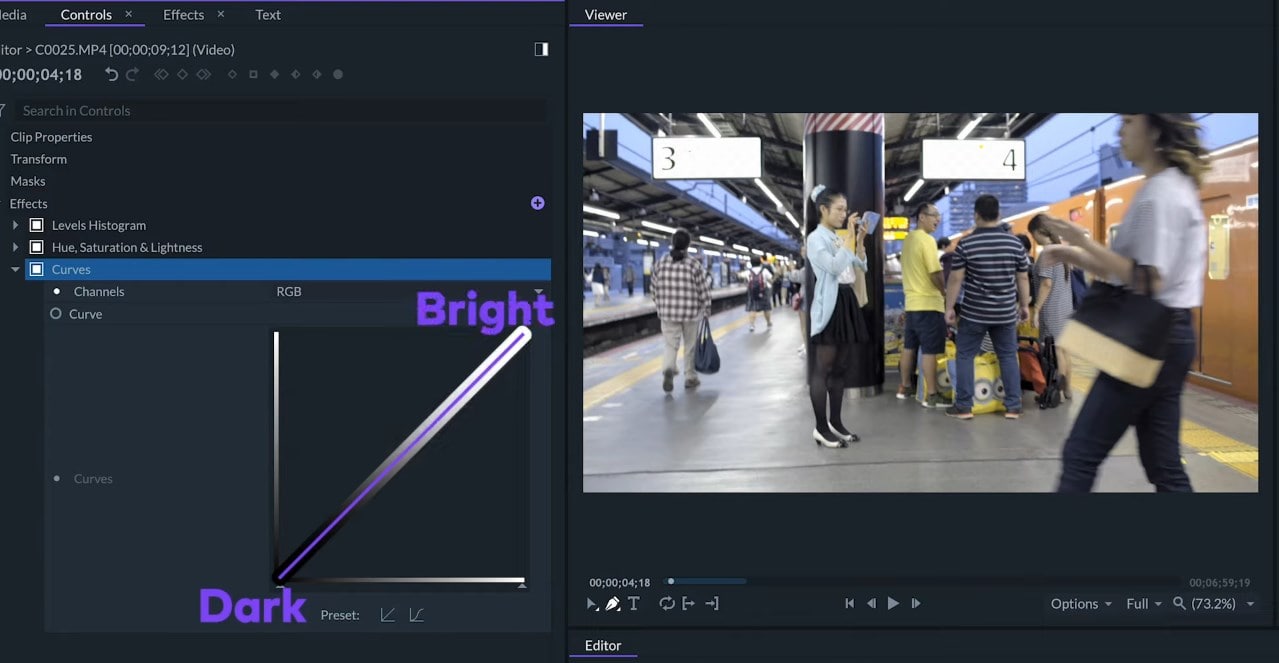
By moving the tips of the line on the left to the right, we’ll be changing the black input. So, everything beyond that point will be completely black.
If we move the other tip of the line left, we’ll be changing the white input so everything beyond that point will be completely white. By moving it down, we’ll be changing the white output so that it will limit how bright the white goes. In other words, the brightest white will only go until a bright gray.
If we move the other tip of the line up, it will change the black output so the darkest color will not be black, but a dark gray. To change the gamma which is the middle gray values, we can set a point and move it around.
What makes this effect different than levels is that we can place several points between the black and white to adjust the gamma and may any curve we want.
A common curve is the S curve which will make the highlights brighter and the shadows darker. But, for this example, I can leave the shadows dark and soften the highlights if I want to.
Just like levels, we can also adjust the separate channels.
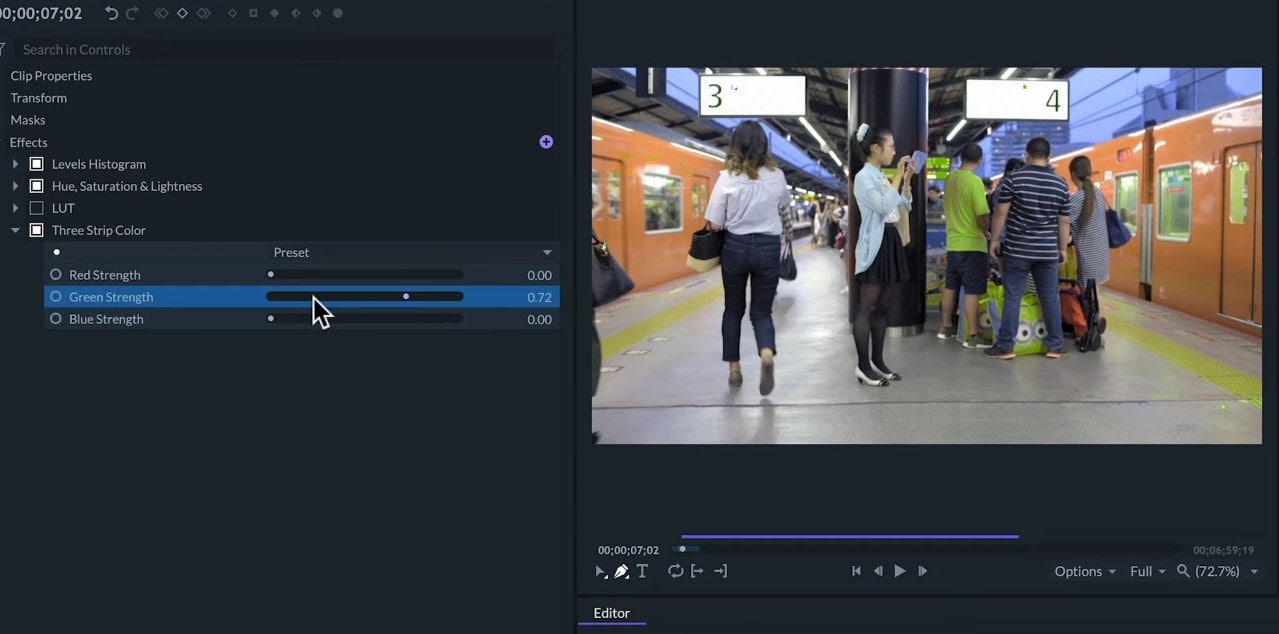
3. Three Strip Color
Three Strip Color effect recreates a technique used in the early days of color cinema. It lets us boost the strength of the primary and secondary colors.
4. Two Strip Color
Two Strip Color effect will generate the simulation of the two color strip process. This effect is a vast way to accentuate a two color pallet in our video.
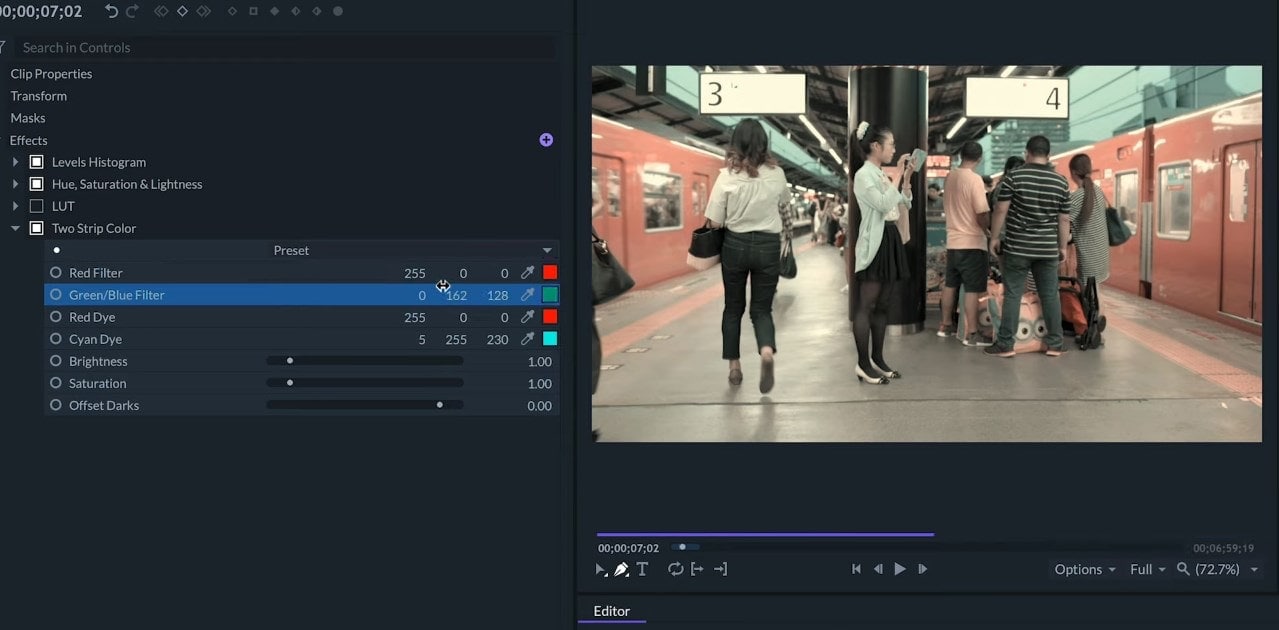
When color grading, especially with these kinds of effects, we should always keep an eye on the skin tones to make sure that we don’t make it look too unnatural.
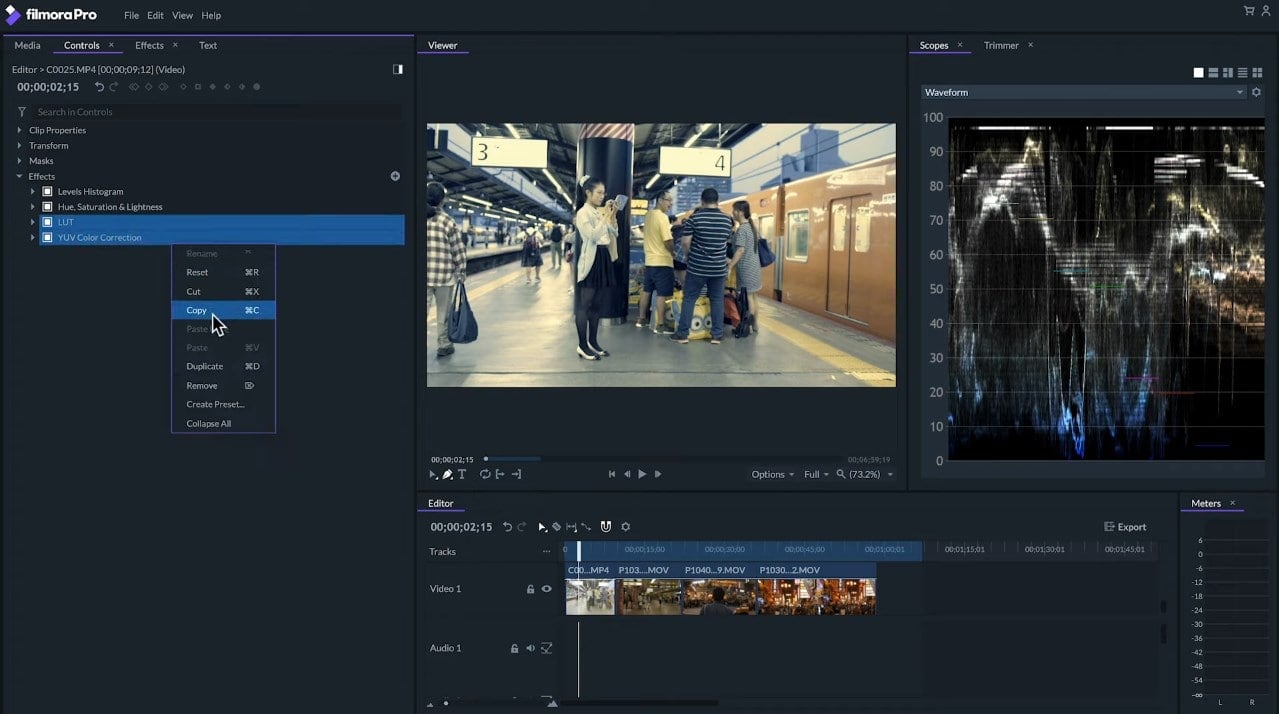
Copying and Pasting Effects
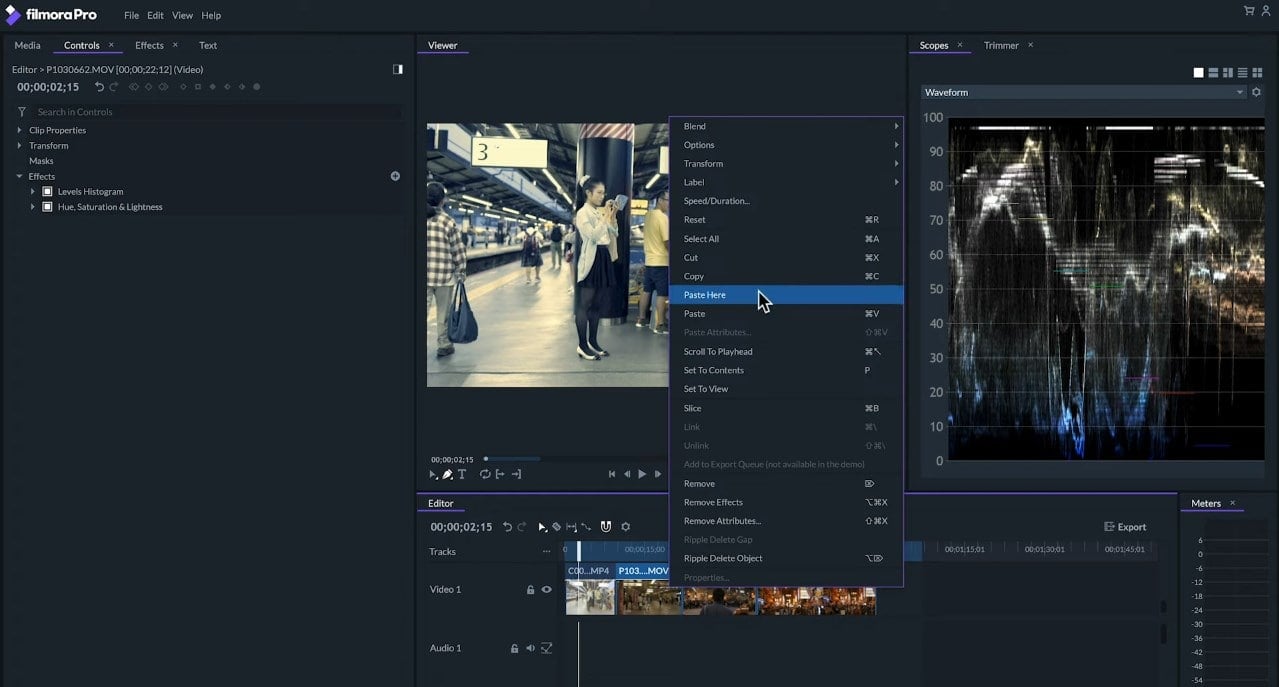
Once we’ve got a color grade that we’re happy with on one of our clips, we can copy the effects we’ve used for the color grading by selecting them and right-clicking on them and then, click on Copy.
Paste them on the rest of the clips in the video by selecting them and right-click on one of them and then, click on “Paste Here”.
If we’ve done the color correction and matching first, the color grading will be matching as well between all of our clips without any need for adjustment. Although we can do still do some adjustments if we feel that’s best for the scene. Always keeping an eye on the consistency between the clips and that’s why we did the color correction in the first place.
So, that’s an overview of how to do color grading in the FilmoraPro. To learn more about editing in FilmoraPro, make sure to check out our other tutorials.