In this tutorial, we’ll get familiar with the effects. Here, we’ll learn how to use effects panel, how to apply and adjust effects. Also, you’ll get to know some specific effects.
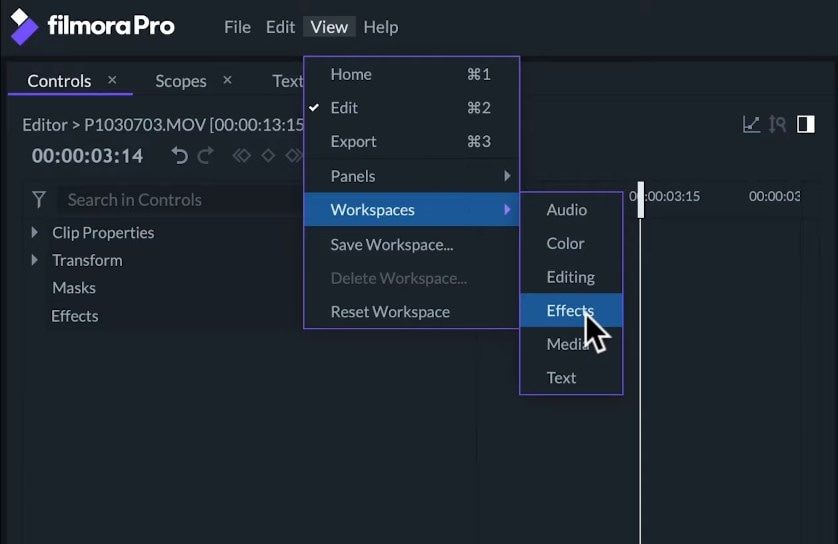
Well, FilmoraPro has a lot of effects which are in the Effects panel organized in folders. A great way to learn about these effects is by experimenting with them on clips and seeing what they look like. For this process, we’ll recommend that you should use the effects workspace. So, we’ll go to the View > Workspaces > Effects.
Let’s Start with Effects
On the Effects Panel, we can select if we want to see all of the effects or only the video effects, audio effects, presets video transitions or audio transitions.
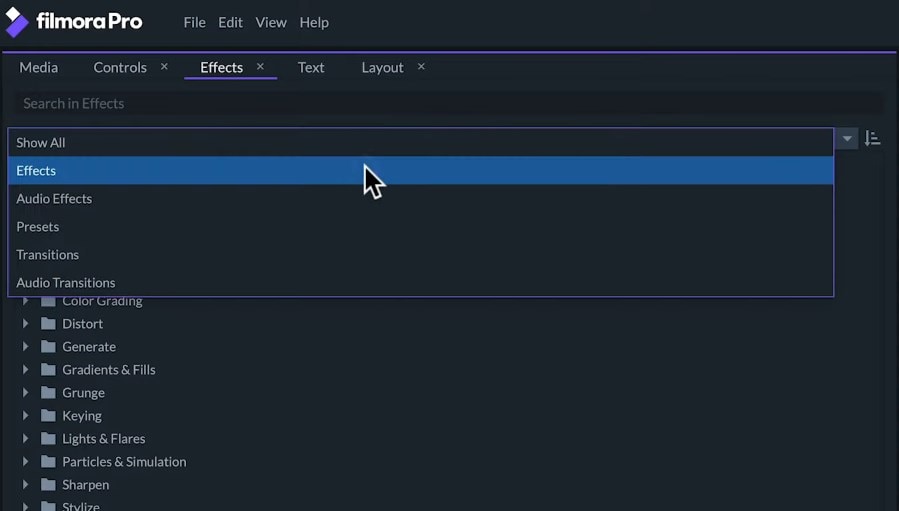
We can select to sort them in ascending or descending order by clicking the icon located at the end of drop-down menu. If we want to search for a specific effect, we can use the search bar. To apply an effect, we must drag the effects to the timeline and drop it on the clip we want to apply it to. The effect will appear on the Controls Panel when the affected clip is selected.
Here, we can click on the square located left to the effect to activate or deactivate the effect. If we click on the small arrow located left to the effect, the options for that effect will drop down. Here, we can adjust the effect of how we want or we can apply a preset adjustment to it.
Most effects will also have controllers on the Viewer screen. We can apply more than one effect on the same clip. The effect that appears on the top of the controls will be applied first and the one that’s on the bottom will be applied last.
So, if drag the effects to change the order, then the end result would look different. Let’s make an overview of some effects and look at their settings.
Lets’ Start with Blurs Effects
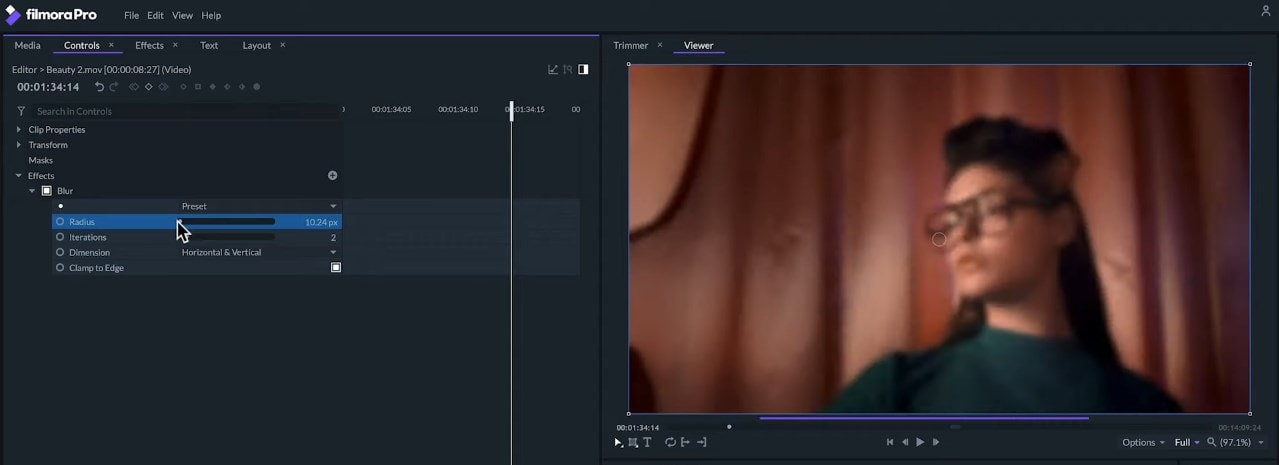
The basic Blur effect will affect the overall image similar to a lens out of focus. On the Effects panel, we can change the radius of the blurriness and you can see this setting has a circle on the left which means that we can animate its value. To do this, we’ll first set a value at the beginning of the clip and click on the circle located left to the Radius option to create a keyframe. Then, we’ll move the playhead and change the value. We can see in the Viewer how the blurriness gets stronger over time.
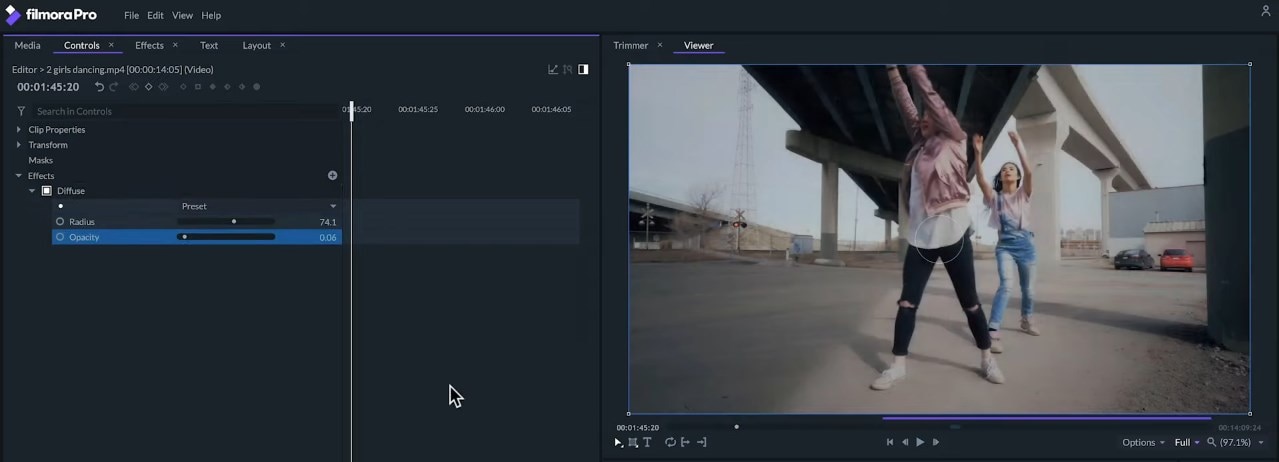
Diffuse Blur -The diffuse blur will apply a soft and transparent blur like a dreamy effect. We can change the radius of the blur and the opacity.
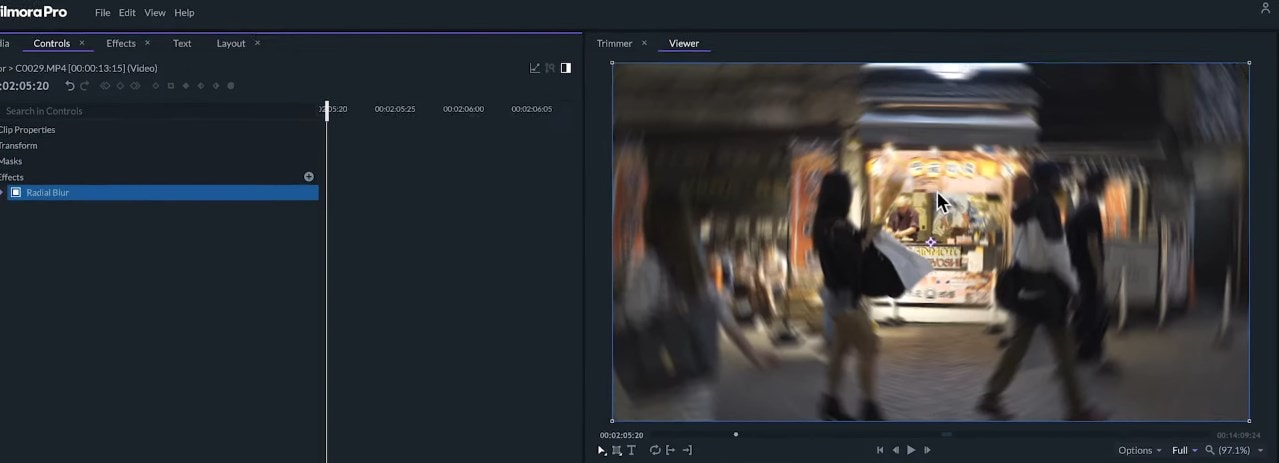
Radial Blur - The radial blur will make a circular blur like a spinning camera effect.
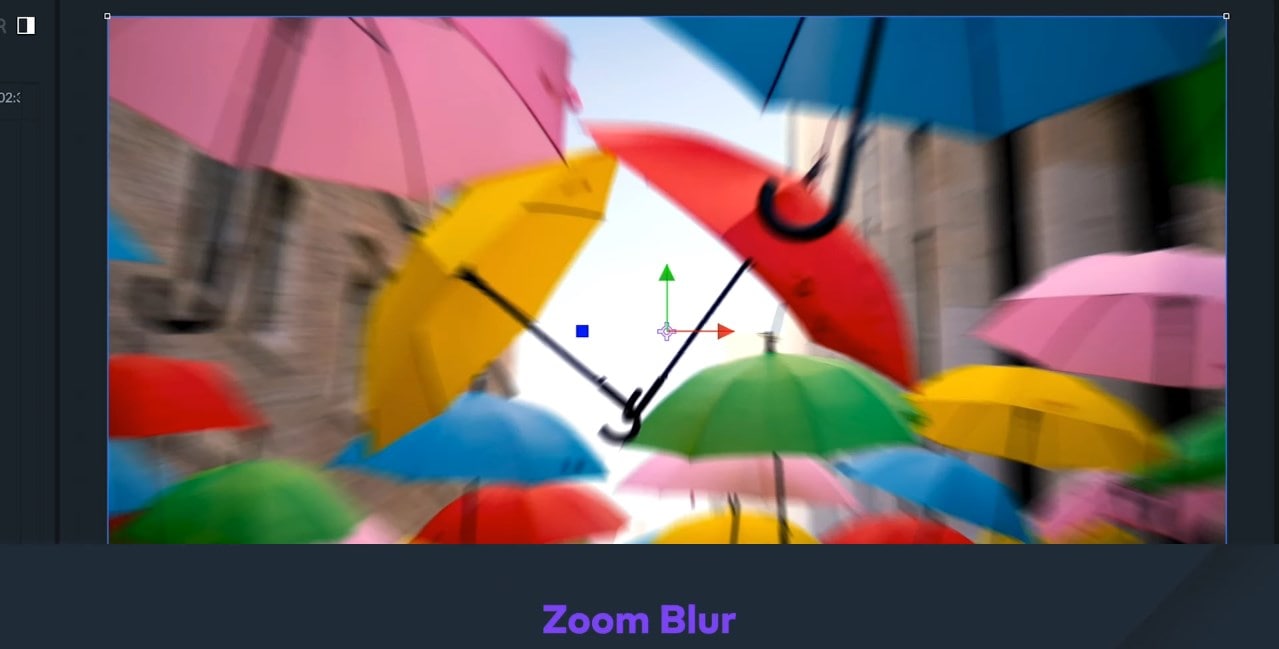
Zoom Blur - The zoom blur will imitate a fast-moving motion blur.
Grunge Effects
The Grunge effects will give our clip an old or damaged appearance.
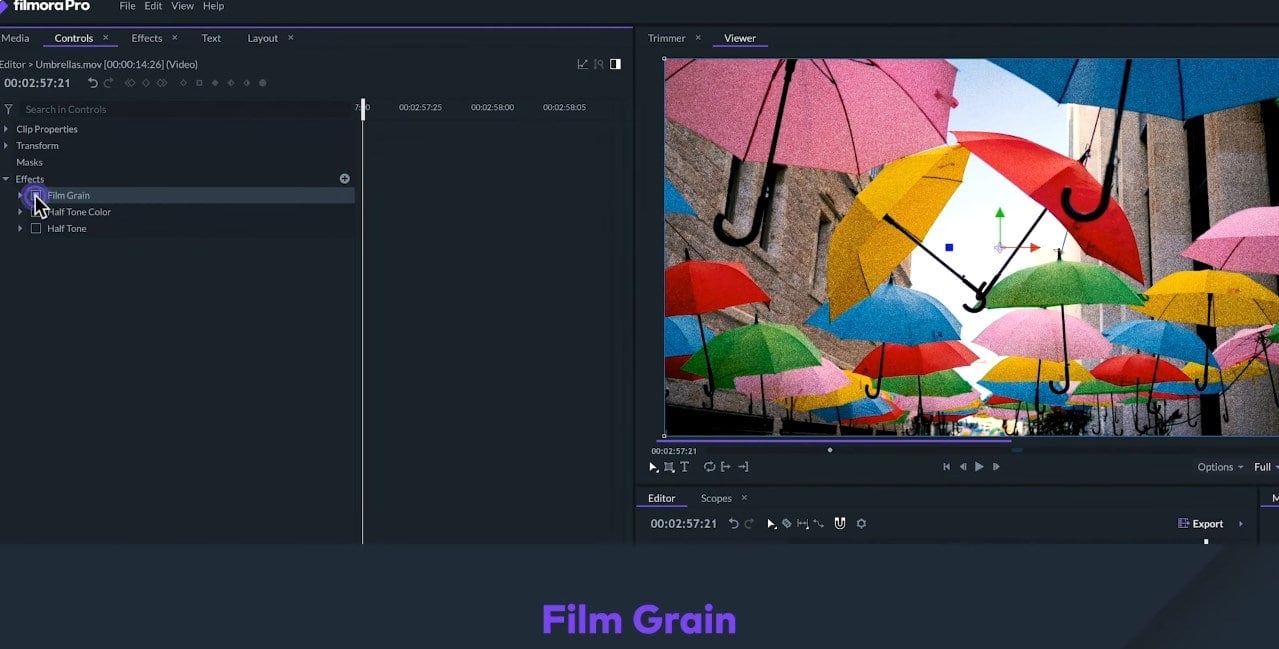
- Film Grain - will put noise on our clip to imitate the old film videos.
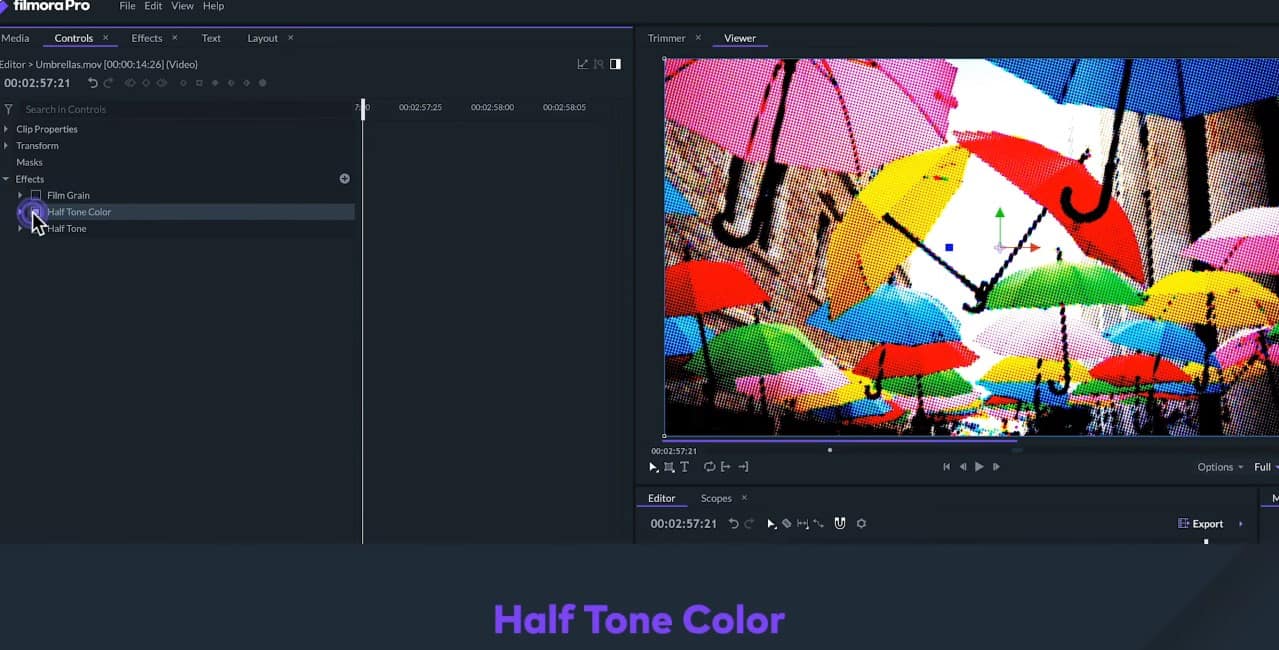
- Half Tone Color- it will imitate the printing method usually related to old comic books.
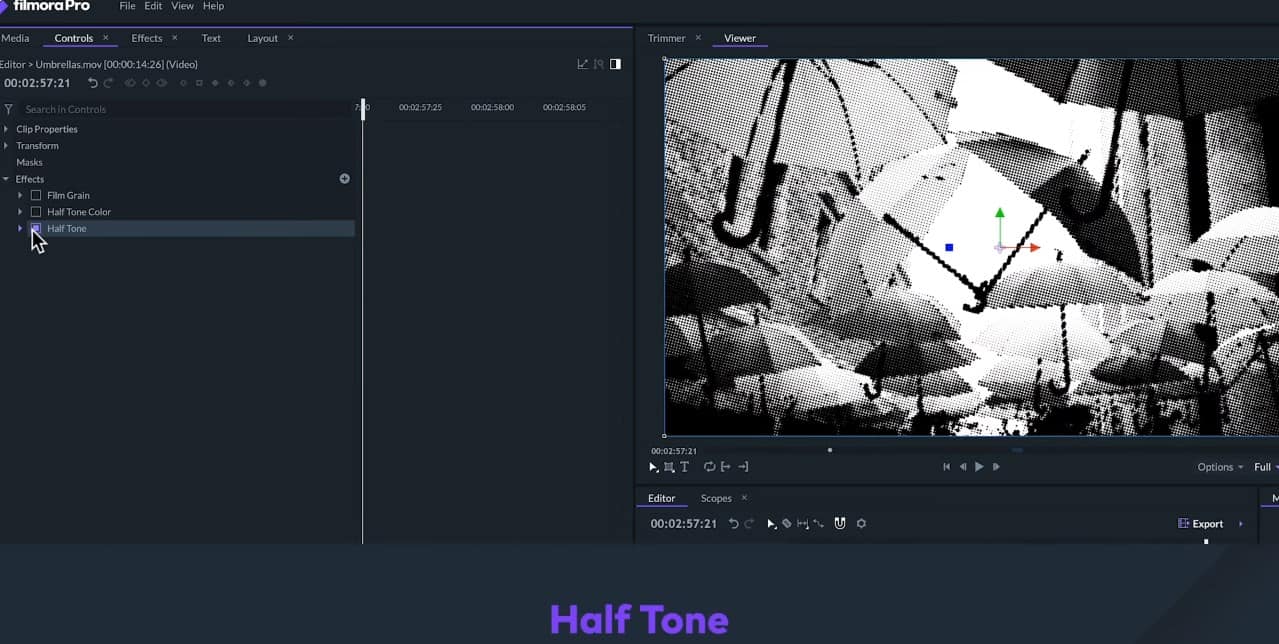
- Half Tone - There’s a black and white and a color version.
Shake Effects
The Shake effects will animate the position of the clip simulating a camera shake or an earthquake. We’ve animated the amount of shake in the dancing clip where dancers jump.
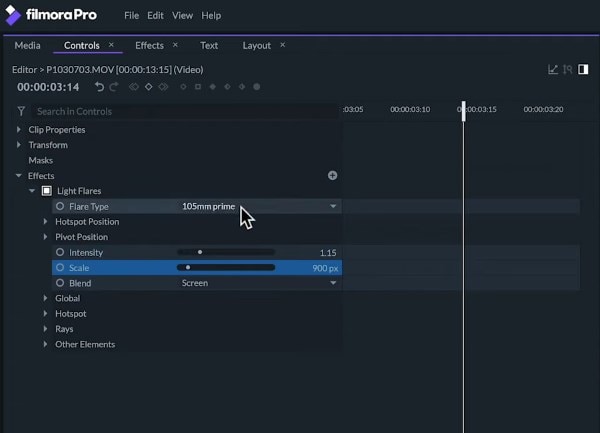
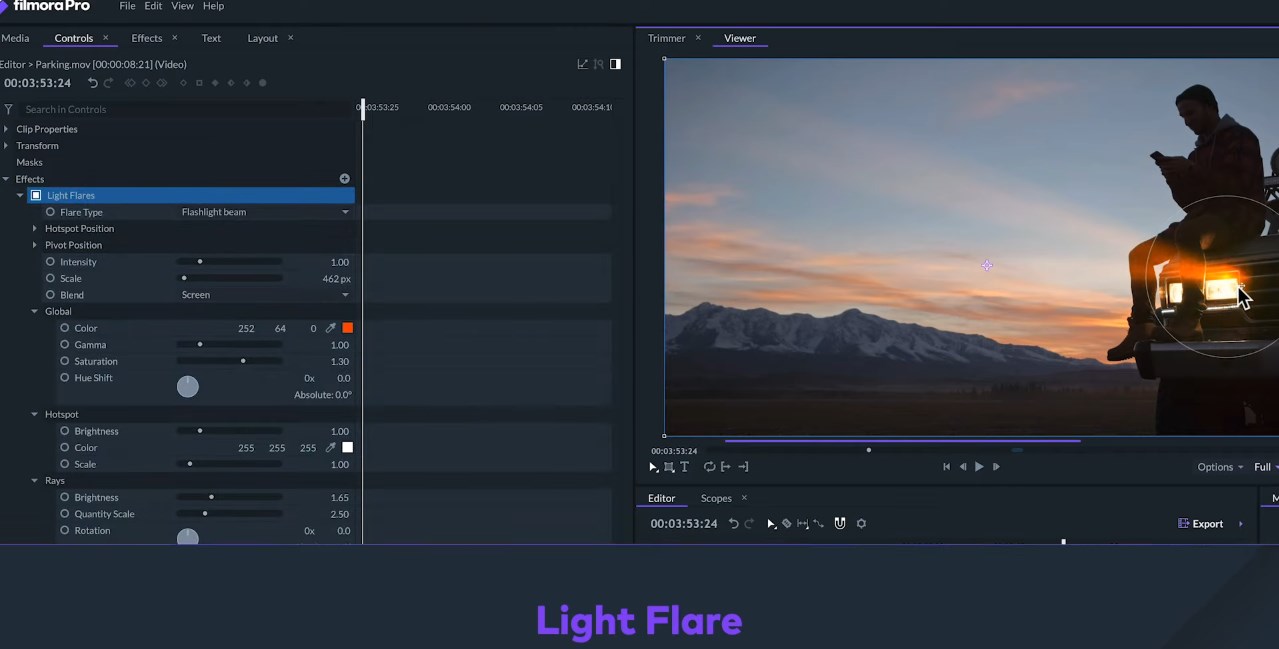
Light Flares Effects
The Light Flares effects will imitate some effects of the light hitting a camera lens. For example - with the light flare effect, we can change and animate its position scale and pivot position. Or we can apply a preset adjustment to it.
Generate Effects
The Generate effects will create visual elements on the screen.
- Vertical video effect - it is ideal when we want to add a vertical clip inside a horizontal video project. This effect will fill the back bars on the sides with information from the clip to get a better aesthetic.
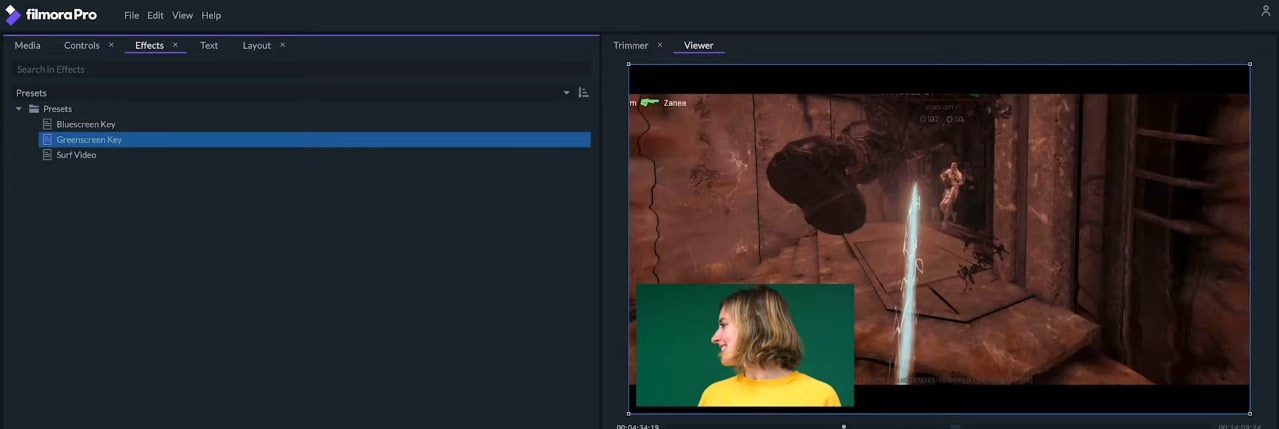
- PiP - PiP or picture and picture will reduce the scale of the video and put it on the corner of the screen. This is super practical if you use screen recording and webcam in your videos like on tutorials or video game playthroughs. We can change its place and scale.

In the case of this clip which has been recorded with a green background, we can also apply a green chroma key preset to make the background transparent.
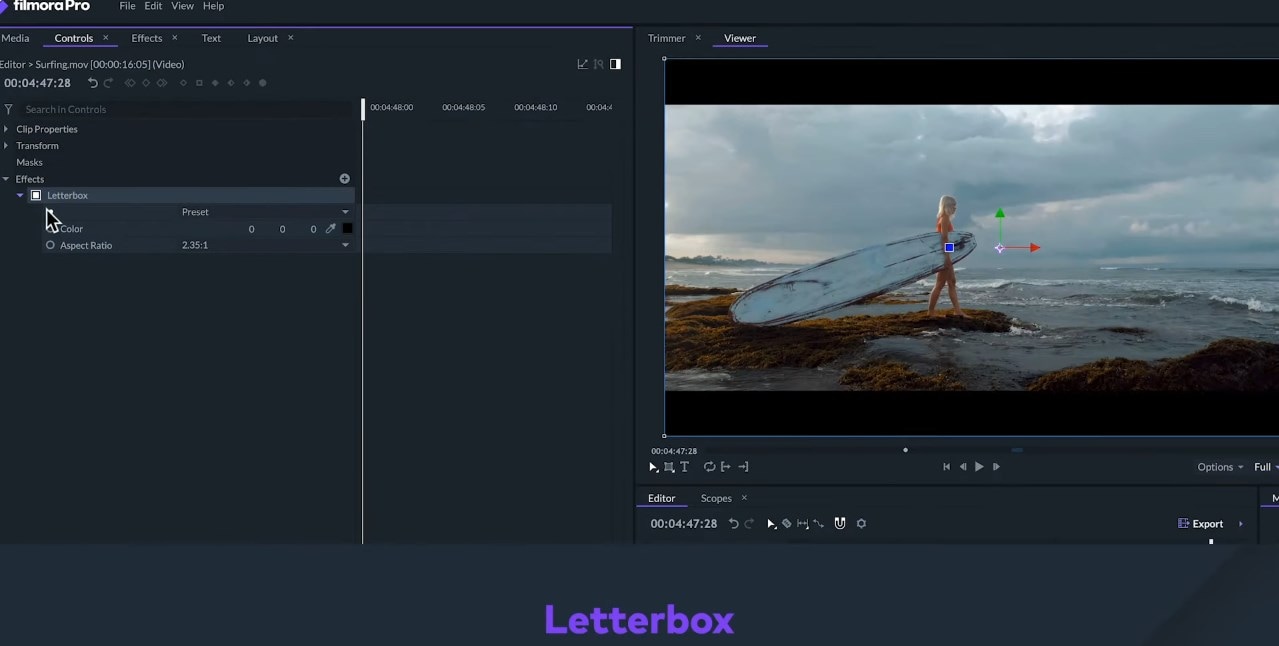
Letterbox Effects
The Letterbox effects will create horizontal black bars to simulate wider video proportions to give it some cinematic look to our clips. We can change the aspect ratio or choose a preset.
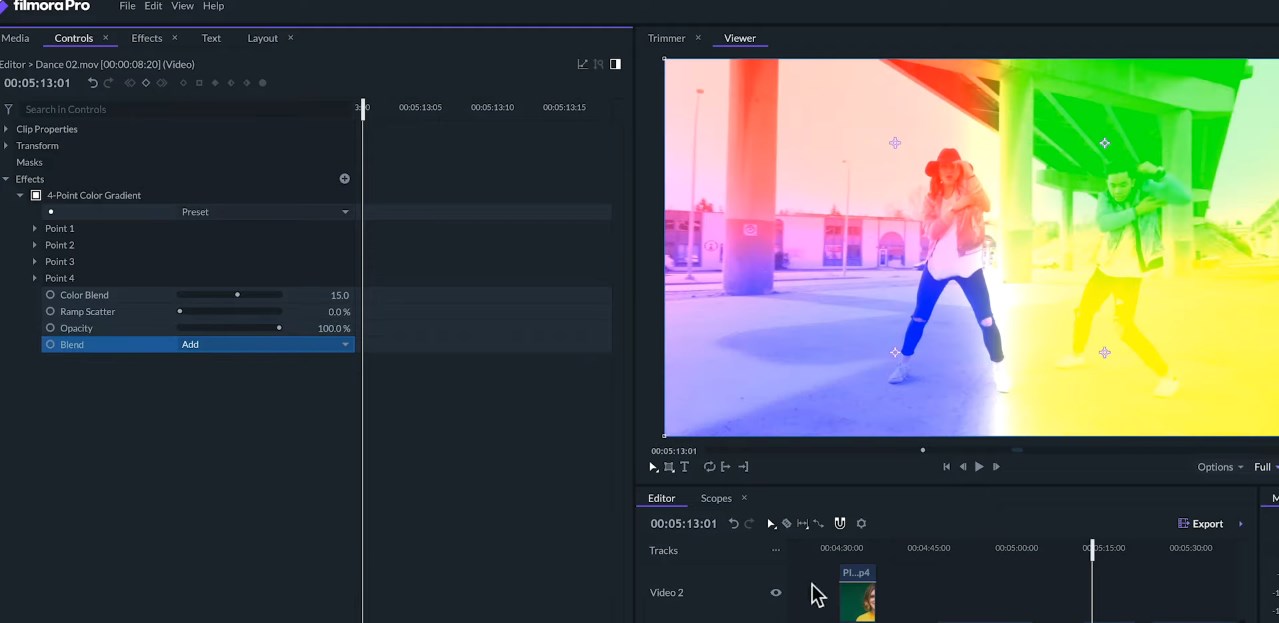
Gradients and Fill effects
The Gradients and Fill effects will fill the clip with gradient colors. But, if we change the blending mode, they’ll be applied as a filter.
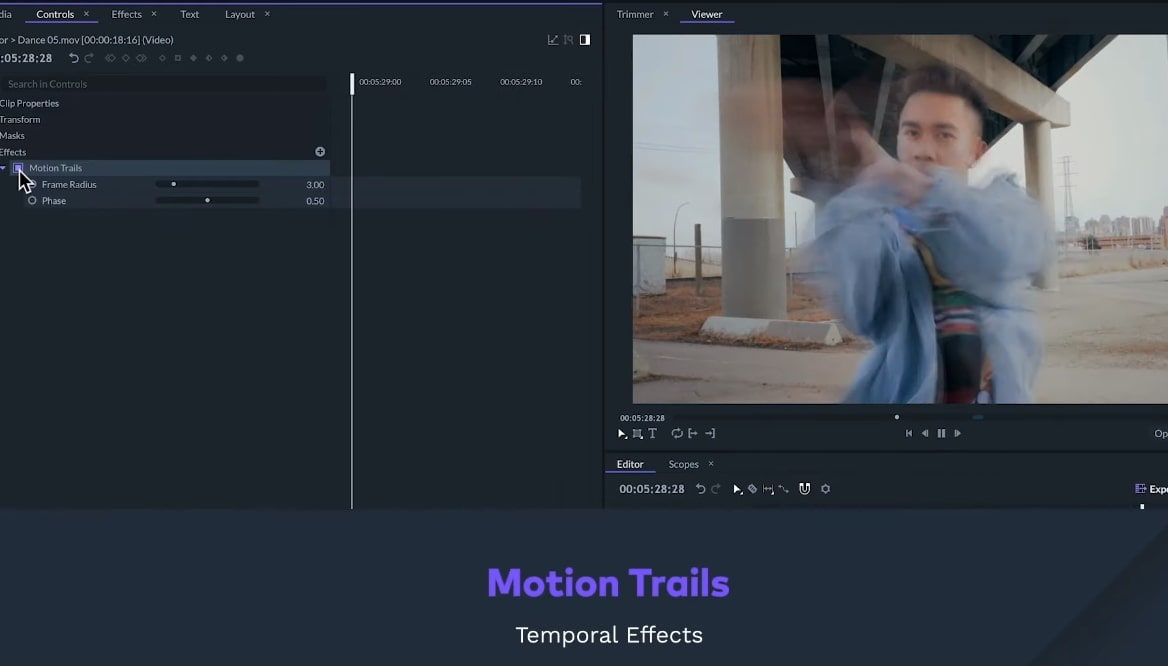
Temporal Effects
The temporal effects will change the clip based on time.
- The Motion Trails will create fake motion blur on moving objects without affecting the still objects. In this case, it affects the dancer, but not the background.
- Speed temporal effects will change the speed playback.
- Time Reverse temporal effects will play the clip backward.