- for Windows
- for Mac
Save and Share
With your project finished, it's time to save and share it on Wondershare Filmora. When you save the project, all the files are combined to create a single video files. You can save the movie as a video file to be played on a computer or a mobile device, burn your project to a disc, or upload it directly to a YouTube and Vimeo account. Check how to save the project file here.
- Choose a sharing option
- Save to video files for computer playback
- Save video files to devices
- Upload video to YouTube/Vimeo
- Burn to DVD
1. Choose a sharing option
After you finish the project, hit Export, there would be an Export Window for you to choose from the following sharing options:
- Format: Save to a file format that lets you play your movie on computers.
- Device: Save to a file format that lets you play your movie on mobile devices, game consoles, or video players.
- YouTube/Vimeo: Share your work on YouTube and Vimeo from within the program.
- DVD: Burn your movie to a disc or save as ISO image file.

2. Save to video files for computer playback
Go to the Format tab. In the Profile drop list, choose an option such as AVI, WMV, MOV, FLV, MP4, MKV, etc. In the Name box, type a file name. In the Position box, specify the location where you want to save the file. Most of users will pick up different resolutions.
If you want to adjust the default settings, click the Config button to change settings such as Codec, Resolution, Frame Rate, Bit Rate for Video, Codec, Channel, Sample Rate and Bit Rate for Audio.
If everything is OK, click Export.
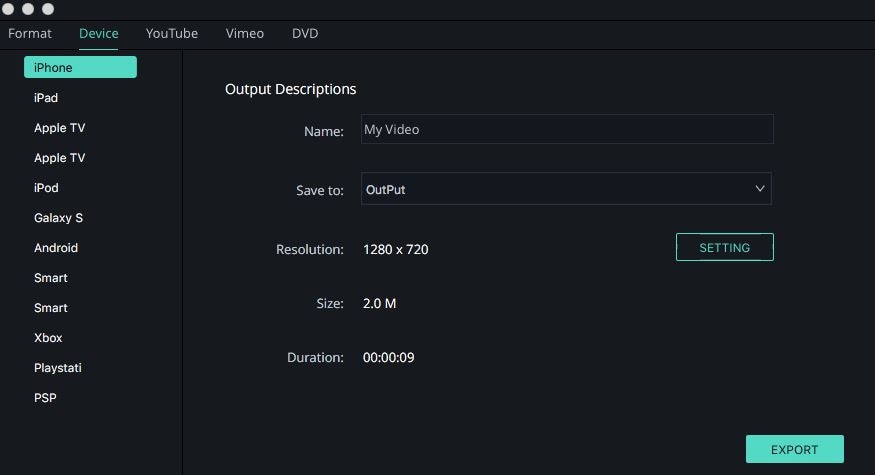
3. Save video files to devices
Go to the Device tab. In the Device drop-list, choose an option such as iPhone, iPad, iPod, PSP, Wii, Creative, etc. to get the optimized videos for your devices.
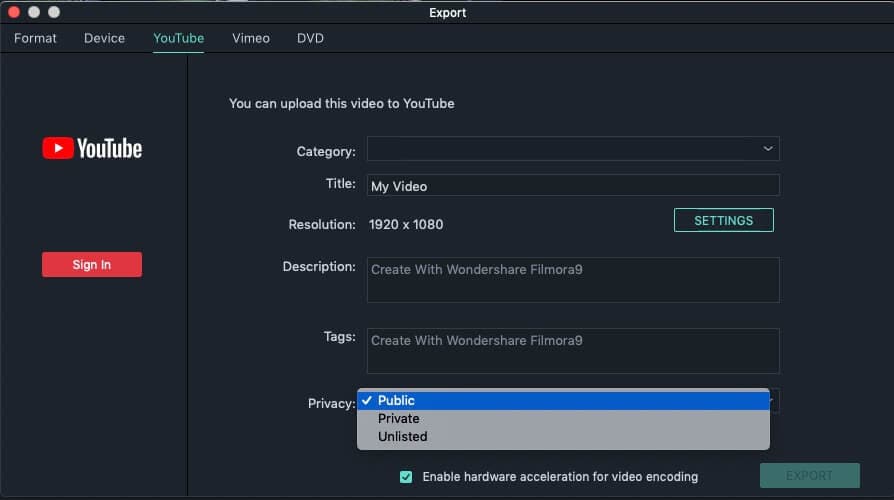
4. Upload video to YouTube/Vimeo
Go to the YouTube or Vimeo tab. Then click the Sign in button to sign in. If it is the first time you are signing in, you will be asked to authorize the connection between Wondershare Filmora for Mac and your online account. This authorization allows for the exchange of limited information related to the successful upload of your video. If you don't have an existing account, you will be prompted to create an account.
Fill in the necessary information like title, description, privacy settings(public, private or unlisted) and additional tags.
If everything is OK, click Export.
Tip: To log in to a different user account, first click the Sign Out button that appears below the YouTube, Facebook and Vimeo images. You can then log in to a different user account.
5. Burn to DVD
Go to the DVD tab. Then set the DVD parameters like DVD label, Aspect Ratio, TV Standard and Video Quality, DVD Disk Type and the DVD Formats such as DVD Folder, IOS or DVDMedia.
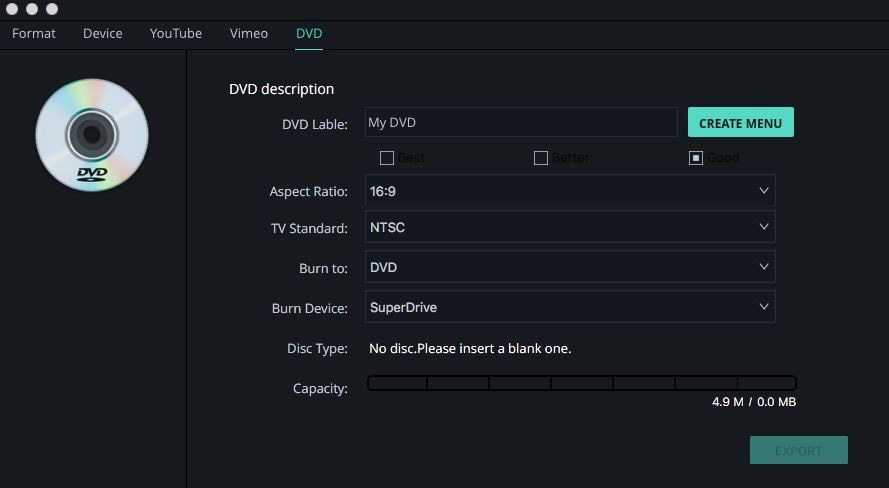
What's more, you can create Menu for your DVD with different templates and customize music. After that, click Export to burn your video to DVD or save video to an ISO image file.