- for Windows
- for Mac
Import Media/Record a Video-filmora
When a project is created, you can now import your media files to the program. Wondershare Filmora for Mac enables you to import video shot by any type of digital cameras, camcorders, mobile devices, etc. in all major standard and HD video formats. Or you can directly record your video from your webcam. A Media Library is also provided for you to organize your media clips so that you can easily and quickly catch assets for your projects. Find ways to save and share your recorded or imported video files after edited here.
Import your media files
There are 3 ways to add media clips to the library:
- Click the Icon in the center of Media Library to add files directly

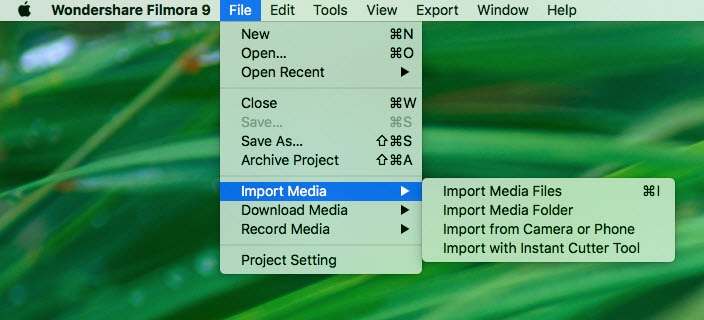
- Go File>Import Media>Add Video/Photo Files or Add Audio Files
- Drag and drop to the Media Library directly
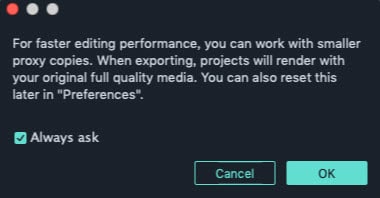
While importing a media file, Wondershar Filmora may ask you if you wish to create proxy file to accelerate editing process. Select “Yes” to have a fast video editing experience.
Record a Media file
Apart from the videos shot by your digital devices, you can also directly import media files by recording video from your webcam, capturing the computer screen, or recording a voice over.
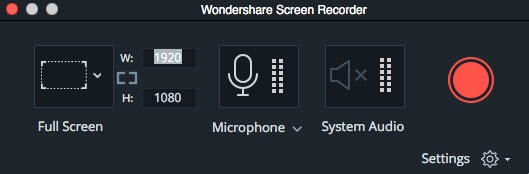
- Record computer screen
Click the “Record” option, and choose "Record PC Screen" to get the built-in Wondershare Screen Recoder. Hit the red button to get started. If you want to stop the recording, you can hit F9.
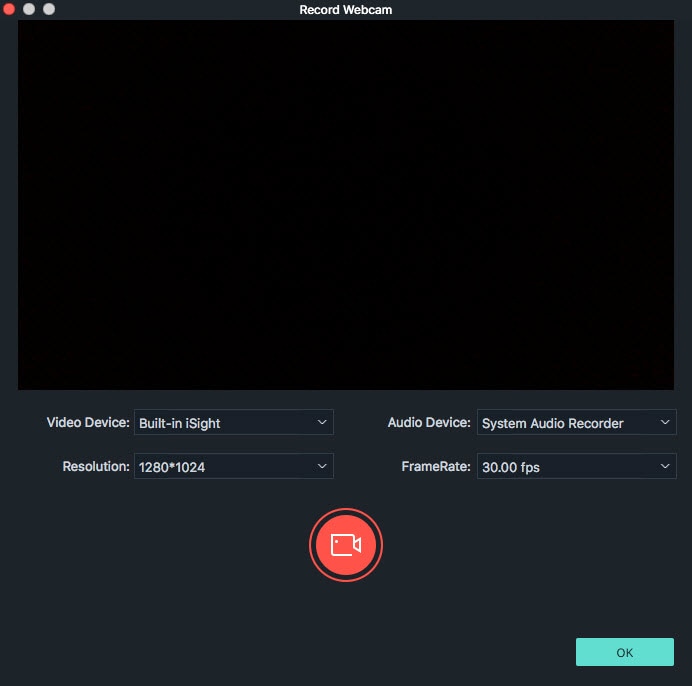
- Record videos from webcam
Also click the “Record” option, and choose “Record from Webcam”. In the pop up Video Recording window, click the red button to start recording and click it again to stop recording. Then click OK to save the recorded video file.
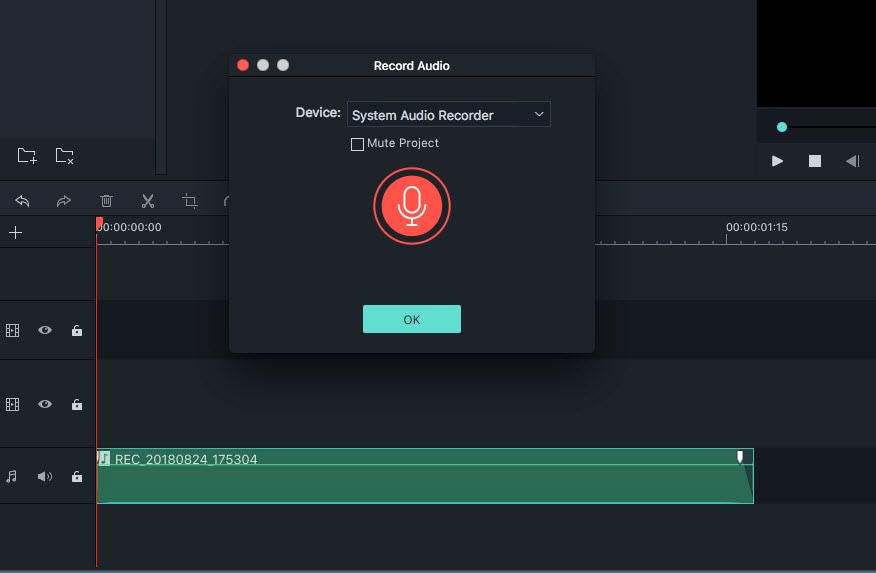
- Record voice over
Choose "Record a voiceover" under the Record menu. It would be better to connect a microphone to your Mac for a better result. Hit the Record button, and it leaves you 3 seconds to get ready.
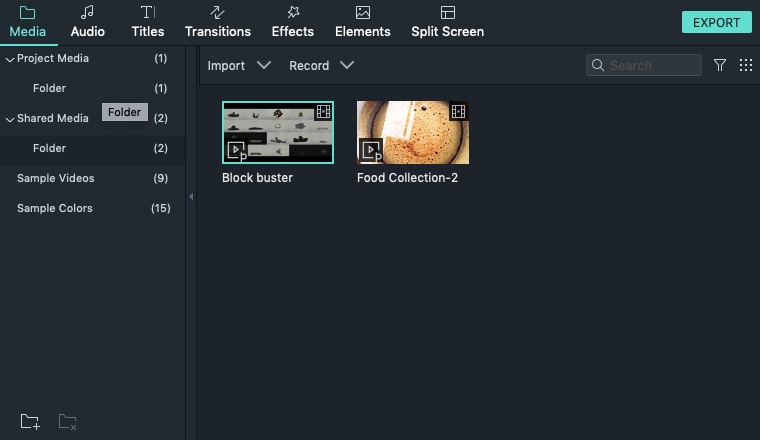
All the recorded media files will be saved into Media Library automatically and you can drag it to the Timeline for editing.
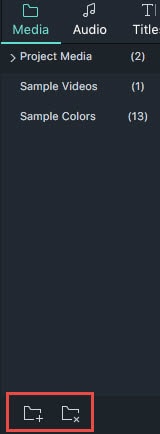
Organize media files
When all the media files have been imported to the program, you can use the Media Library to organize them.
Shared Media Folder
Storing media assets you frequently used for different projects within Filmora for Mac is an effortless process. Simply head over to the Shared Media Folder and import intros, logos, or any other type of media asset into the folder. Each file you imported to the Shared Media Folder can be accessed quickly in all projects you create in Filmora for Mac.
To select media in the Media Library
- Select one media file: click the Plus icon on the thumbnail.
- Select multiple media files: left click and choose all the media files, or press Command and select any files you like, then drag and drop them to timeline directly.
To delete media clips from the Media Library
In the Library, right click on the clip and click Delete.
Note: All the clips actually remain in their original location since they are just referenced in the Media Library. So if you delete a clip from the library, only the reference is deleted. You can still find the actual file in the location where it is stored.
To sort clips in the Media Library by name, duration or type
Click the Sort button, and then select Name, Duration, Type, Date Created, etc.
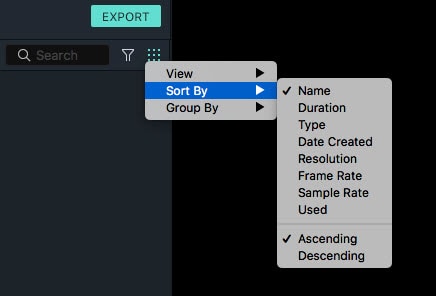
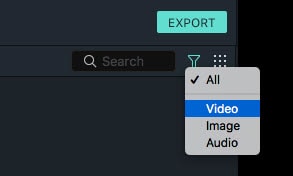
Click the Filter button to classify media files into video, image and audio.
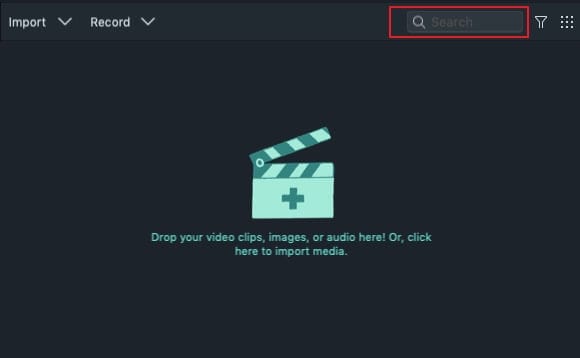
To find the media rapidly
To find a specific media file rapidly, just input its name in the search bar.
All folders except the first one can be deleted or add more by clicking the button.