-
-
-
-
- Still have questions? Submit a ticket to our support team. Contact Us Or Call Us
-
-
-

Once you've imported your files you can start editing them. In this section you'll learn how to:
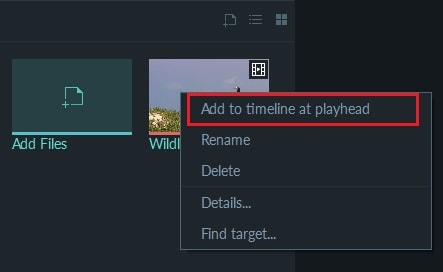
There are several ways to add media to your timeline.
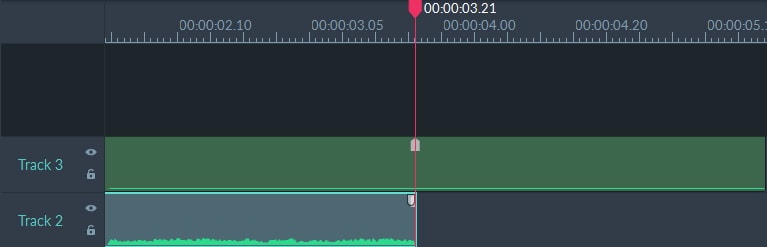
Note: You can drag media files on your timeline to reposition them.
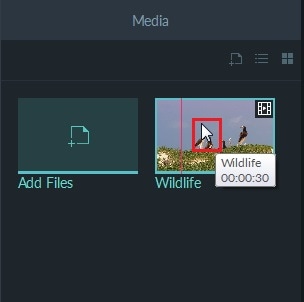
If you hover your mouse over a media thumbnail a preview of the clip will play. Double click the thumbnail to play the full video.
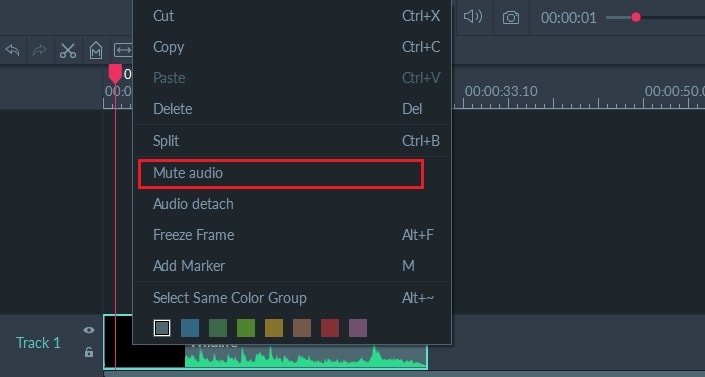
Once a video clip is in your timeline, you can mute it or detach the audio for separate editing.
To mute the audio of a clip, right-click on the clip and select Mute Audio.
To detach the audio from a video clip, right click on the clip and select Audio Detach. The detached audio file will be placed in the upper track automatically and you will be able to edit it separately from the video clip.
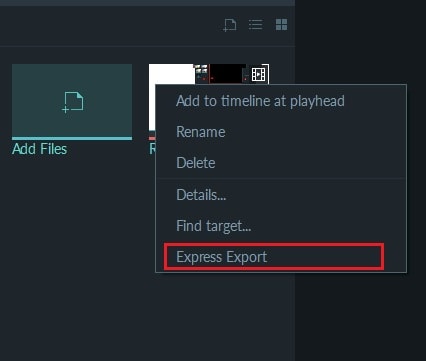
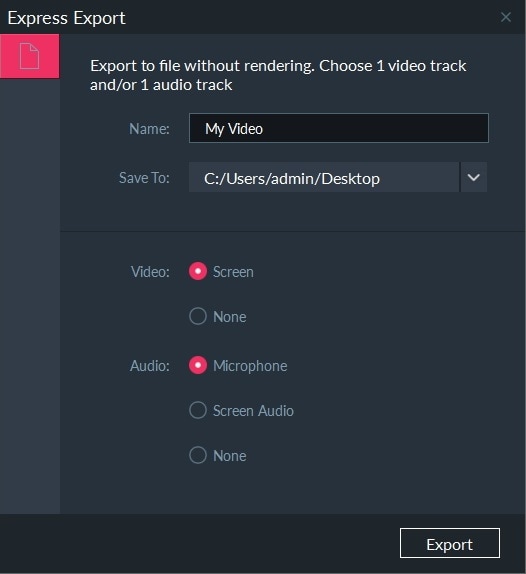
Without rendering, you also can choose one video track and/or one audio track to do an Express Export. This is a fast way to get one track of your recorded video exported. Right click on the thumbnail, and then choose Express Export.
Select the track you want to export in the Express Export menu.
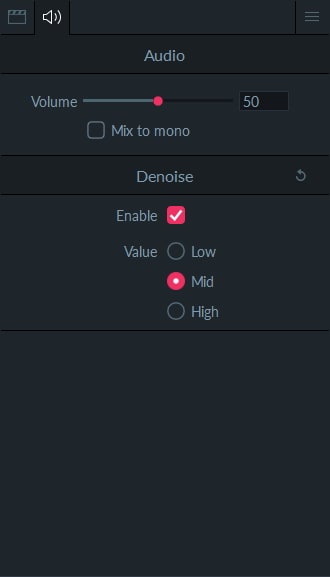
In the top right of the property area, click the audio icon and then check Enable under the denoise tab to filter out background noises.
There are 3 settings to choose from: Low, Mid, and High.
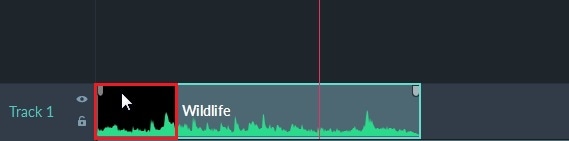
Select the clip and then cursor to the clip edge until the icon ![]() appears, drag it forward or backward to cut off the unwanted start or end.
appears, drag it forward or backward to cut off the unwanted start or end.
You can now add a Marker on the clip and then drag the clip edge to the Marker point to trim precisely.
To trim multiple clips, Ctrl and select the desired clips and then drag the edge. The selected clips will be trimmed at the same time.
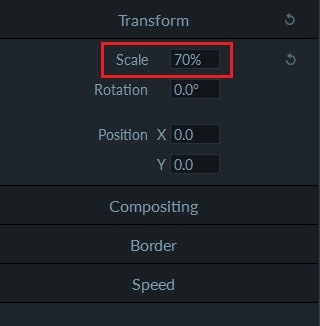
To resize a clip in the Preview Window, go to Visual Property and change the percentage.
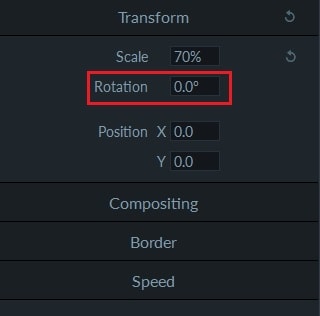
To rotate a clip, select the clip in your timeline and adjust the Rotation settings under Visual Property.
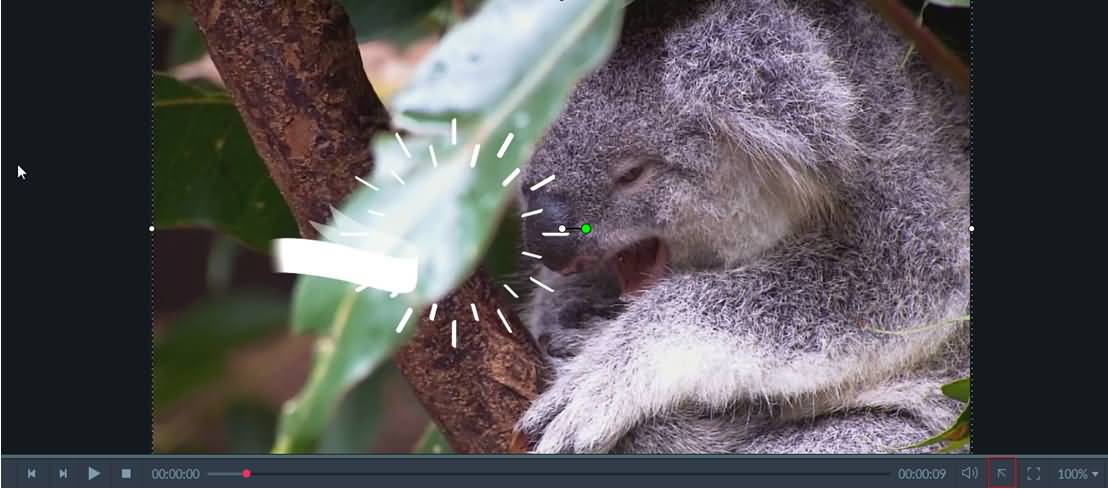
You can also rotate the clip using the center handle in the Preview Window.

You can crop your video down in Crop mode.
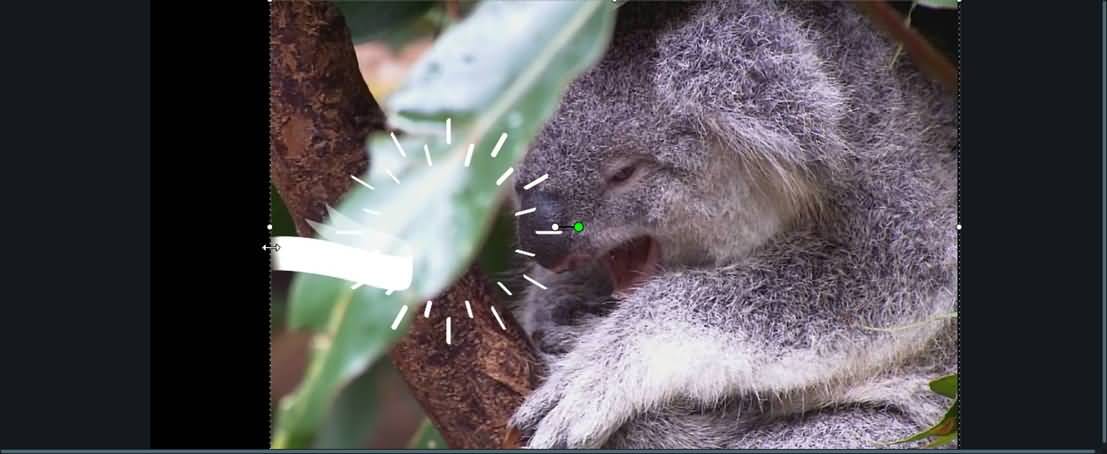
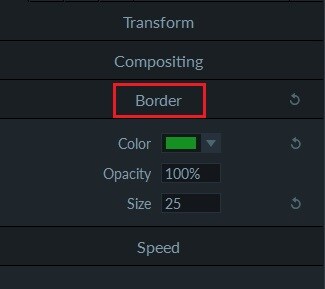
You can draw a border to highlight part of your video or image. The maximum border size is 50. Just click Border in the Property Area.
You can split your videos into separate clips and then edit those clips separately. Here's how:
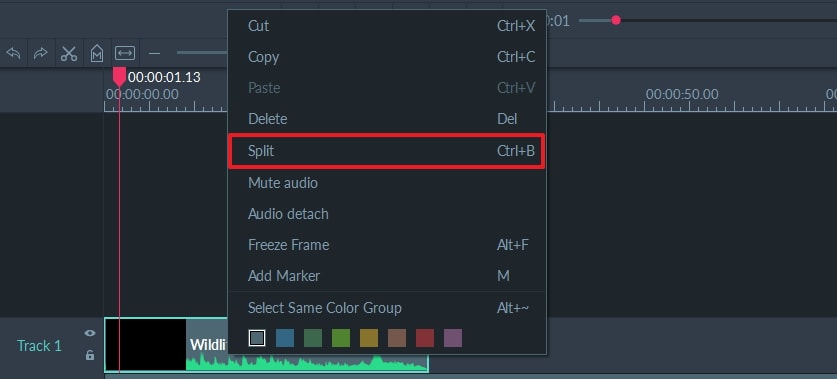
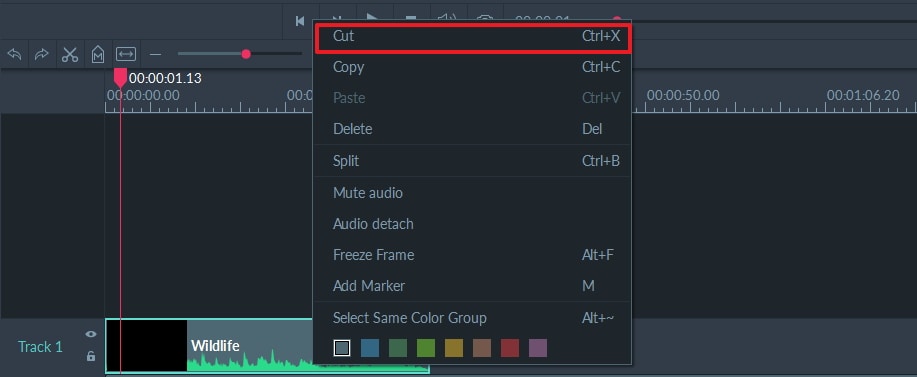
Right click on the clip you want to cut and select Cut.
To cut a section of a clip, place your playhead before the section you want to cut and click the scissors icon to split your clip in two. Then, place your playhead at the end of the section you want to cut and use the scissors tool again. Once you have split your clip twice you will have three clips. Right click the clip in the middle and select Cut to cut it, or simply drag it to a new location.
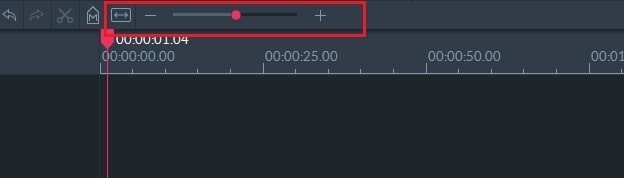
Note: You can use the zoom slider to get a different view of your timeline.
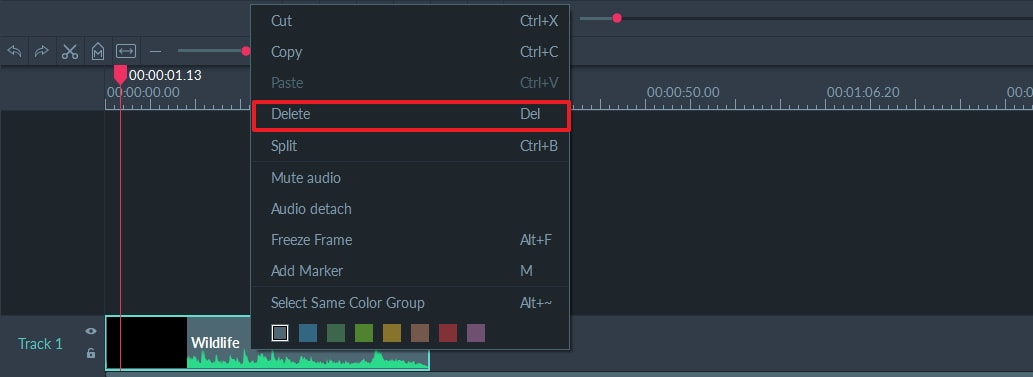
Select the clip you want to delete from your timeline and press Delete on your keyboard. Or, right click on the clip and select Delete.
If you only want to delete part of a clip, use the Split tool (the scissors icon in the toolbar) to separate the unwanted section into its own clip and then delete it.
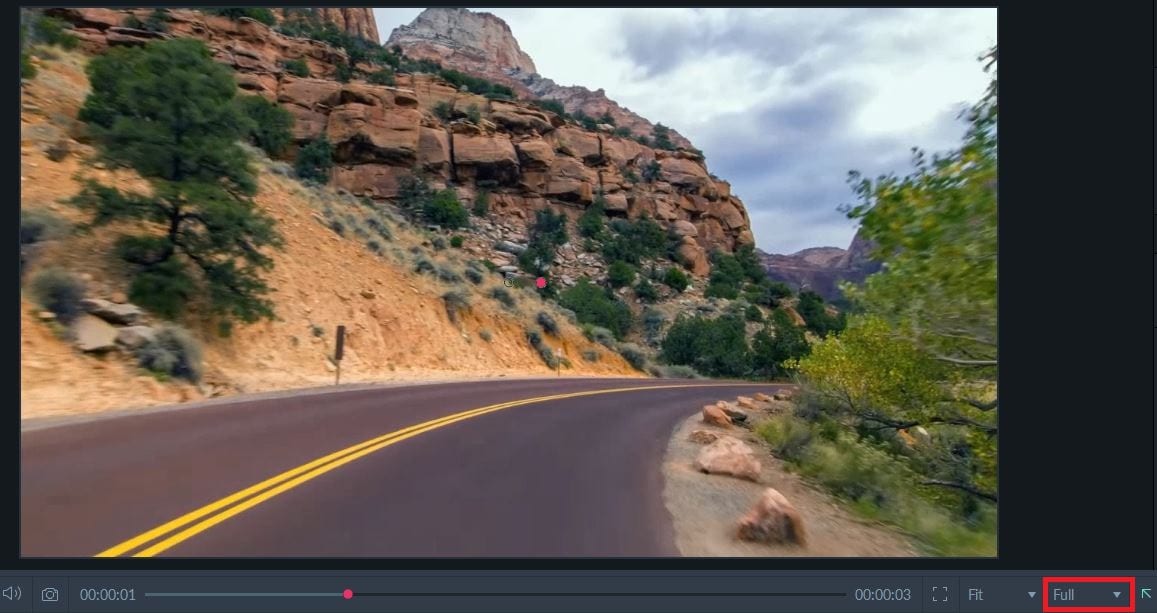
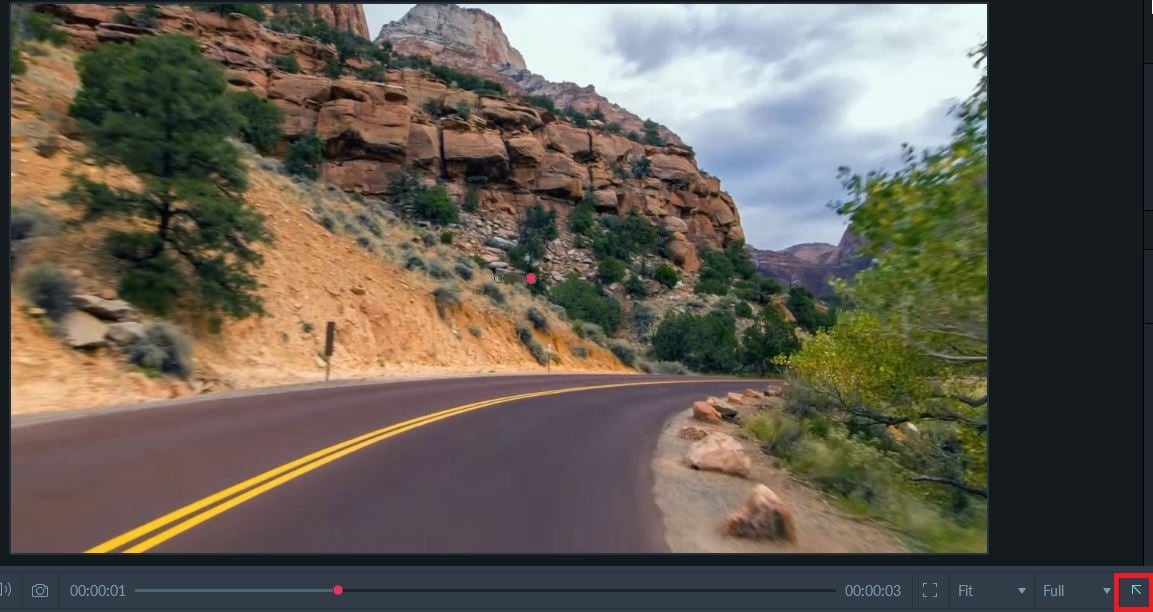
Below the Preview Window, choose the playback resolution in the drop-down list. By default, the resolution is full.
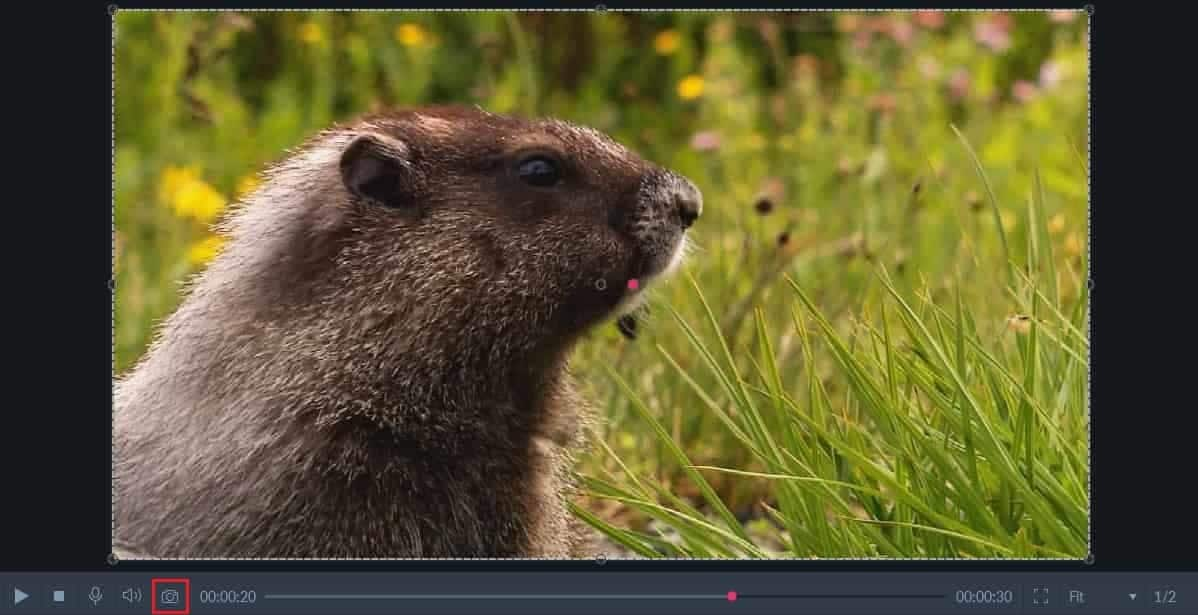
Below the Preview Window, click the Snapshot icon to take a still image of a video frame. You will be able to find your Snapshot here: C:/Users/admin/Documents/FilmoraScreen.
Use Voice Over to record yourself talking. This is a great way to give viewers more information. Just click the Voice Over icon in the toolbar. You can even play your video back while you create this audio recording.
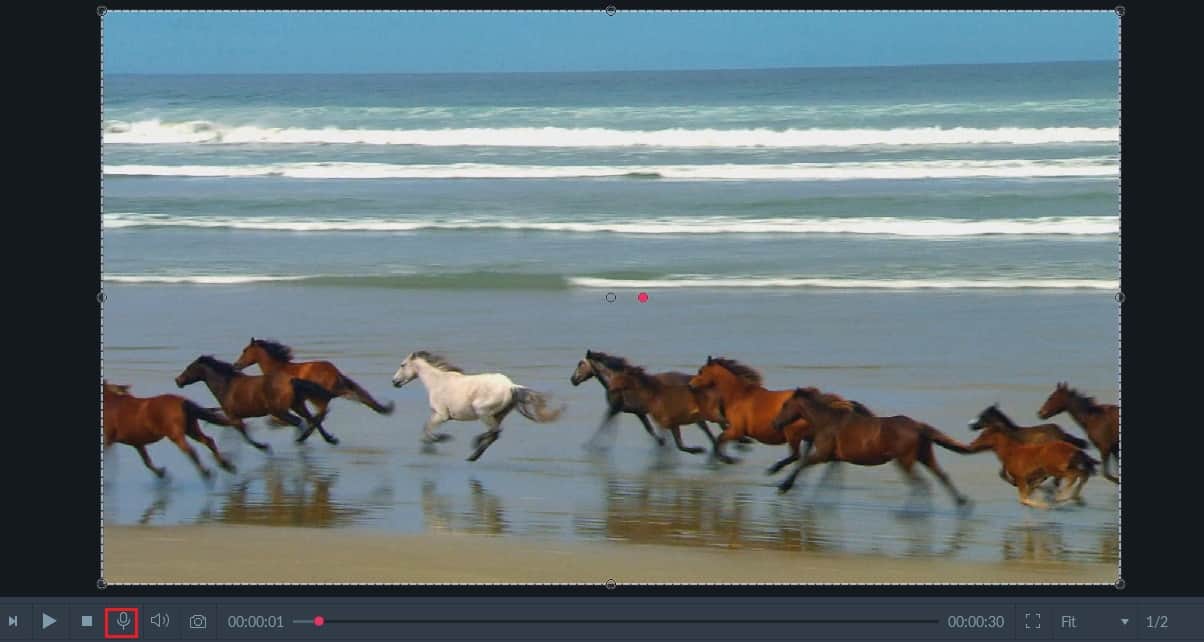
Note: Before recording audio, please connect your recording device (i.e. a microphone) to your computer.
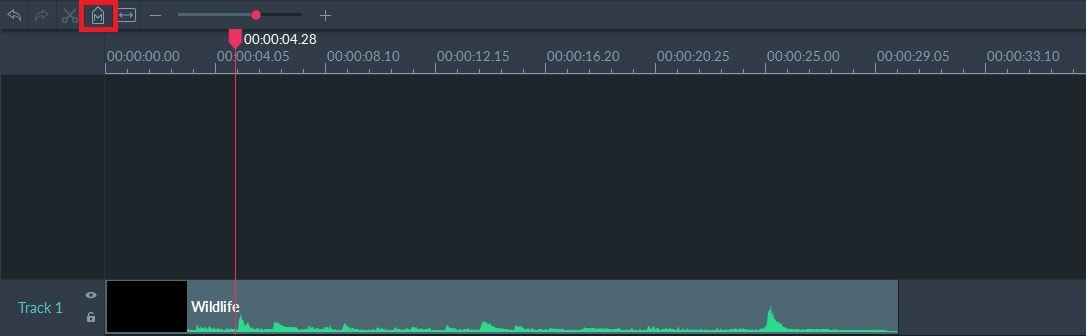
You can add markers to important frames. Click the marker icon in the toolbar to add a marker to the timeline.
Picture in Picture (PIP) allows you to layer video clips and other media files. This effect is widely used in tutorials, gaming videos, and presentations.

Fade in and fade out effects are great ways to start or end your videos.
Fade in: drag the left marker at the start of a video track to the right.
Fade out: drag the right marker at the end of a video track to the left.
Tip: the time duration of fade in and fade out effects has no limit.
It is important to let viewers know what hot key is being used without misunderstanding, especially when you use a lot hot keys to record a video.
At the top right of the property area, click the HotKey Tips tab and then click Enable. You can set the size, filter, position, style, color, and opacity of your hotkeys.
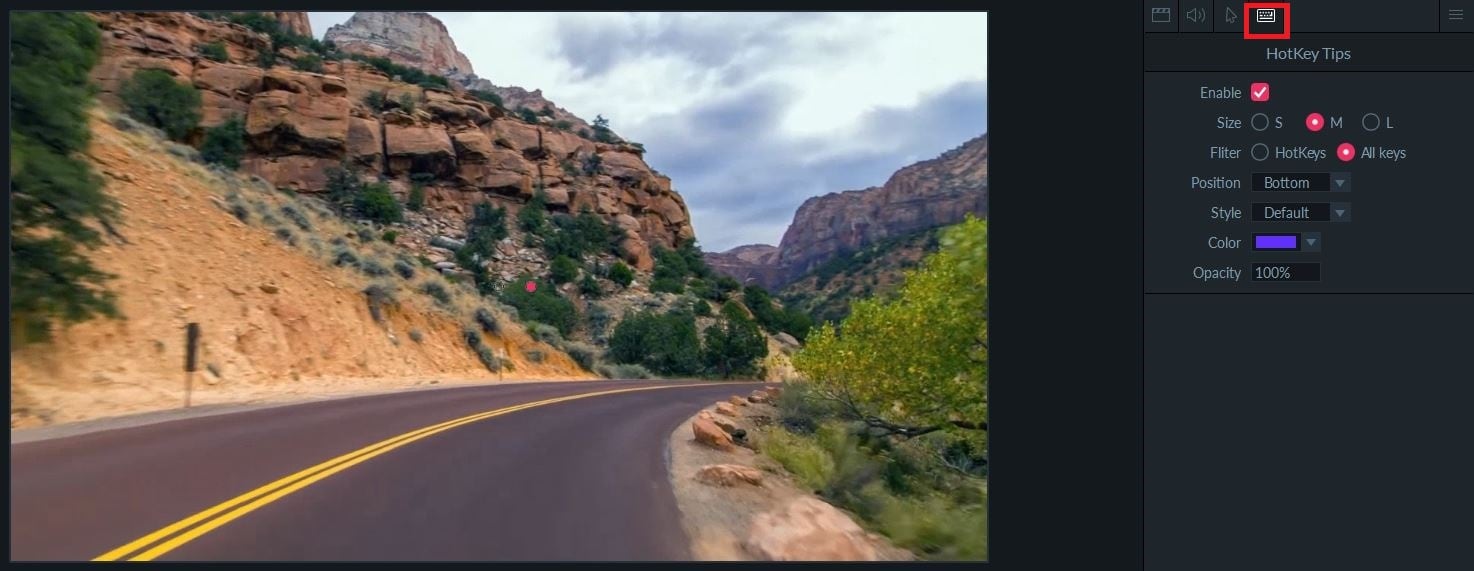
Note: Hotkeys will only appear in your exported videos and not in your recordings as you make them.
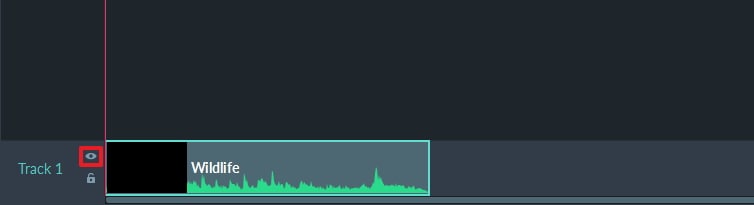
By toggling the track output button on and off, you can choose whether or not a track will appear in your exported video.
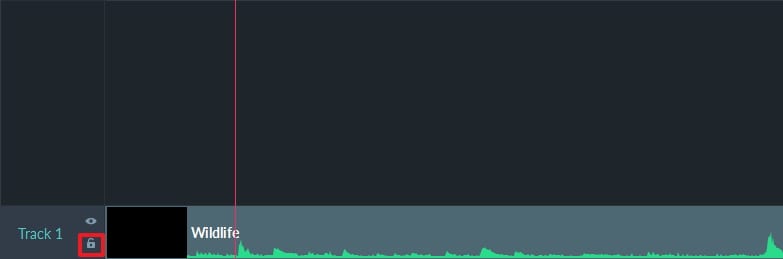
By toggling the track lock on and off, you can choose whether or not a track is editable.
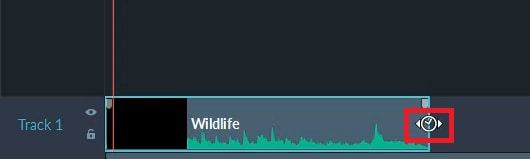
Time stretch will enable you to change the duration of your video.
Select a video track, press CTRL, and hover the mouse over the border of the video track until a clock icon appears. Then, drag the timeline to the left or right. You can also adjust your speed in the top right of the property area.
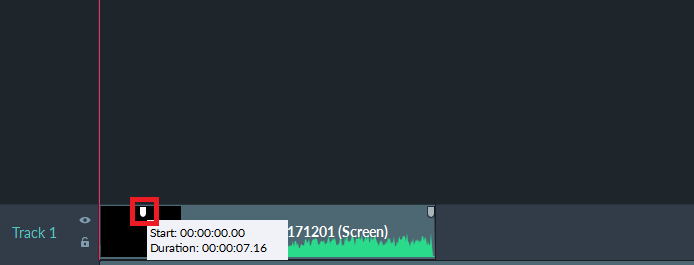
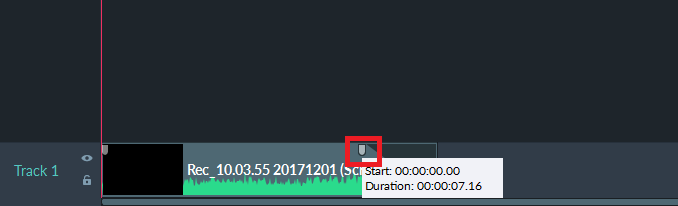
If you want to see the whole waveform in your timeline, simply hover your mouse over the thumbnail and the waveforms will appear.
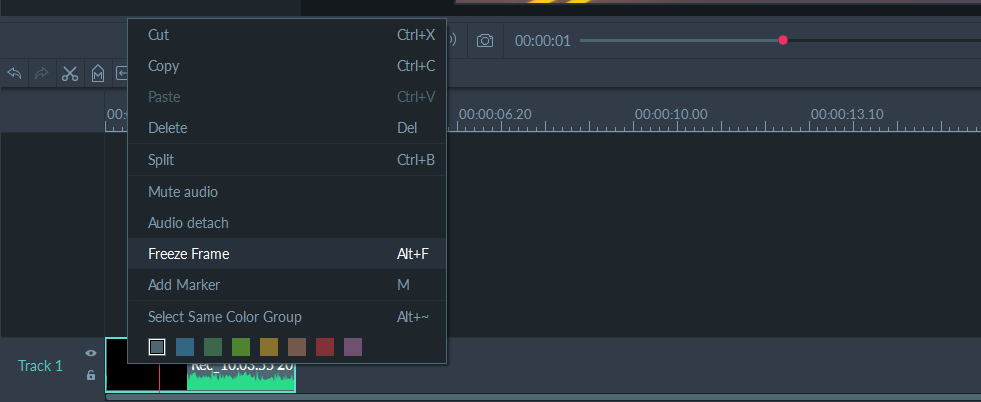
Freeze frame can help you emphasize a specific image or operation.
Right click on a video track and select Freeze Frame to create a 2-second frozen image.
After you've finished editing you can export your video as an MP4, MP3, MOV, or GIF file. You can also upload your video directly to YouTube, Vimeo, Facebook, or Twitch. You will be able to name your video and choose a location to store the exported file. You will also be able to adjust your video's resolution, frame rate, bitrate, and other settings in this Export window.
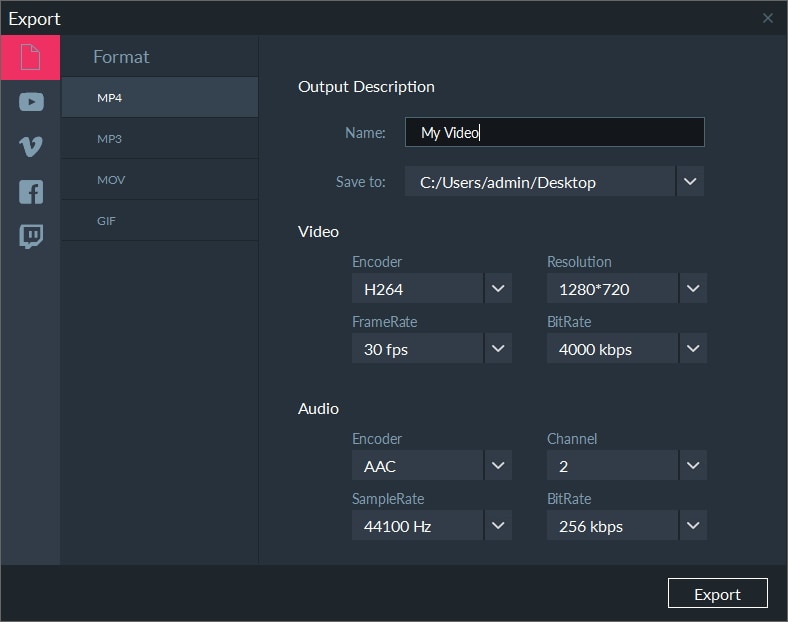
When you're happy with your settings, click Export.